Pelican Deck box (MTG)
prusaprinters
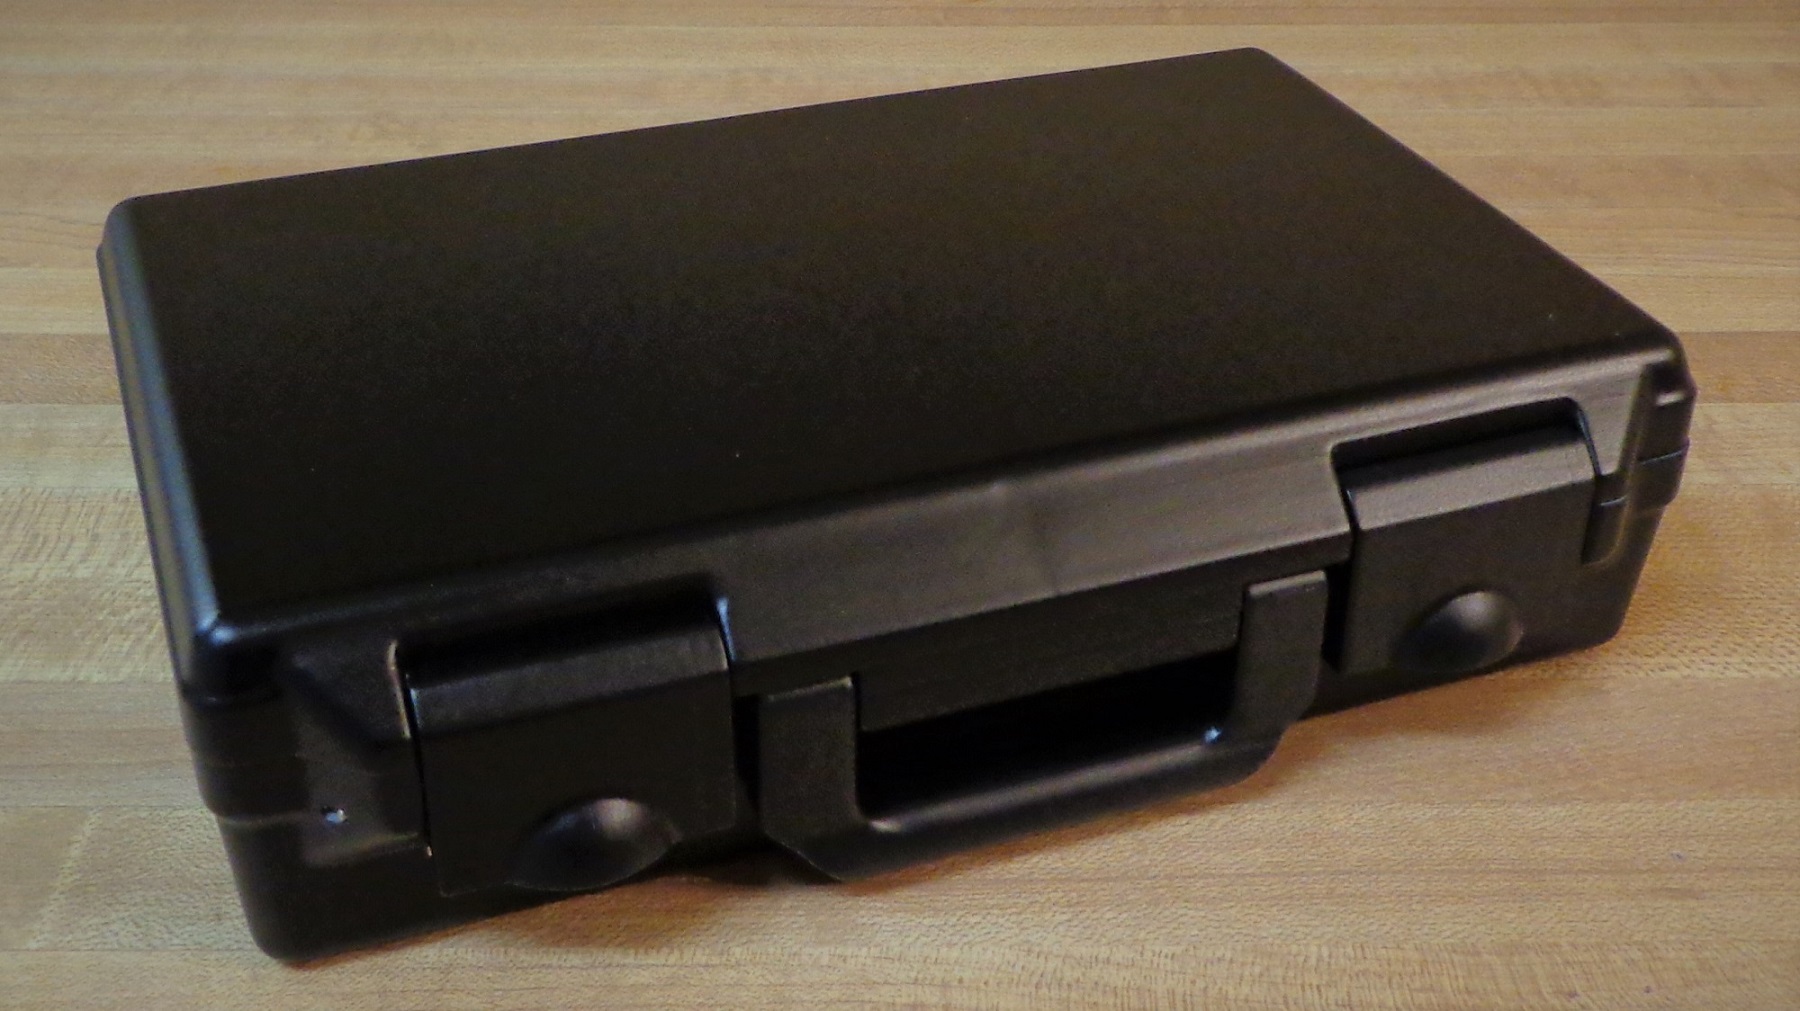
<p>An MTG deck box design inspired by a Pelican case. This deck box will hold 100 double sleeved cards with a little extra space for tokens. There is also a place in the center for dice or other small accessories.</p><p>Features of this deck box include:</p><ul><li>A hinged lid with latches to hold it in place.</li><li>Functional albeit small handle.</li><li>A seal groove around the seam that is 2.0mm wide and 1.4mm deep so a piece of 1.85mm TPU filament can be used as a seal.</li></ul><p><strong>Warning</strong>! This deck box is water resistant NOT waterproof. It will leak with prolonged contact or submersion. </p><p>This box is built with 7 stainless steel pins in 3 sizes (Sources linked):</p><ul><li>Three <a href="https://www.amazon.com/dp/B07KJKHRLJ?psc=1&ref=ppx_pop_dt_b_asin_title">3.0mm diameter</a> 74mm long.</li><li>Two <a href="https://www.amazon.com/dp/B07MKMQBD7?psc=1&ref=ppx_pop_dt_b_asin_title">2.0mm diameter</a> 35mm long.</li><li>Two 2.0mm diameter 42mm long.</li></ul><p>I also tested this with wooden pins, round tooth picks and BBQ skewers I had are about the right size but required a little sanding.</p><p>Check out the double sized version <a href="https://www.printables.com/model/267925-pelican-deck-box-double-mtg">here</a> that holds 2 commander decks.</p><h5>Notes:</h5><ul><li>These parts have a nominal interlocking clearance of .10mm. This fit is intentionally a little tight. Due to this it is necessary for your printer to be properly calibrated for dimensional accuracy.</li></ul><h5>Assembly</h5><p>Clean out the hinge and latch pin holes with correspondingly sized drill bits. Test fit all the pins before full assembly (make sure not to set them in to far as they can be hard to remove) some re-drilling or sanding may be needed. Part 3 is designed to be screwed in to part 1 to hold the pin for the handle in place. To do this you will need three M3x0.5, 6mm long socket head cap screws and will need to tap the three holes on part 1. Alternatively, you can just glue part 3 in place over the handle pin.</p><p>To assemble the latches, start by connecting latch part 1 and latch part 2 with the 35mm long 2mm diameter pins. Next start pressing the 42mm long 2mm diameter pins into the holes in the out sides of deckbox part 1, align the latch and finish pressing in the pin. See image below for a section view of the assembled latch.</p><figure class="image image-style-align-center image_resized" style="width:41.03%;"><img src="https://media.printables.com/media/prints/267922/rich_content/4a64bc84-5e39-4897-91c6-d509de45b7b6/hinge_assembly.jpg#%7B%22uuid%22%3A%2211483ad9-ec40-4fa3-b44d-5fe1b7dc9e18%22%2C%22w%22%3A1146%2C%22h%22%3A1071%7D"></figure>
With this file you will be able to print Pelican Deck box (MTG) with your 3D printer. Click on the button and save the file on your computer to work, edit or customize your design. You can also find more 3D designs for printers on Pelican Deck box (MTG).