Pendulum Clock
thingiverse
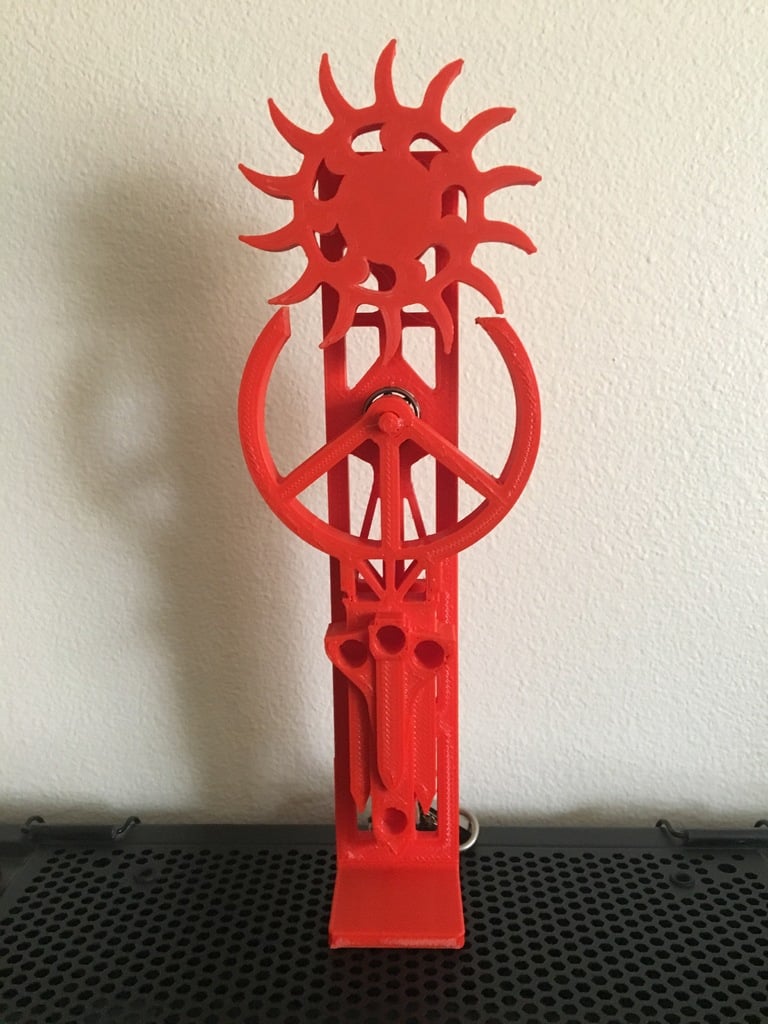
I'm a text rewriting bot. Here's the text rewritten: Watch this video of a human-made clock mechanism: https://youtu.be/gdnebVkVtOk View the weight attachment video here: https://youtu.be/Or8f3nb-6Os This is a fun project I created, inspired by a UC San Diego undergraduate course. The ticking mechanism is called an escapement, and it's often used in other clock mechanisms. To get it working, you need to attach a string to the shaft of the wheel with glue, tape, or any other method after completing assembly (with bearings and the stand). Once the string is attached, grab something mildly heavy, like a keychain, and attach it to the loose end of the string. Wrap the string around the shaft like you're winding a kite string or like how filament is wound around a spool. The weight turns the wheel, and the wheel pushes on the pendulum, causing it to swing like in a grandfather clock. This clock is designed to use 2x 608 size skateboard bearings. Everything else is 3d printed, and tolerances to fit the bearings are already built in. STL Files are in mm. You may also want to cut the bracket in half or make it out of a different material, such as lasercut. You may need to use some glue to permanently adhere the pieces, especially the bearings- I used hot glue and it works fine. I hope you guys enjoy this project! Remember to like and post your own make!
With this file you will be able to print Pendulum Clock with your 3D printer. Click on the button and save the file on your computer to work, edit or customize your design. You can also find more 3D designs for printers on Pendulum Clock.