Pergo Robo3D Upgrade, NeoCeram Glass and 600 watt(110v) heater
thingiverse
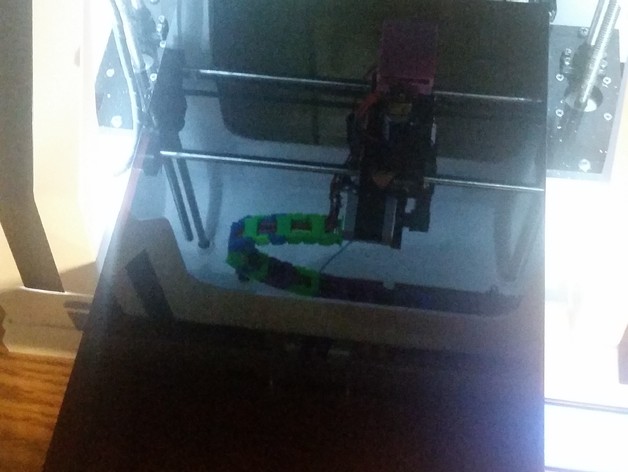
Update : 05 Dec 16 I was asked for a schematic electrical diagram. I added it. I used an on-line drawing program. the "J2" is the header where the heater bed power came off it is D8 on the board. Update : 18 Feb 16 Power Requirements: I started a 36 hour print job the other day and I didn't want a hiccup during the print. I connected the printer to my 1250 watt APC UPS and it. Remember this is a 600 watt heater. When the heater is first turned on, and yes, it does take the stated 600 watts so power up at print prep does take about 750 watts. Along with my "Beast" of a computer the UPS did it's share of screaming out loud. But once it was heated and printing power requirements for the entire printer was pulling between 71 - and peaks of 150 watts. Nominal was about 95 watts. Keep these figures in mind if you decide to put your modified printer on a UPS. Update : 29 Jan 16 The testing of my parts for http://www.thingiverse.com/thing:1293032 The Heat Chamber I created worked so good that I had cable malfunctions with my cable chain. there were about 10 pieces printed in PLA , the others are ABS. The PLA ones warmed up and spread apart thus unhooking from the adjacent one. I'm now printing many new links... At that time I was printing a new Fan Shroud http://www.thingiverse.com/thing:697200 in all ABS. I've not had great luck with ABS before. With the heat chamber, I seen 0, None, Nodda, not even a bit of warping. WOO HOO!! I love this bed heater! Also with turning off Bang-Bang and putting the PID (KPI) vars, the heater overshoots to 107 and then STAYS at 105 for the entire print. So many things are coming together. I'm thinking of a "Here's every mod I made to my now perfect Robo3D to make it "the perfect printer" for under $1k. Here are my instructions for upgrading your Robo3D (I have the R1+) Heater and glass. I had cracked my glass taking a printed piece off.. You may do this at some time too! So I wanted a better glass. I searched around and I found this site that has a super great wizard for custom glass. I chose a NeoCeram which is the EXACT same stuff that your electric range has over the halogen heating elements. This stuff holds it temper for ever even up to 1200c!!! Now a warning here as my glass piece cost a total of $90 ($15 of this was Fedex). Ya, I too cringed when it was time to enter the charge card info. But when the glass arrived and I did my first print, WOW I was SO impressed with how INCREDIBLY FLAT and sturdy this surface is. Every single print was coming out almost perfect!!! I actually was thinking, and still am, "I wish my glass would have broken a while ago!" I can't tell you how happy I am with this new glass. Yes, the bottom of the glass does have that dimple pattern on it. but I had no problems with the Keenovo heater sticking to it with the 3M glue sticker they use. Now I also had extended my bed 330mm with this upgrade.http://www.thingiverse.com/thing:1154745 ( I included the .stl file from this item, but use the link for most up to date version) So I needed a longer heater. I chose a 300x200mm heater available on Amazon for about $49.xx Being that this heater is 600watt and powered by 110v rather than the the stock 12v, you need a solid state relay. What this SSR does is detect when power is applied to the low voltage side, it allows the high voltage to pass through. So the same electronics circuit that powered the old 12 volt heater is hijacked to control the more powerful 110v, 600w heater. I now have a bed heater that is ready LONG before the Hotend is! really! and I have a E3Dv6! http://reprap.org/wiki/PID_Tuning After install, go into Matter Control software and launch the terminal. There you can enter the command to start the PID auto Tuning. M303 E-1 S60 C8 get the K, P, and D values and save with the command M304 P[your p val] I[your I val] D[your D val] Write them to the firmware (so they are there after power off) M500 To make use of these settings for your bed, you need to un-comment this line in configuration.h define PIDTEMPBED ^--Pound sign here otherwise your bed will be using "Bang-Bang" for temp control. Source for 300mm x 200mm Heater (8 " x 12" approx.) 110V 600W, with 3M PSA & NTC 100K thermistor, KEENOVO Silicone Heater Mat/Pad,3D Printer HeatBedhttp://www.amazon.com/gp/product/B011U7AYX4 Source for NeoCeram Peninsula Glass Company Toll Free 800-468-4323 Phone 360-892-2029 Fax 360-892-8152http://www.onedayglass.com "10 x 15 x 5/32 Black NeoCeram Pencil Grind All Edges" you can say same item as my order # 10062040 Source for Solid State Relay + Heat Sink uxcell SSR-25 DA 25A 3-32V DC / 24-380V AC Solid State Relay + Heat Sinkhttp://www.amazon.com/gp/product/B0087ZTN08
With this file you will be able to print Pergo Robo3D Upgrade, NeoCeram Glass and 600 watt(110v) heater with your 3D printer. Click on the button and save the file on your computer to work, edit or customize your design. You can also find more 3D designs for printers on Pergo Robo3D Upgrade, NeoCeram Glass and 600 watt(110v) heater.