Perspex Lids for Teaching Tech Case
thingiverse
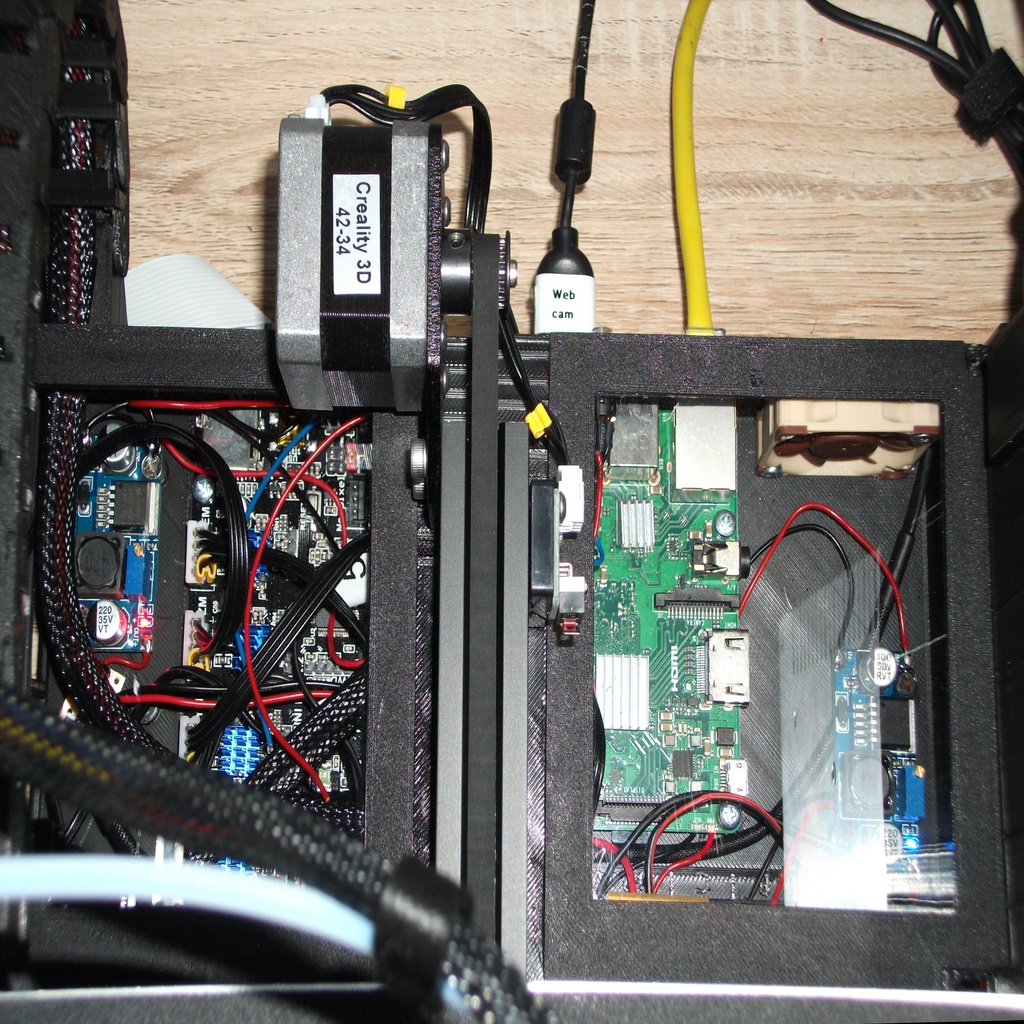
I'm unlikely to fit the Ender 3 Pro, but I'll give it a try. A little whimsy is just what we need to see all the blinkenlights on our Ender 3 electronics. It was designed with 1mm clear perspex in mind, which I already had lying around. I've got a taller version of Teaching Tech's case, but the lid should fit perfectly on the standard one since the extra height is at the bottom of the case. On my printer, the Y stepper motor was facing down with its cable connector, but this prevented increasing the lid thickness to accommodate the perspex and glazing frame. My solution was simple: I just rotated the stepper motor body and reattached it so that the cable connector faces the rear of the printer. I also added a slight wedge shape to where the lid tucks under the centre rail to make the lids hold in more tightly. In my earlier prototypes, I used cynoacrylate glue to hold the three parts together, but the adhesive's fumes stained both the perspex and the PLA and ruined the finish. So, on this version, I used 15-minute epoxy with much better results - although I still managed to get it all over the front of the left-hand glazing frame. This could have been avoided by using masking tape before glueing, but you live and learn! I would print another one, but I don't have any more perspex. Once glued, I used Poundland woodworking clips to hold it all together and let it set overnight. It fitted perfectly, and doesn't look half bad. I will be tidying up the cables within the box in due course, but something has happened to the USB connector on my SKR Mini E3. Octopi won't even connect, and when the SKR Mini is plugged into the PI, it stops the webcam from working. So, I've ordered a new board, and will tidy up when that's in and running. I imagine it could provide scope for case lighting, although I won't be going there myself. I have, however, fitted a Pimoroni on/off shim with an external button to make shutting down more convenient. The button has an integral LED fitted, and I'll get this working once I figure out my first steps in Linux. Finally, thanks again to Michael from Teaching Tech for getting me started in 3D printing and designing such a practical electronics case for Ender 3 enthusiasts like me.
With this file you will be able to print Perspex Lids for Teaching Tech Case with your 3D printer. Click on the button and save the file on your computer to work, edit or customize your design. You can also find more 3D designs for printers on Perspex Lids for Teaching Tech Case.