Phaetus x Zodiac Dragonfly BMS DIY Silicone Sock
prusaprinters
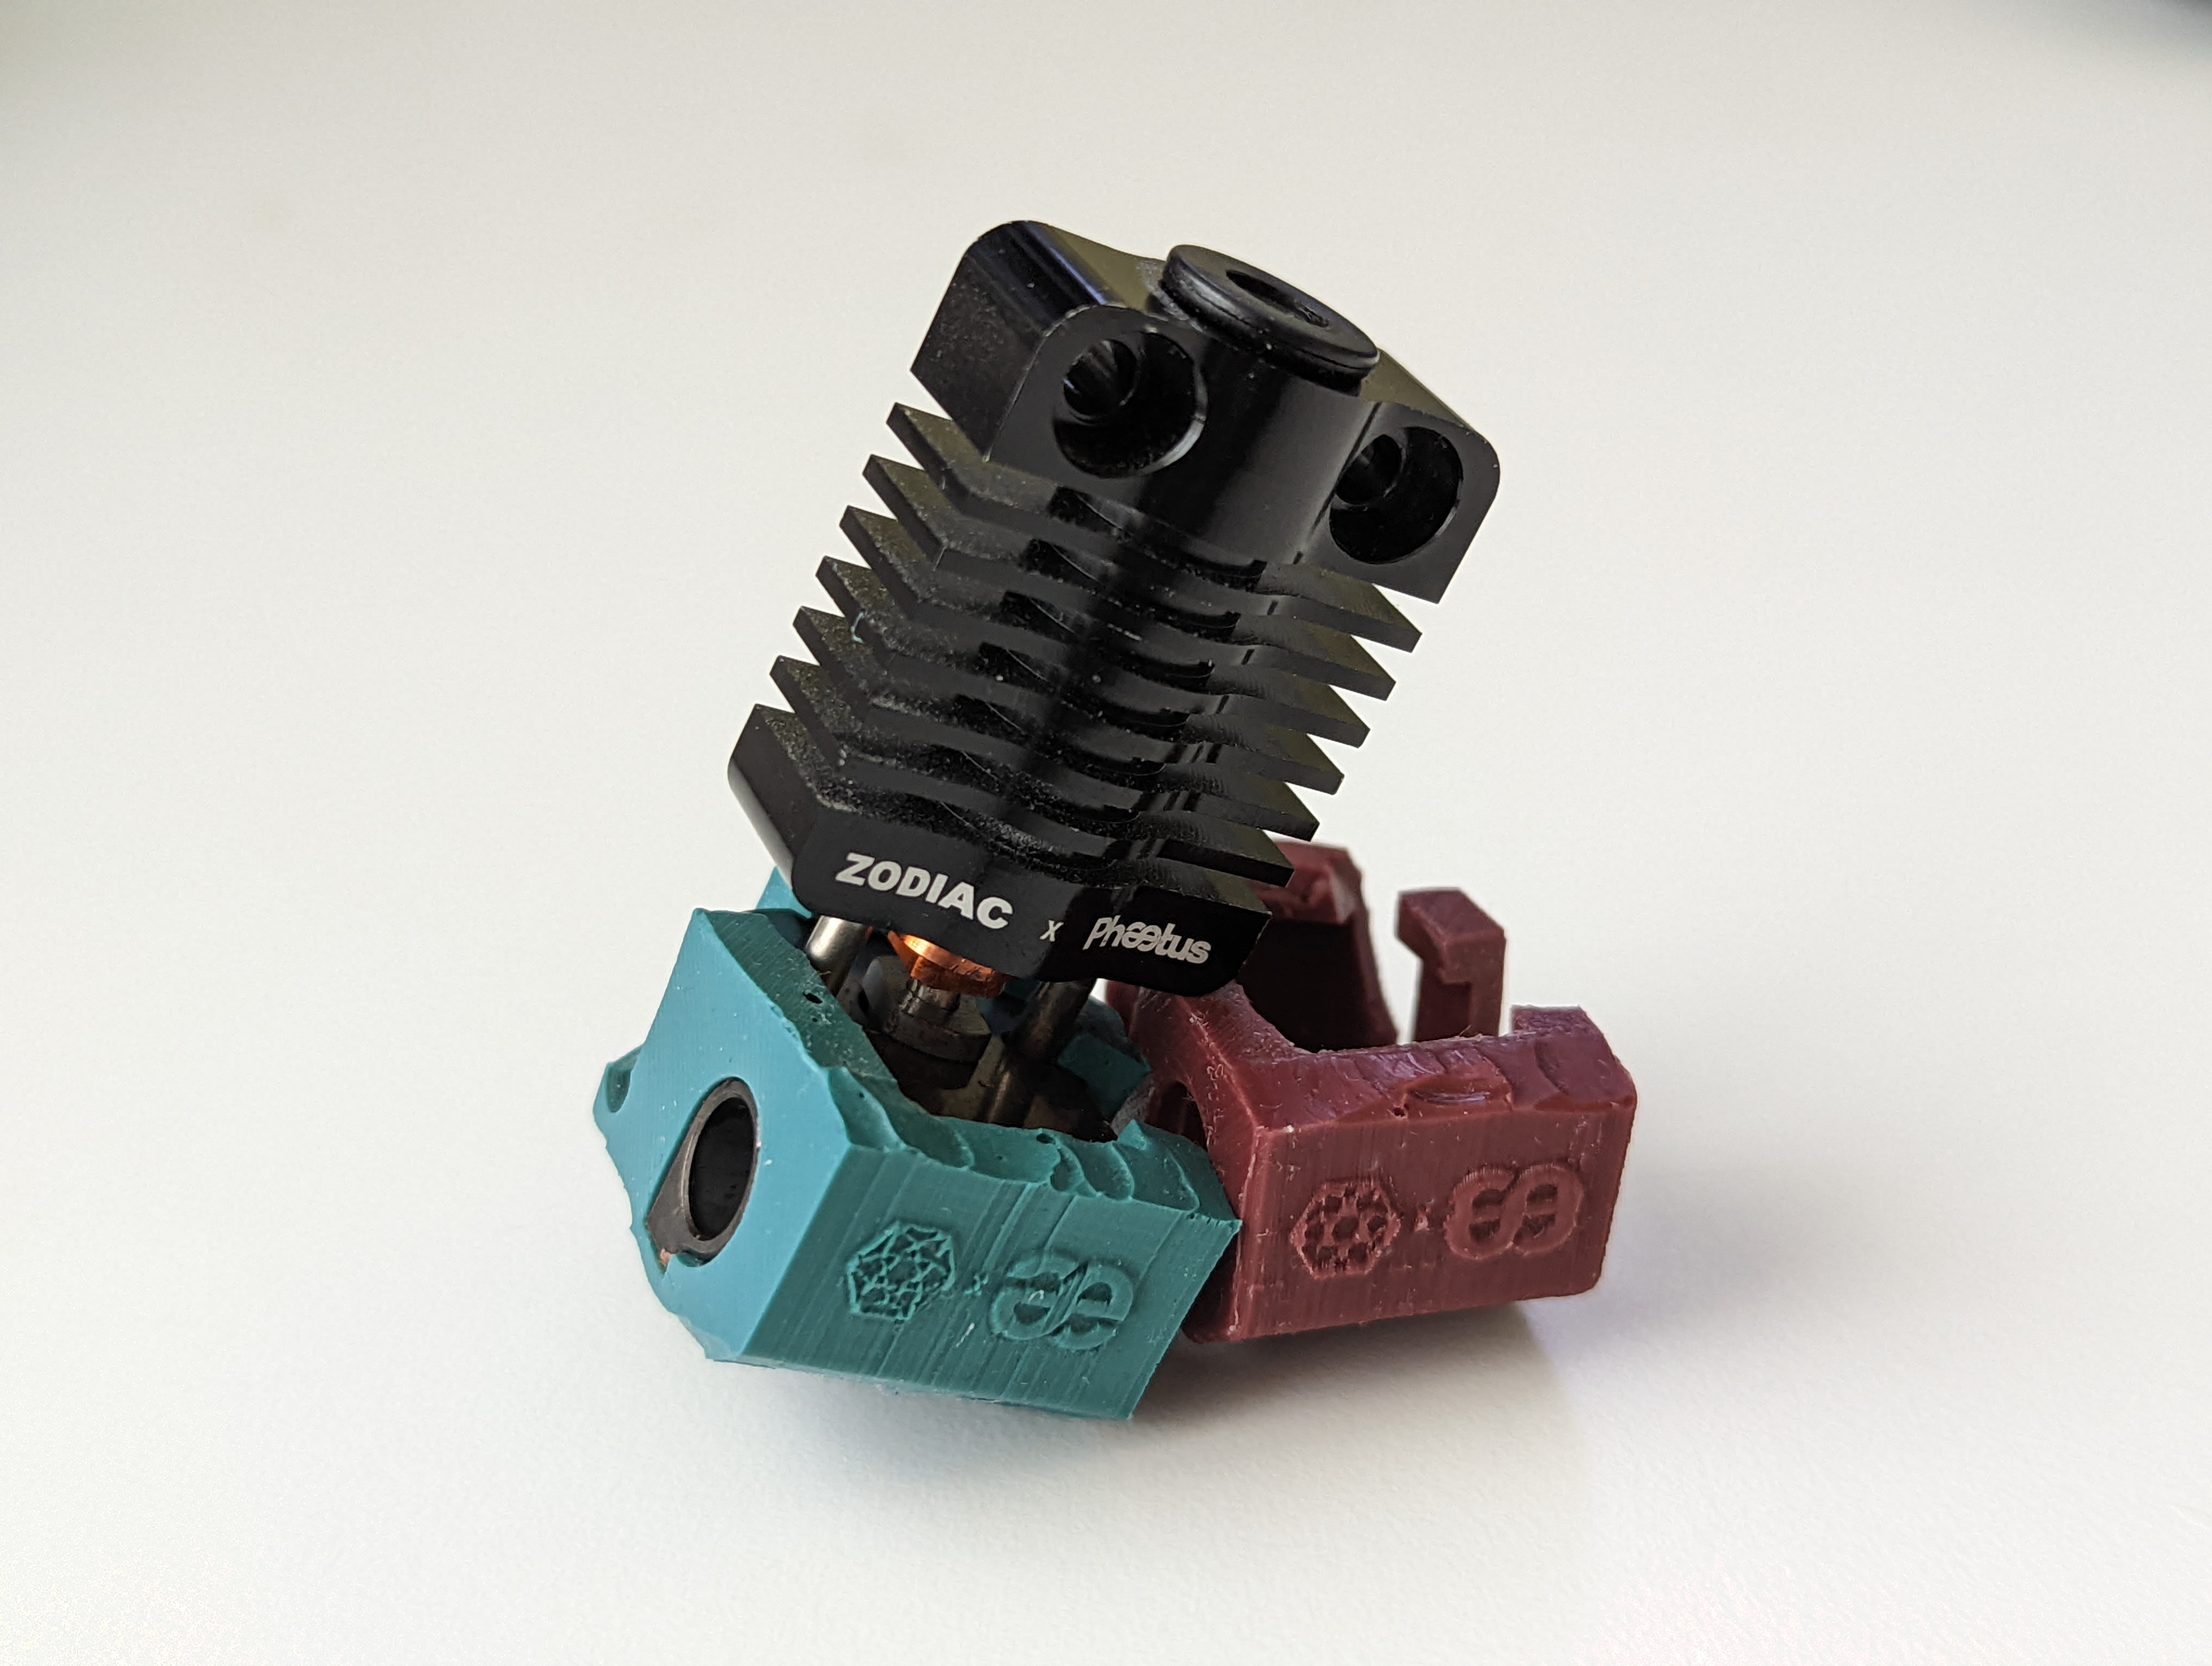
<p><strong>NOTE: The sock in the images is all cut up from having to snip off a bunch of extra silicone in order for it to fit around my Ender 3 X-gantry bracket. Also, even though I have listed this as a remix, I created the entire mould from scratch and followed the video listed below as a guide.</strong></p><p>Following the absolutely excellent video by CNC Kitchen here,</p><figure class="media"><oembed url="https://www.youtube.com/watch?v=O5UiXky85hA"></oembed></figure><p>I was able to design a silicone sock for my Phaetus x Zodiac BMS hotend. I did this because this hotend does not come with a silicone sock (at least as far as I know) and that just led to inconsistent temperatures and multiple min temp errors before and mid-print. I'm pretty sure this hotend is not being sold anymore, so I don't know how useful this will be, but for that one person out there, here you go :).</p><h5>Some background info for anyone who cares</h5><p>I actually made this around a year ago and was using the sock for almost a year with no issues. Unfortunately, I completely ruined the hotend and so got a regular Phaetus BMS.</p><h4>Print Recommendations</h4><p>All 3MF files are already in the optimal orientation. Other settings:</p><ul><li>Nozzle Size: <strong>0.15-0.25mm</strong> nozzle size for best looking results. I haven't tried it with a 0.4mm nozzle but I think it will turn out okay (except for the Phaetus and Zodiac logos on the front). <strong>I used a 0.25mm v6 nozzle.</strong></li><li>Layer Height: Same as above, go with a lower layer height for the best looks. <strong>I used a 0.08mm layer height.</strong></li><li>Print nice and <strong>slow </strong>as this is a small model. Might want to <strong>bring down the speed</strong> or bump up the <strong>minimum layer time</strong>.</li><li>Perimeters: <strong>2-3</strong>.</li><li>Infill: I use <strong>Gyroid </strong>for everything.</li><li>Infill Percentage: <strong>10-20%.</strong></li></ul><h4><strong>Instructions</strong></h4><p>Basically just follow that CNC Kitchen video I linked above like I did and you should be good. Follow all his instructions exactly. I used the exact same silicone as Stephan but I'm sure those <strong>RTV silicone</strong> bottles on amazon should do fine, as long as it's <strong>high temperature-resistant</strong>.</p><p>Once the silicone is cured and you take out the sock there will be an extra rectangular part on the top of the sock. As mentioned in the video, this is an air bubble trap and should be snipped off with something sharp like a pair of <strong>side-cutters/snips</strong>.</p><p><strong>You will also need to cut strips out (as shown in the second photo) in order for the sock to pass through the heater cartridge and thermistor. However, it's probably best to not go cut off too much material as I did for the heater cartridge otherwise you will make the sock's grip on the heater block weaker.</strong></p><h4><strong>Additional Information</strong></h4><p>Just as a side note, the second image where the sock is in the mould is not how it originally came out of the mould haha. I just put the sock back into the mould for the purpose of taking pictures to show on this page.</p><h4>Download</h4><p>In addition to the 3MF files, the project's step file and fusion 360 file is included.</p>
With this file you will be able to print Phaetus x Zodiac Dragonfly BMS DIY Silicone Sock with your 3D printer. Click on the button and save the file on your computer to work, edit or customize your design. You can also find more 3D designs for printers on Phaetus x Zodiac Dragonfly BMS DIY Silicone Sock.