PhatStats PC Stats Desktop Widget
thingiverse
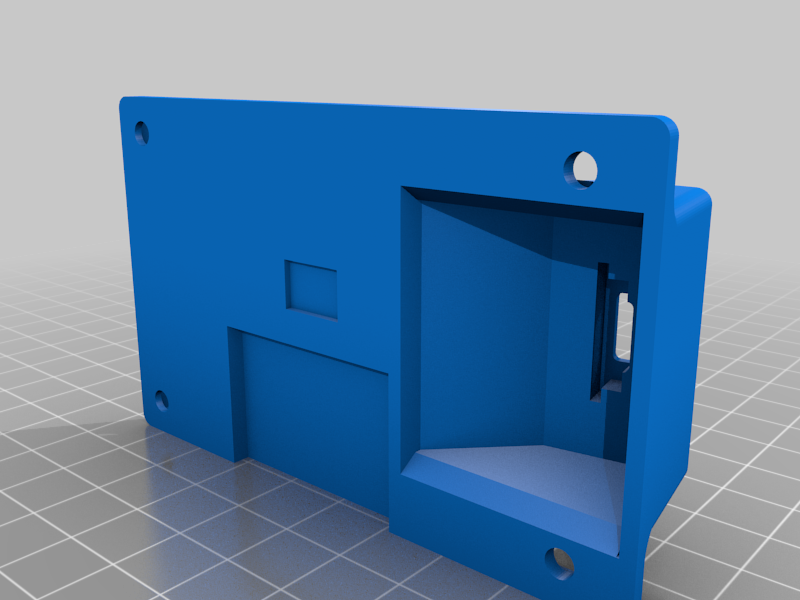
# Overview This is a 3D printed enclosure for a PhatStats TFT setup, for showing your PC stats in style! Information on PhatStats can be found here: * Hackaday: https://hackaday.io/project/19018-gnat-stats-phat-stats-pc-performance-display * Tallman Labs Blog: https://runawaybrainz.blogspot.com/ * Github Project(s): * Hardware Serial Monitor: https://github.com/koogar/HardwareSerialMonitor * PhatStats Code: https://github.com/koogar/Gnat-Stats/tree/master/TFT_PhatStats/TFT_ATSAMD21/PhatStats_TFT_ATSAMD_QT-PY_V1.6.3 # Notes * Print needs supports (my design was a bit lazy in that regard!) * Need: * 2.8" ILI9341 TFT (https://www.banggood.com/2_8-Inch-ILI9341-240x320-SPI-TFT-LCD-Display-Touch-Panel-SPI-Serial-Port-Module-p-1206782.html) * Seeduino Xiao (https://www.banggood.com/Seeeduino-XIAO-Microcontroller-SAMD21-Cortex-M0+-Compatible-with-Arduino-IDE-Development-Board-p-1715861.html) * 4x 7mm M3 bolts * 4x M3 square nuts * 1x right-angle tactile switch (~7.6 x 6.4mm on the face iirc - anything close is fine, as it's largely hot glued in place) * Hot glue or similar * Small silicone wires (28awg or similar) * Soldering iron + solder * Only supports red-PCB ILI9341 TFT + Seeduino Xiao. * Does not include neopixel or encoder support into the design. Amend the code to remove these features as needed. # Installation * Cut/de-solder any pin-headers from the TFT module. * Solder wires between the Xiao and the TFT as per hookup diagrams found here: https://runawaybrainz.blogspot.com/2021/03/phat-stats-ili9341-tft-display-hook-up.html * Use short cables (maybe 3cm max?) + wire in the tactile switch too (maybe a little longer for this, so it can reach the side of the back casing) -- tactile switch goes between RESET (tiny pad near the USB-C connector) and GND (either the other tiny pad, or the main GND pad if that's easier) * See pictures for mine, note that shorter wiring than I used would have made it easier to assemble! * The Xiao should press-fit into the slot in the back of the case, make sure it's as far into the slot as possible, else it will clash with the back of the TFT. Apply a little hot glue to secure if wanted (but really it should be held in by the back of the screen). * Make sure cables run in a way that they won't end up between the back of the Xiao, and the TFT; else they'll get crushed. * Pop the tactile switch into place, and hot glue to secure it. * With the Xiao in place, sit the TFT onto the back case, ensuring no cabling gets trapped * Add the front case into place, and secure with M3 nuts and bolts. * Optionally add the screw plugs for a cleaner look (note that they may need scaling/sanding etc depending on your printer's tolerances) # Print Files / Orientation Notes ### ps-front.stl This is the front-most piece which covers the display. Print it face-side (flat side) down, and add supports-on-buildplate-only, for the screwholes. Though I actually forgot the supports and it still came out OK. ### ps-back.stl This is the back piece, which houses the Xiao/wiring/tactile switch on the back of the display. Recommended to print it with the USB-C slot facing up, with supports inside. This keeps all the rougher edges out of view on the final piece. ### ps-plug.stl These are just screw covers for the front panel. They're optional if you don't mind the screws showing. Tolerances might be fiddly on these parts, so consider sanding/cutting/scaling this part to fit as needed. ### phatstats.step / phatstats.f3d Raw project files in STEP and Fusion360 format for you to adjust as desired :)
With this file you will be able to print PhatStats PC Stats Desktop Widget with your 3D printer. Click on the button and save the file on your computer to work, edit or customize your design. You can also find more 3D designs for printers on PhatStats PC Stats Desktop Widget.