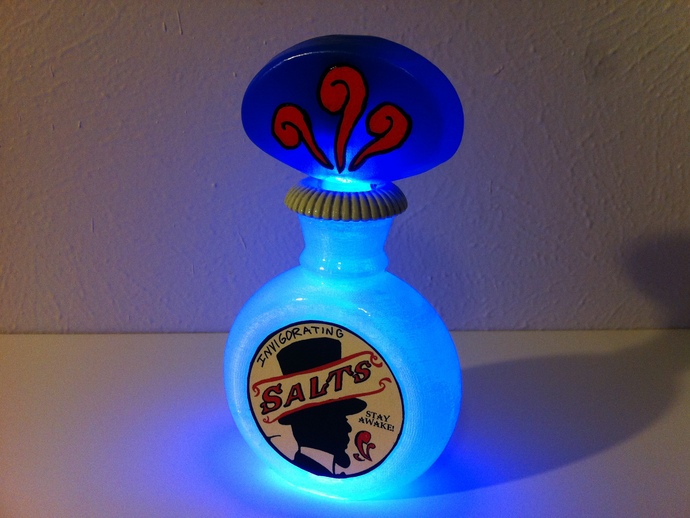
Phial of Salts prop - Bioshock Infinite
thingiverse
Create a prop replica of the Salts bottle from Bioshock Infinite with both static and light-up versions. For the static version, print the neck plug, stopper, neck ring, and bottle using clear ABS filament. For the light-up version, print the neck for glowstick and stopper for glowstick (print in shell mode), along with the other parts as mentioned above. You will need supplies such as clear blue paint, tan spray paint, red chisel tip acrylic paint marker, black fine tip acrylic or oil-based paint marker, sharpie marker, tan printer paper, matte clear finish, chrome tape or chrome Monokote, spray adhesive, plastic welder, and an LED glow stick (for the light-up version). Use a Dremel with sanding drum to remove ridges from the LED glowstick grip, and cut most of the tube off. Paint the stopper and neck ring using Tamiya PS-39 spray can or acrylic paint, then create paper stencils or freehand trace an outline with a fine sharpie. Apply matte clear spray coat to protect the printing on the labels, which should be printed on tan paper and attached to the bottle using adhesive. For the light-up version, use chrome tape or silver monokote to prevent light bleed inside the bottle. Assemble by gluing the neck plug into the bottle with a plastic welder, then attach the stopper and neck ring. The light-up version will be completed by friction fitting the stump of the LED light stick's clear tube into the hole in the neck plug. Happy crafting!
With this file you will be able to print Phial of Salts prop - Bioshock Infinite with your 3D printer. Click on the button and save the file on your computer to work, edit or customize your design. You can also find more 3D designs for printers on Phial of Salts prop - Bioshock Infinite.