Photo Booth iBoothU 4.0
thingiverse
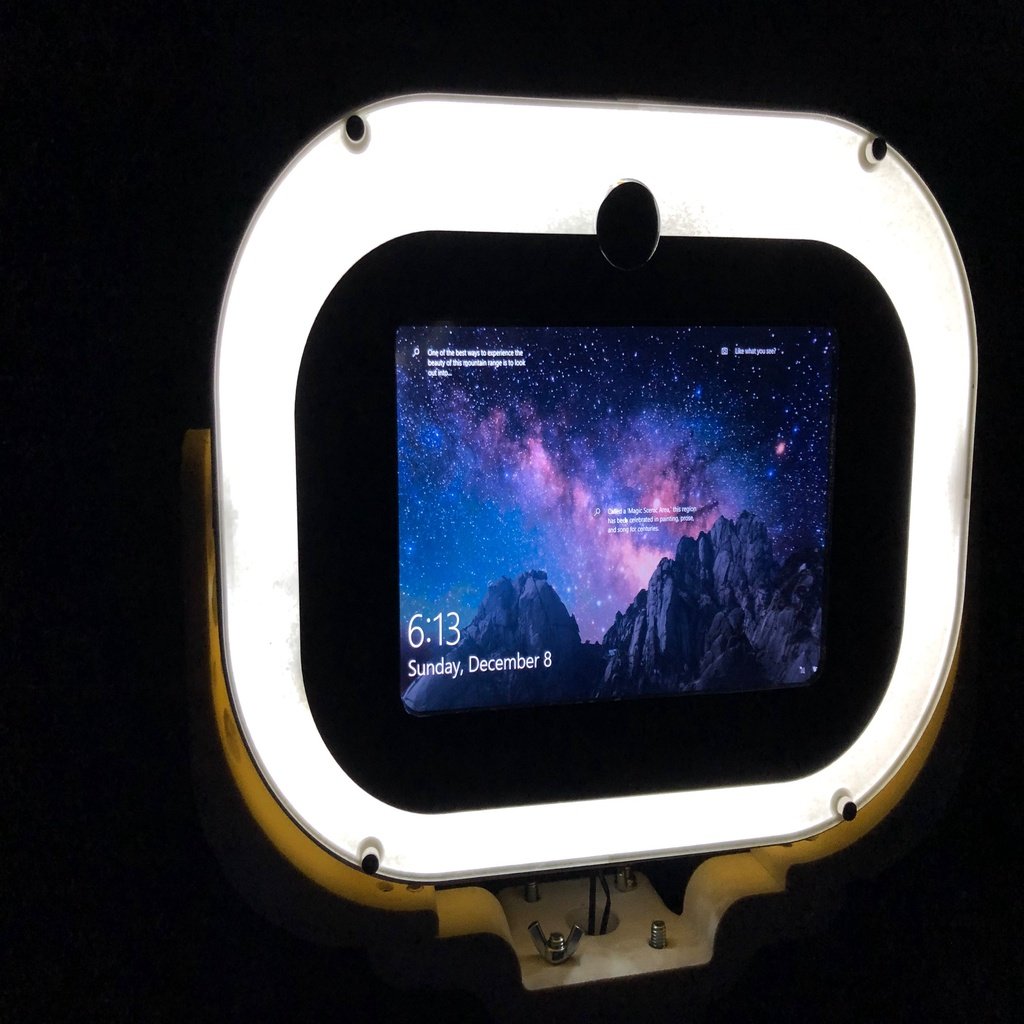
The iBoothU 4.0 is a simple DYI Photo booth. These parts are just for the top shell of the photo booth. the rest of the parts were build years ago for another photo booth so I do not have much info for them. It uses the following electronic parts. RCA Cambio 10inch 2 in 1 Windows 10. Microsoft LifeCam. (Any webcam will work, the hold was just designed for the Lifecam but big enough for any webcam lense) LED Strip for the lights. Hardware: (Lengths of the bolts are up to you) 8x M3 nut and bolts to hold together the printed sides of the shell. 8x M5 bolts to connect the face plate and back plate to the shell. 4x M5 nut and bolts for the arms to the base. M20 bolts to attach the arms to the shell. find a thin nut so it would not block the LEDs and create a shadow if you care. High overview of build process. 1. Get the Electronic. 2. Print the shell parts. 3. Put together the printed parts. I recommend using glue (super glue should be fine), but dry fit them first. You may need to do some sanding to fit them since I did not compensate for shrinkage or over extrution of the printed parts. 4. The nut holes for the base to hold the M5 nuts were made smaller so that you can insert them with a soldering tool and permanently secure them in place (helps with installation and stiffness of the build). Good Luck, hope this is a good start. The rest I leave for you to build and learn from. Be creative!
With this file you will be able to print Photo Booth iBoothU 4.0 with your 3D printer. Click on the button and save the file on your computer to work, edit or customize your design. You can also find more 3D designs for printers on Photo Booth iBoothU 4.0.