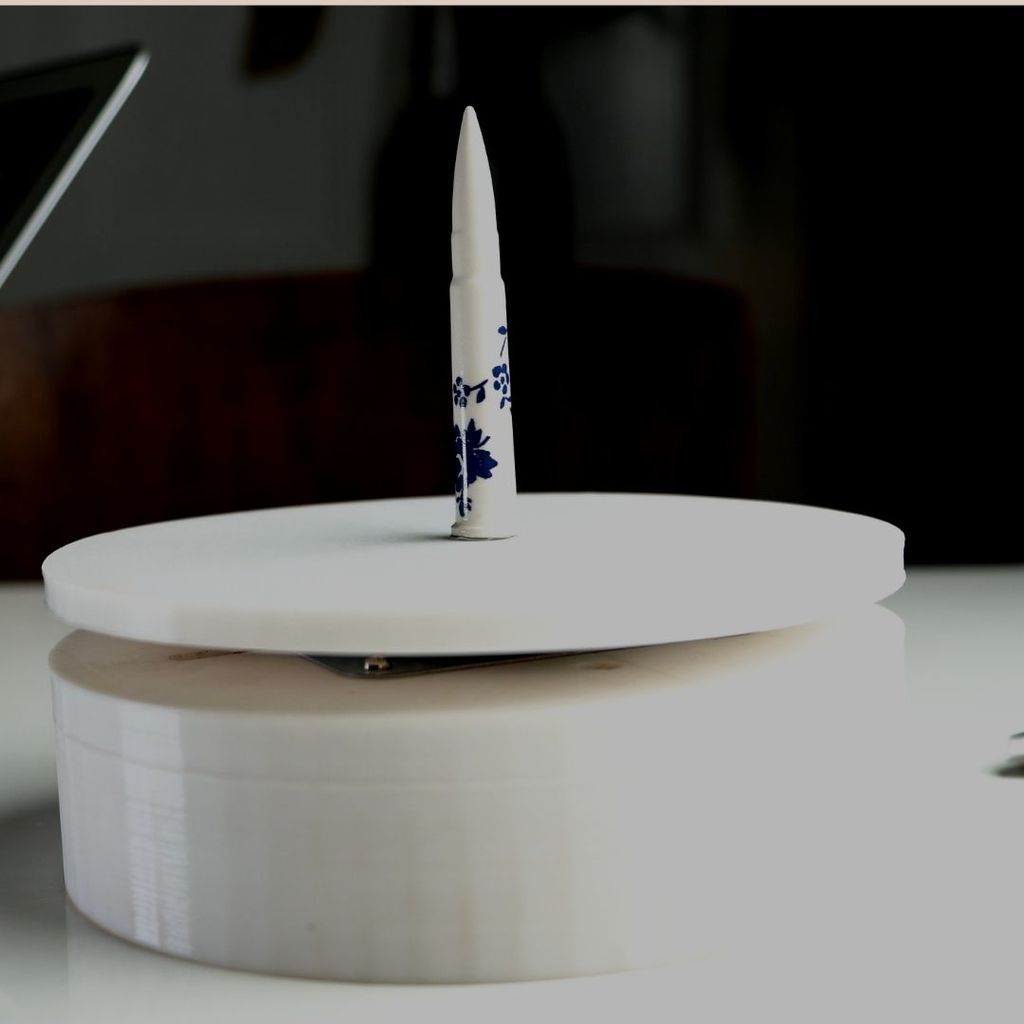
Photography turn table
thingiverse
search wjltech on YouTube to check out the video of this being made! Electrical parts you need: A Raspberry Pi Pico microcontroller board Small integrated bread board with these dimensions 6 male to socket jumper wires and 2 socket to socket jumper wires Arduino power module Stepper motor 28BYJ-48 Motor Driver board with a ULN2003 driver chip Micro usb cable to usb A cable 9V battery and with barrel jack plug connection. Tools: Philips screw driver 3D printer or have access to a 3D printing service locally Vernier calipers for measuring components And a Hot glue gun or blue tac depending on if you want to re-use the components for another project. Hardware: Lazy suzan table bearing assembly 4X #4 size 6mm long self tapper screws 4X M3X10mm screws 4X M3X10 threaded Spacers if you want to check out a YouTube video on how I put it all together and made it work you can check it out here:
With this file you will be able to print Photography turn table with your 3D printer. Click on the button and save the file on your computer to work, edit or customize your design. You can also find more 3D designs for printers on Photography turn table.
