Pi 3B+ Handleld Console shell
thingiverse
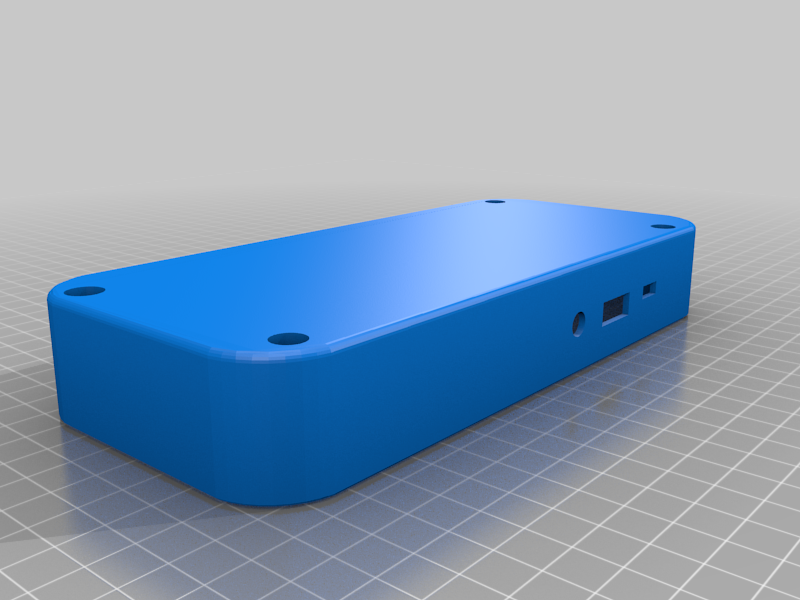
Update 14Aug23: I have not revisited this project yet, but I am reworking the electronics and controls to make it a bit more practical and hopefully more compact and robust. I will leave this here but any version 2 will be uploaded as it's own entry. Any updated parts to this case will be made clear by name. The current models (Faceplace1 and Backplate1) are the first version of this project that I am comfortable enough sharing with the public. I plan to carry on this project but in it's current state, These two models will fit properly together when printed, provided the printer is calibrated properly. I recommend printing with at least four wall lines to ensure sufficient strength of the mounting lugs and offset lip of the case where the two halves lock together. I would also recommend printing both halves face down on a smooth glass bed if you can because this will produce a very nice, shiny surface and once the print is cooled, it will peel right off. But, print it however you like, I'm not your dad. This shell is a work in progress and uses very specific parts that may or may not be as available as they were when I purchased them. I have had the display I used for this design for several years, but I will do my best as I work on this project to provide as much information as I can about the specific parts I am using if you really want to make this exact thing. I DO also have plans to make at least one other design using more common hardware in the future, so that may be coming in the near distant future. I definitely recommend some experience with 3D modeling if you want to use these models and it will make changing dimensions and the positions of specific parts a lot more easy and I can't guarantee I will have the other design ready by any specific date. I have a full time job and I get distracted by new and interesting things all of the time. Parts used for this project: *Raspberry Pi 3B+ (Fully intact, none of the ports have been removed) *Seeed Studios LiPo Rider Plus (For battery charging and power distribution) *LiPo battery PL 1165110 (10,000 mAh LiPo battery) *Display 5" TFT display (Sold as a car backup camera display) *Buttons I recommend checking out RetroModding.com for buttons. They have a fantastic selection and I have purchased lots of things from them over the years. Buttons sized for the original Nintendo Gameboy are what this case was designed around. *Button membranes same thing, I used Gameboy replacement button membranes. Anything you can find that is similar can be made to work, but you may need to adjust some geometry in the models. For the contact surface of the buttons, where the conductive part of the membrane is to complete a circuit when pressed, I simply used pieces of perforated circuit board that I cut and drilled to fit in place. This was a pain in the butt and there is a much better way to do it that I hope to utilize on the planned future version. Wiring can be done a few different ways. You can get dupont cable jumpers online that have at least one female end to plug into the header pins on the pi. Just cut the plug from the other end and solder it. You can also get dupont cable in a roll and solder both sides, or whatever small gauge hookup wire you have handy. It was definitely helpful to me to label each wire so all of the soldering to the Pi could be done at once. Speaking of wiring and setting up the Pi, there is an abundance of documentation and instructional videos on the internet that cover this subject. I would recommend looking into RetroPie and Gameboy Zero GBZ projects that others have covered.
With this file you will be able to print Pi 3B+ Handleld Console shell with your 3D printer. Click on the button and save the file on your computer to work, edit or customize your design. You can also find more 3D designs for printers on Pi 3B+ Handleld Console shell.