Pi-Cam
thingiverse
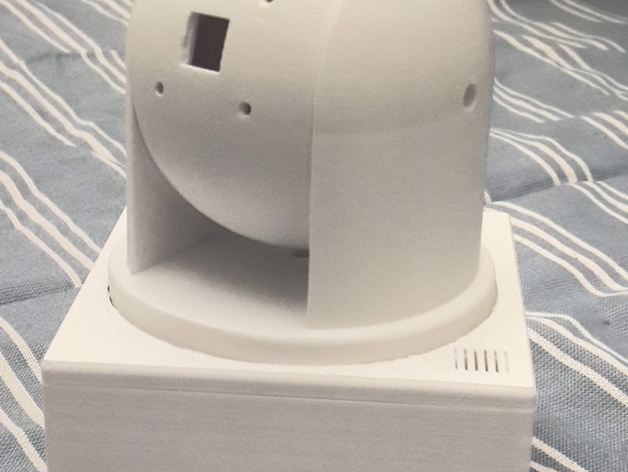
Here is a high-quality first version of the Raspberry Pi camera that offers excellent pan and tilt functionalities which were previously not possible to find with standard Raspberry Pi camera configurations.\nThe need to make one came from my personal interest in getting this type of feature set out for myself so I decided to do some engineering on it, requiring me to spend some quality time tinkering (soldering, connecting electronic components, etc.) to make the device function.\nYou can see that the entire system works as intended thanks to the support from Github which you can find with a link located in a short post at my website for people interested.\nIf anyone wants to try this setup please give it some time before reporting on it because there are currently two areas of development requiring immediate attention to work seamlessly. The main points are listed below: I. Camera flat cable could become problematic over long periods so, for that reason alone I recommend the change to a round one in order to solve issues down the line II. Requiring the removal and then inserting SD card release is another area which may have a solution ready by next release, this however would need testing
With this file you will be able to print Pi-Cam with your 3D printer. Click on the button and save the file on your computer to work, edit or customize your design. You can also find more 3D designs for printers on Pi-Cam.