pi zero & adafruit CSI/DSI mount for 2020 frames
thingiverse
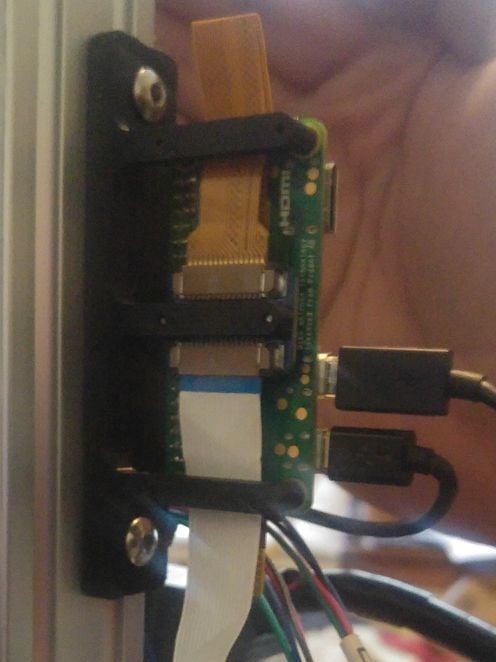
I'm creating another frame part from scratch. This design was inspired by a base model, but I encountered issues modding it, so I made one from the ground up. Choose the right parts based on your chosen screws for building the frame. A test file is also included to check tolerances for 2mm screws. Parts needed: - A printer with an aluminum extrusion frame. - 6x M2 screws in 4-6mm length (I used 5mm countersunk screws leftover from another project). - 2 mounting screws (varieties included for M3s, M4s, and M5's) - I used leftover M5 button head with a length of 10mm. - 2 mounting nuts for the mounting screws (I used M5 drop-in nuts bought off eBay). - A Pi Zero (I recommend using a Pi Zero W). - A Pi Zero CSI cable. - An Adafruit CSI/DSI adapter. - A Raspberry Pi CSI/DSI cable. For assembly, I left enough clearance to mount the CSI thing under the Pi Zero. If unsure, you can mount it on the bottom of the mount. There is also enough clearance on the mounts to run the CSI cable between the zero and CSI/DISI thingi. Here's how to assemble: 1. Mount the CSI thing using 2 M2 screws with slots facing the bottom. 2. Attach the Pi Zero's CSI cable to the CSI thing and mount it to the pi. 3. Mount the pi using 4 of the 2mm screws. 4. Crease the CSI cable and make it as flat as possible, no need to be exact. 5. Mount this to your frame in any way you want. 6. Run the CSI cable to the camera folding it as needed. Please let me know if you encounter any issues with this design.
With this file you will be able to print pi zero & adafruit CSI/DSI mount for 2020 frames with your 3D printer. Click on the button and save the file on your computer to work, edit or customize your design. You can also find more 3D designs for printers on pi zero & adafruit CSI/DSI mount for 2020 frames.