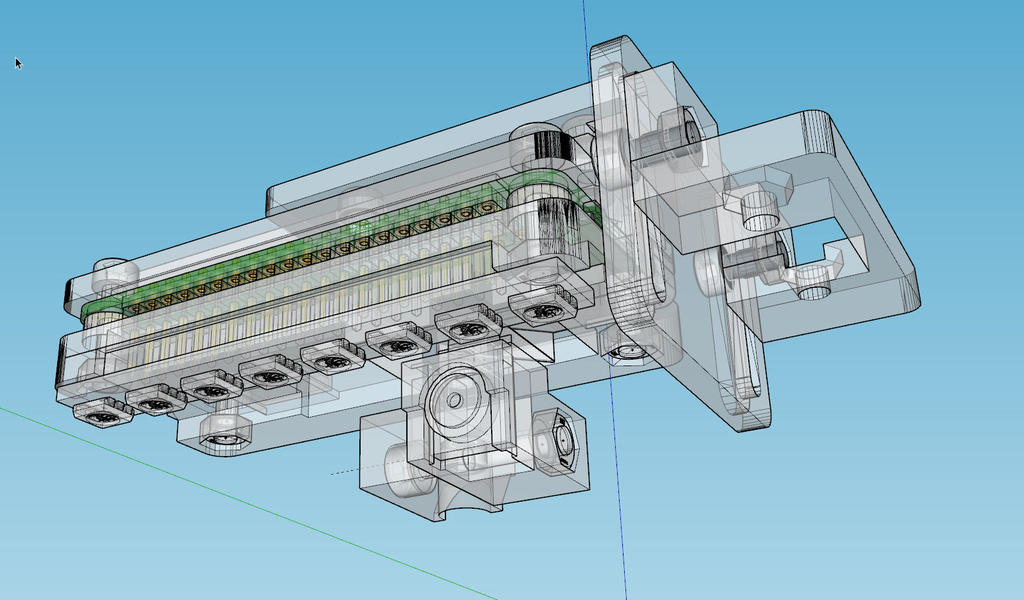
Pi zero W using spy camera for printer monitoring
thingiverse
<u>__**[UPDATED]**__</u> June 23, 2019 - Code Added for LED Lights and Video Embedding. Final Approach Outlined for Webcam Software. This project combines multiple components to create an extruder level monitoring webcam that stays with the extruder, not just statically observing the plate. <iframe width="640" height="480" src="https://www.youtube.com/embed/04y0zdrO2UU" frameborder="0" allow="accelerometer; autoplay; encrypted-media; gyroscope; picture-in-picture" allowfullscreen></iframe> **Raspberry Pi Zero W with Headers** https://www.adafruit.com/product/3708 **Adafruit Spy Camera with 2" Ribbon for Size and Light Weight** https://www.adafruit.com/product/3508 **Adafruit LED Strip that Directly Plugs into the Header, Allowing Full RGB Control and No Voltage Supply Issues** https://www.adafruit.com/product/3195 The design allows for camera adjustments on multiple axes, enabling aiming at any chosen target, not just the print head. This design is specific to i3 plus printers with relocated cooling fans (typically in the back) and accommodates BLTouch probe use. For Octoprint users, I recommend installing the Multiple Cam plug-in and setting up the Pi Zero W as a webcam using MotionEye. However, I did not use MotionEyeOs due to its limitations, which prevent running code that turns on LEDs and interacts with Octoprint. **Multicam Plug-in:** https://github.com/mikedmor/OctoPrint_MultiCam You will need: * FOUR (4) M2.5 x 12 cap screws and nuts for the circuit board * ONE (1) M3 x 16 cap screw and nut for the z-axis camera adjustment * ONE (1) M3 x 12 cap screw and nut for the horizontal polar axis camera adjustment * TWO (2) M3 x 8 cap screws and nuts if using the BLTouch adjustable mount If not using the BLTouch mount, use shorter M3 screws to secure it to the front bracket. You do not want longer screws, as they may contact the circuit board. There is a leave-out on the board above the SoC for those who want to add a heat sink. Additionally, you will need something like this (https://www.thingiverse.com/thing:2783239) to focus the camera, as it's preset for 50cm to infinity.
With this file you will be able to print Pi zero W using spy camera for printer monitoring with your 3D printer. Click on the button and save the file on your computer to work, edit or customize your design. You can also find more 3D designs for printers on Pi zero W using spy camera for printer monitoring.
