Pi Zero4U case + 2.8" TFT Touchscreen
thingiverse
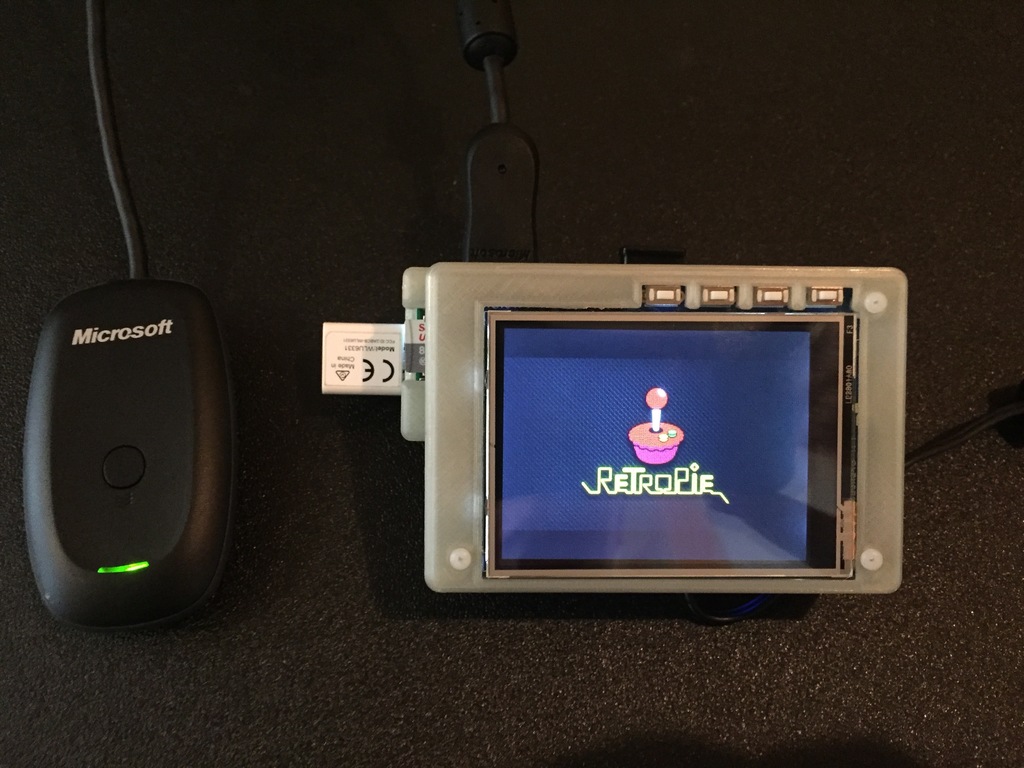
I really like ttocsneb's Pi Zero4U case, and he was kind enough to post the STEP files for easy modification. I had an older Adafruit 2.8in TFT touchscreen for a Raspberry Pi 1 A/B with the old 13x2 GPIO header that I hadn't been using but wanted to. This case was perfect to modify to also enclose the TFT. It sits nicely on the RPi Zero GPIO header, and when on it sits at a good viewing angle. I just needed to mod those STEP files, thanks ttocsneb!!! This case, TFT screen combo is very minimalistic, but that's what I like about it so much. It functions well, and provides a good viewing angle when using the TFT screen. I have provided my STEP files, and so has ttocsneb, so this design can be modified as much as anyone wants. I really look forward to seeing how others might modify the design and use it as a basis to customize it for their uses. STEP files can be opened in many design software packages, including Autodesk's Fusion 360, which is free. I am already considering customizing the open space below the TFT screen to include the components needed to run this setup off of a rechargeable battery. Snap fit would also be great, as ttocsneb's original design snaps together perfectly. The TFT screen makes it difficult, but I think it could be done with enough thought. The first number in the file names refers to what changes I made. I have included STLs and STEP files, both with the same names: 1. I deepened the GPIO cutout 1mm into the interior of the body and added the back plate for mounting the TFT display. I also raised the HDMI and micro USB openings 1mm each. 2. Everything is the same as #1, but I also enclosed the GPIO header cutout to give the case a cleaner look now that the GPIO's are in use. 3. This is the enclosure or wall that surrounds and protects the TFT when mounted. The TFT rests on the pads on the interior of the walls giving it support when using the touchscreen. 4. This is the Bezel that sits on top of and covers the TFT, exposing only the screen and buttons of the TFT. 5. This is the same Bezel as #4 but without the printing between the buttons of the TFT. The portion of the case that goes over the Zero4U USB hub was not modified in any way. It can be found with the Original Zero4U case by ttocsneb. I have secured the entire modification to the case with three 2mm nylon bolts 20mm long and nylon nuts. Enjoy, Matt
With this file you will be able to print Pi Zero4U case + 2.8" TFT Touchscreen with your 3D printer. Click on the button and save the file on your computer to work, edit or customize your design. You can also find more 3D designs for printers on Pi Zero4U case + 2.8" TFT Touchscreen.