Picasso Squish Ingot Bed Level Calibration Test
thingiverse
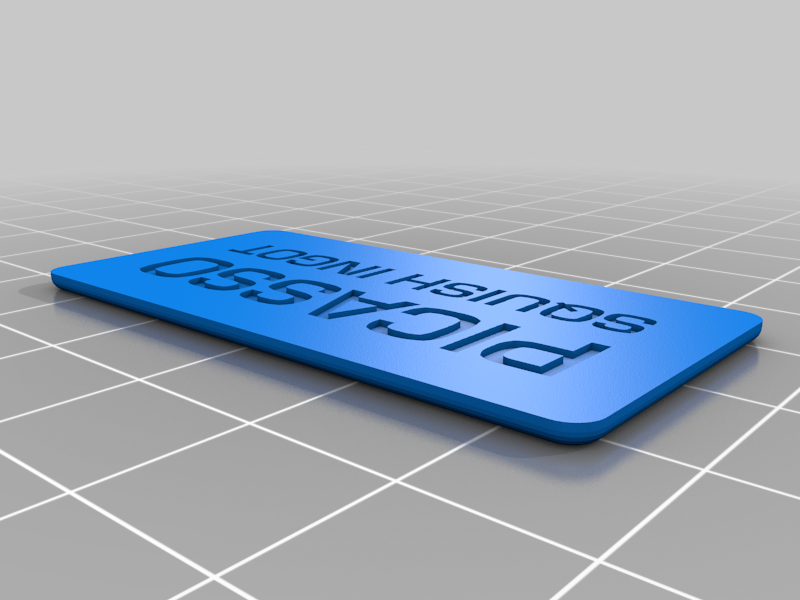
**Be sure to check out my other calibration items:** https://www.thingiverse.com/thing:4769286 - Calibration Cube https://www.thingiverse.com/thing:4769155 - Calibration Coin (Test for filament change) https://www.thingiverse.com/thing:4827644 - Squish Ingot LITE (<12 mins print at 0.12 resolution) Don't waste time waiting for a complete cube or Benchy Boat to print to find out if you need to adjust and calibrate your bed. Bed Leveling (or to give it the correct title, TRAMMING) - One of the most important, not to mention time consuming things we do to our 3D Printers. Especially if you get it wrong. Lost time, spoiled spaghetti like filament, 'elephants foot' - These are all soul destroying. And I couldn't find a quick test to run through the printer once I'd thought I had the perfect level, so I created one. Introducing the squish ingot - It's a really simple concept. Print the 1.5mm x 50mm x 25mm ingot and see the results. It's designed to fail if you bed is outside of tolerances, but also designed to help identify quickly if there are minor adjustments you still need to deal with. I firmly believe that if you have a level and clean bed*, you don't need additives, such as glue, hairspray, etc of any kind. So what should you expect? Well there are 5 rows of small text on the underside of the ingot. If your hot end is too close to the bed, the text will appear super thin, or perhaps not even be visible at all. Start moving your hotend further away from the bed. If you are using Z offset, the start to reduce the - number you start with (ie, if you test print with -2.50 and the text is too thin or not there at all, reduce that number to -2.45 and try again. It may take a few goes, but once you have it, you have it). If your hot end is too far away to the bed, the print may fail. If it fails, level the bed and/or increase the z offset (-2.50 becomes -2.60) and try again If your hot end is a little too far away from the bed, but it is not failing, the text will appear overly bold and/or not recognisable as a letter. If this is the case, increase the z offset a little (-2.50 becomes -2.55) and try again You may never get a perfect print, but this is about being good enough. Stopping prints from failing. You can also check the dimension with a set of calipers to check for other calibration. The print should be exactly 25mm wide, 50mm long and 1.5mm deep The ingot is designed with rounded edges on the underside to make removal from your bed, even when too close, easy. PRINT at 0.20 quality or better (I have tested this up to 0.34 but it's not as accurate) with 100% infill. it should be solid - It's only 1.5mm thick. *CLEAN YOUR BED - A lot of prints fail because the bed is not clean. Even if you are wiping down with IPA between prints, oily residue from your fingures can remain and this is a sure fire way for the filament not to adhere and the print to fail. Remove your bed and wash it like a dinner plate, with soapy water. Dry it thoroughly and keep your hands off the bed when you reinstall it.
With this file you will be able to print Picasso Squish Ingot Bed Level Calibration Test with your 3D printer. Click on the button and save the file on your computer to work, edit or customize your design. You can also find more 3D designs for printers on Picasso Squish Ingot Bed Level Calibration Test.