Pieces: What will you create?
prusaprinters
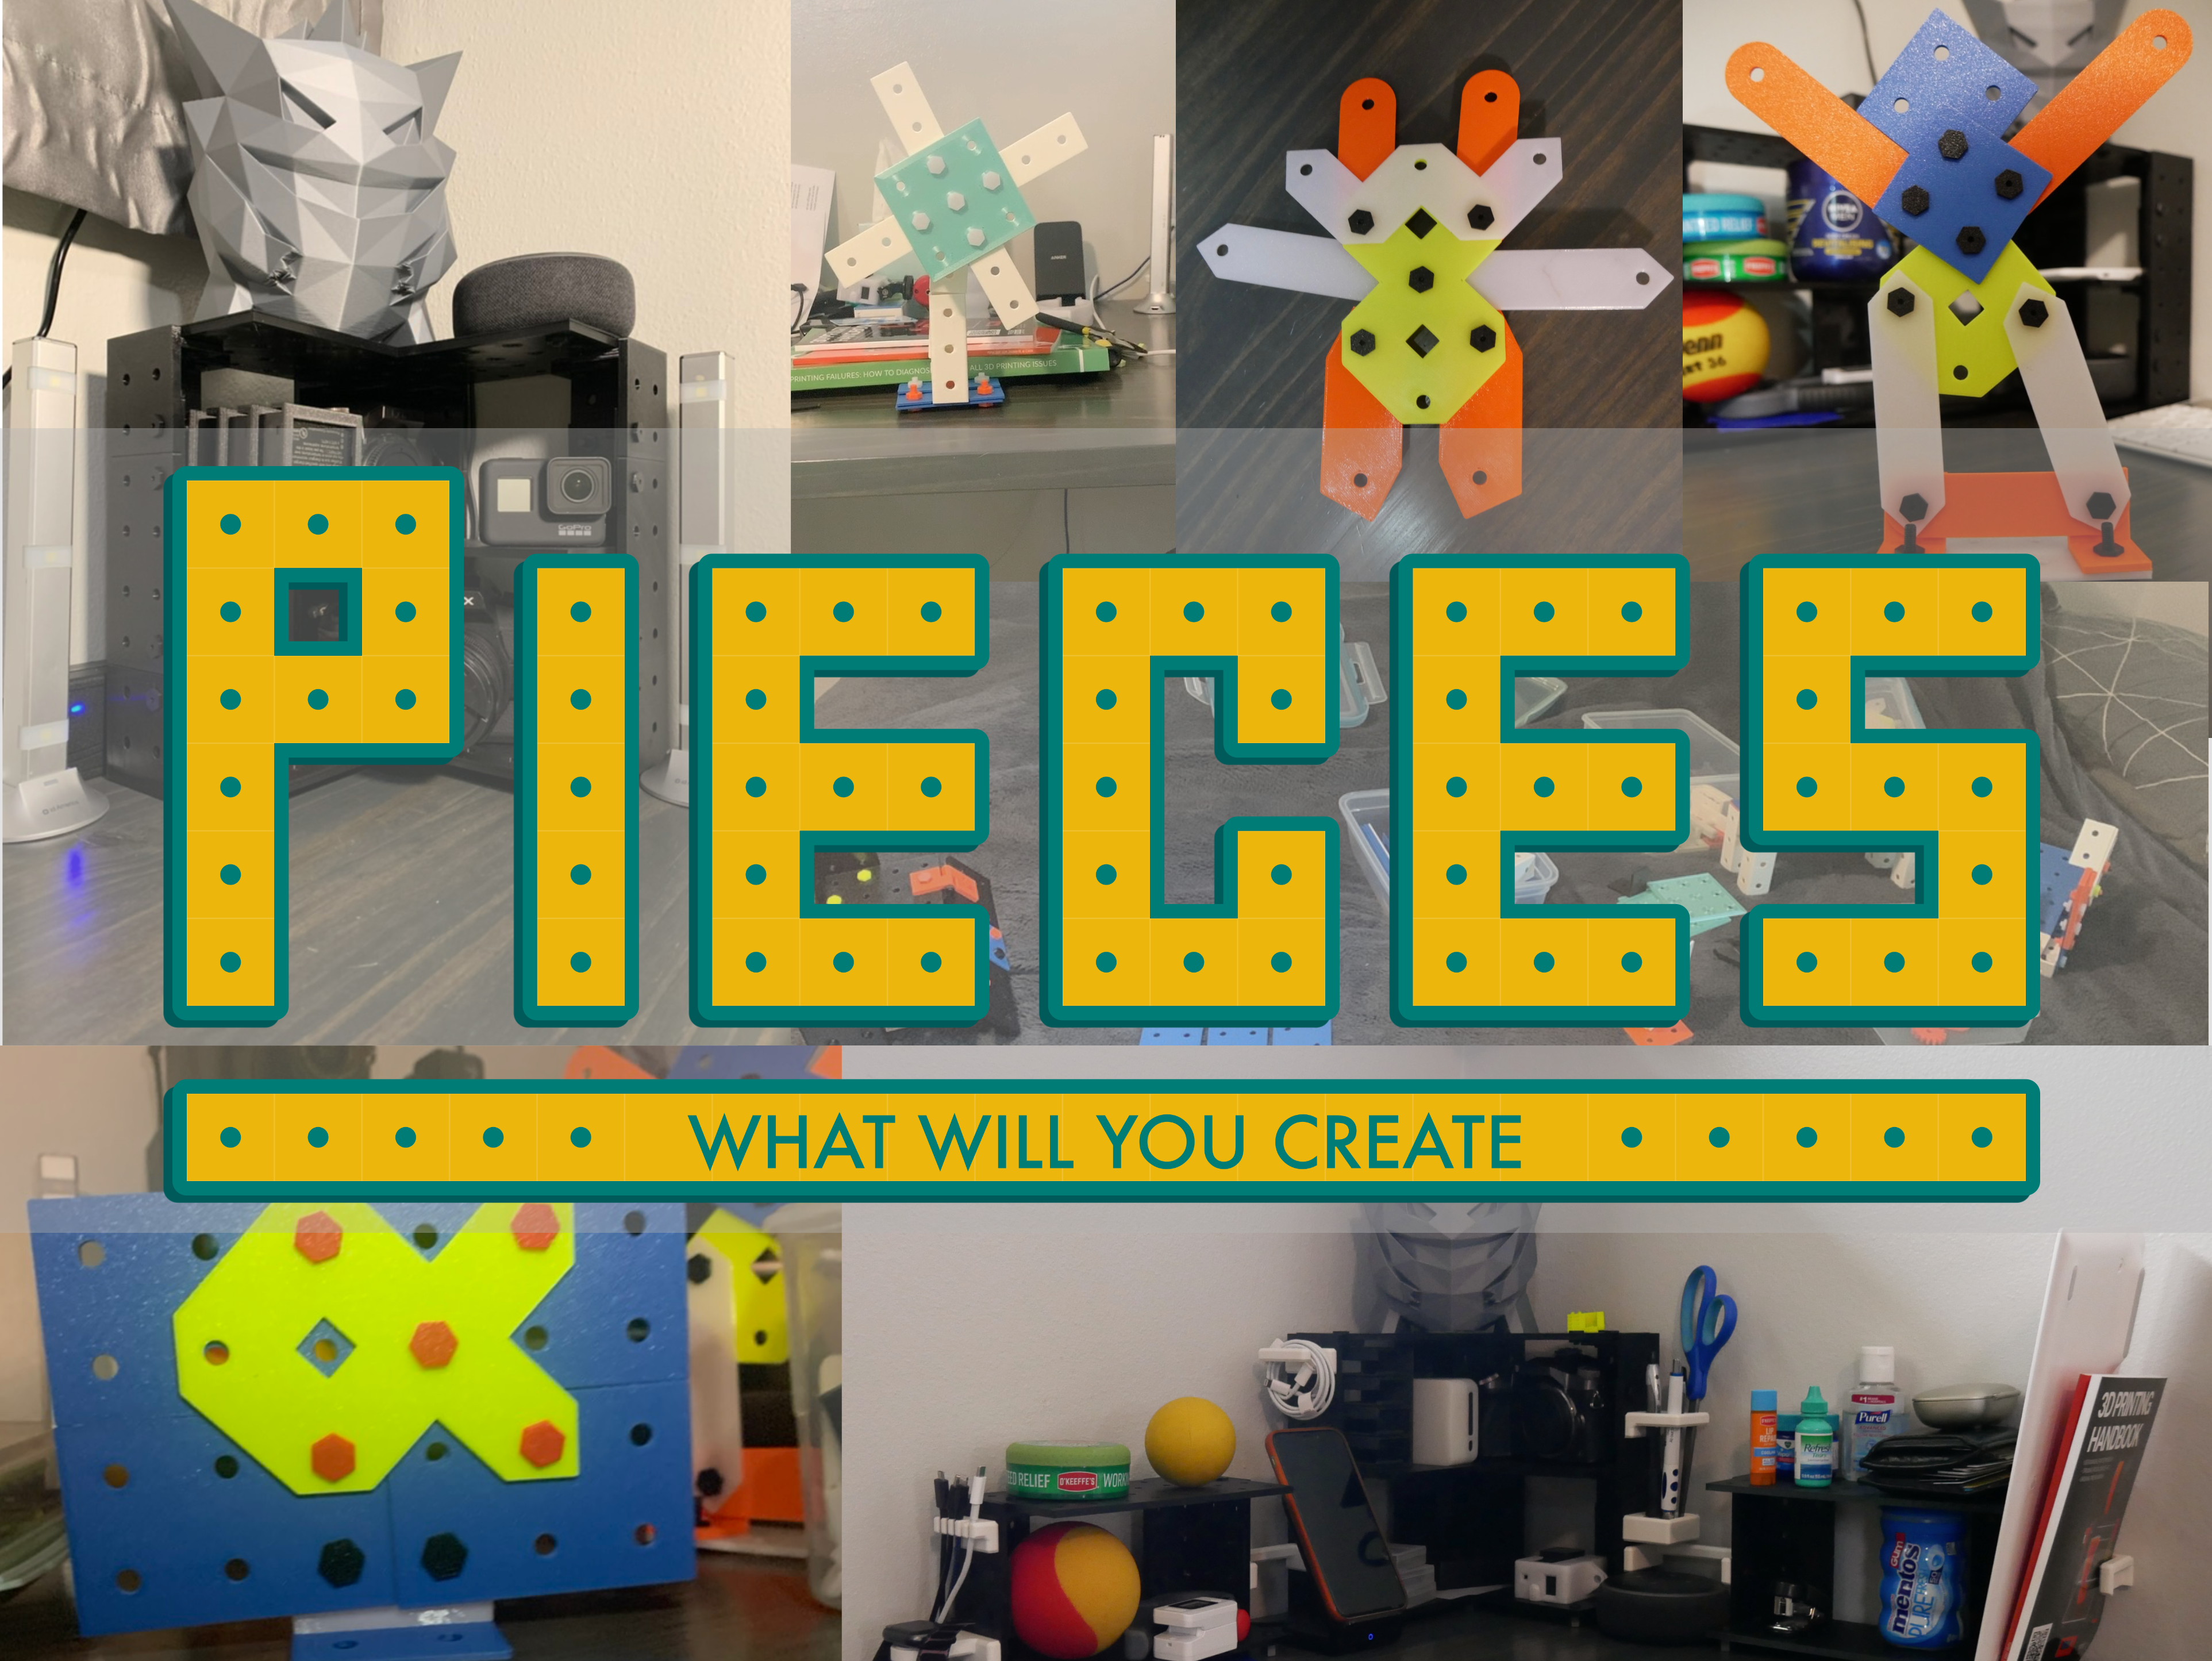
<p> At the beginning of the year, I found myself wanting to learn a new skill. I chose to learn how to design in CAD. I decided to use the free open source FreeCAD for learning. I am the type of person that learns by doing their own project, and saw that my desk was getting very cluttered and unorganized. So I had found my project. I spent a few months working my way around the program to get comfortable with it, viewing YouTube tutorials when I needed, hoping that would help me with my project, occasionally going back to watch the same YouTube video, understanding what I was doing, finishing my desk shelf, realizing this project was very reminiscent of past occupational therapy for my fine motor skill lacking right hand, making attachments to add to the shelf, deciding this would also translate well to a STEM toy for nephews and niece, making a bunch of pieces for them to play with, and enjoying creating objects with them. The culmination of that work is Pieces. The question is: What will you create?</p><p> </p><p><strong>The main pieces</strong></p><p> All the pieces share this main piece, which is a square with sides of 25.4mm and a hole with a radius of 3mm in the center. This main piece is repeated in difference ways to make the larger pieces to suit a project. For my project, I repeated the pieces next to one another on one plane for my shelves and on multiple planes for the brackets. I designed my desk shelf to be modular, so I could add more shelves either vertically or horizontally if my needs change. I use 5mm thickness for all the piece of my shelf and do not have any worries about the sturdiness.</p><p> For the STEM toy part of my project, I settled on using 2mm thickness. I tested different thickness and came to the conclusion that 2mm was the right combination of strength while still maintaining some flex and print time. </p><p><strong>Nuts and bolts</strong></p><p> For simple connections, I found these bolts to work fairly decent. Sometimes the threads do seem a bit tight, but tightening the nut through the threads of the bolts works to pre-loosen the thread before using them. I did find that, even with me printing solid, some filaments were more brittle than others. For the most part there weren’t too many issue, but the heads of some bolts occasionally snapped off. Unfortunately, the horizontal layer line are the weakness for these bolts. In my experience, for 90% of use cases printing screws should be fine. I would recommend printing extra for lighter projects and buying machined bolts for heavy duty projects. </p><p> Occasionally my right hand was not cooperating when pan tightening the nuts and bolts. It was necessary for me to design a few tools to be print for helping to tighten and loosen the nuts. </p><p><strong>Hinges and Gears</strong></p><p> These were added to give the option of building movement to our creations. I was able to have the print in place hinge print great vertically, but horizontally the inner pin stuck too hard to rotate around sometimes. I also have a single part of the hinge to print twice and put together with the pin of ones choosing. </p><p><strong>Shelf attachments</strong></p><p> Because the main reason for this project was creating a shelf for my desk, I also found that adding little attachments to the side of the desk made it much more functional. All can be attached to the side of the shelf using one of the bolts with 2mm head. I needed to keep my most used cables in order, so I didn't have the usual tangled mess all over my desk. I also had to find a way to organize my pens so they weren't thrown randomly on my desk. I wanted to see if I could attach my Apple Watch charger to decrease the footprint of all my chargers on my desk. When adding additional shelves, my brain told me that they need to have equal space. Occasionally I do also have books and an external keyboard that if I could stack vertically would take up significantly less space on my desk when not in use. So I created all these attachments to be able to slide on the base easily, but be able to change the attachment I need if my use case changes in a few months. </p><figure class="image image-style-align-center image_resized" style="width:50%;"><img src="https://media.printables.com/media/prints/161489/rich_content/d9d8f5ff-0d1d-473d-9d98-cabf2ab5e67e/attachmentandbase.gif#%7B%22uuid%22%3A%221291e64a-0014-4c21-92e6-be841a02eb15%22%2C%22w%22%3A600%2C%22h%22%3A337%7D"></figure><p> Most of this project was able to be printed in PETG or PLA. I used PETG for the most part because I had more of it at the time. I can say that I learned a lot through this project, made something useful for myself, and modified it to also have fun with the kids also. I have included my FreeCAD files and tried to clean them up, however I cannot make any guarantee that my organization or ways of making the parts will make sense. I was learning of multitude of different ways of doing stuff. If you have any questions or would like to see a Piece that you cannot create please feel free to contact me.</p>
With this file you will be able to print Pieces: What will you create? with your 3D printer. Click on the button and save the file on your computer to work, edit or customize your design. You can also find more 3D designs for printers on Pieces: What will you create?.