Piggy Bank, Coin Bank
thingiverse
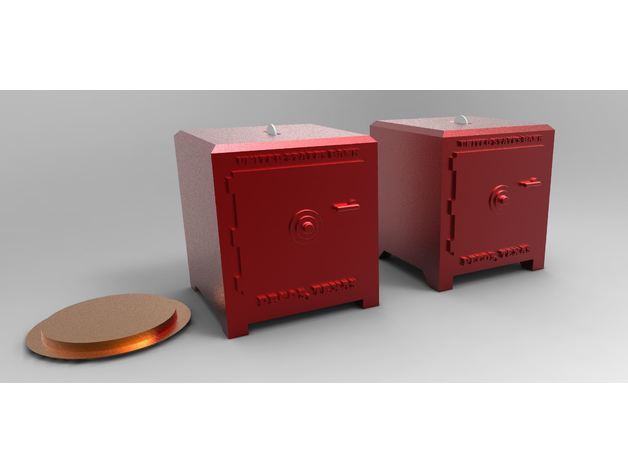
UPDATED 8-7-17 Caution: according to Simplify3d it will take over 20 hours to print on a Prusa in Fast Mode at 15% infill. I am going to print one when I have time with a brim. Here are two versions of a piggy bank. One has an opening on the bottom and a plug and should be printed with supports. The other is a one piece bank that should be printed WITHOUT supports. It is hollow and roughly 5"x5"x5". The slot at the top should handle up to a quarter. Coins can be shaken out The one piece version intentionally does not have a way to open it other than cutting it open. The two piece version has a friction fit plug that should be glued in place with some flexible glue that you can remove to be able to open it. I have uploaded two versions fo the file, both are meant to be printed with the safe positioned with its back on the print bed, door facing up. One requires supports the other does not. See the Misc. Notes section. Print Settings Printer Brand: Ultimaker Printer: Ultimaker 2 Rafts: No Supports: Yes Resolution: 0.2 Infill: 15-20% Notes: I would do 3 layers on top, bottom and sides in PLA as I am guessing ABS will crack without a carefully controlled environment. 8-17 One Piece Bank no supports.stl: This is completely hollow and has 45 degree angles inside and on the feet to eliminate the need for supports. Print it in PLA on its back. 8-17 Bank body with bottom hole and 8-17 bottom plug: The bank body should be printed on its back with supports. The plug should be printed without supports with the larger diameter surface facing down. The angles are 45 so it is self supporting. It is a friction fit, but glue in place since it will pop out with the bank is full of coins. It should fits an Ultimaker, Makerbot Replicator 2, and a Prusa. Post-Printing Remove any supports you print with on the two piece version if you print the one piece version there is no post processing required unless you decide to print this with a skirt/brim. On the two piece version remove the supports in side the bank body. Put in the bottom plug with a flexible glue to hold it in place. How I Designed This Designed in Spaceclaim Not much to doing this. The lettering was done as a detail note and then I used the Project feature to transfer the outlines to the surface. They were then pulled to the thickness I wanted them. Horizontal surfaces were made so they have 45 degree angles to eliminate the need for supports on the outside.
With this file you will be able to print Piggy Bank, Coin Bank with your 3D printer. Click on the button and save the file on your computer to work, edit or customize your design. You can also find more 3D designs for printers on Piggy Bank, Coin Bank.