Pimoroni Enviro+ Super Deluxe Indoor Air Quality Housing
prusaprinters
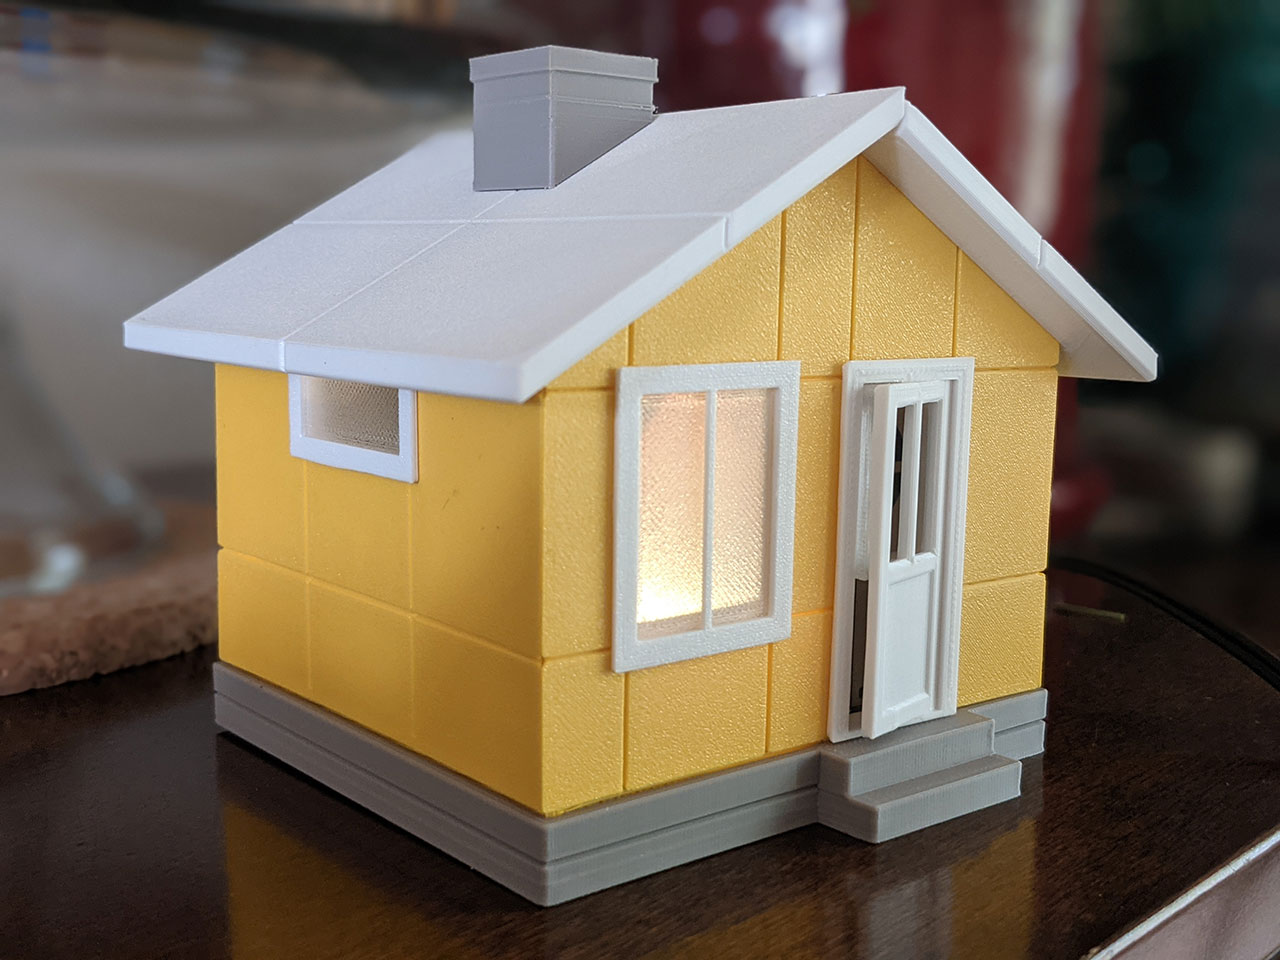
<p>The wildfire season in Oregon went from "hey it looks like we lucked out this year" to "who guessed apocalypse for 2020" in a shockingly short period of time. And as our air quality hit the lowest in recorded history I got to wondering what it was specifically at my house. So I set about creating some air quality systems for inside and outside.</p> <p>I designed this tidy little house to serve as the indoor air quality sensor. It's intended to enclose all the electronics inside while allowing the various sensors to collect the data.</p> <p>Most of the electronics mount to the back wall with fasteners, with the particulate sensor sliding into a housing that also holds the front door to the wall.</p> <p>In an ideal state this thing was simply meant to snap together without need for any sort of glue. However, I had to tape the outside corners of the walls while they were sat in the foundation and apply hot glue to the inside corners to keep it together. I think if I'd have gone with a shorter wire in my harness it would have fit better.</p> <p>There's quite a few things about the enclosure I would change if I did this again, for now though, it works.</p> <p>The whole system consists of the following hardware:</p> <ol><li>This Housing.</li> <li>Raspberry Pi Zero W.</li> <li>Pimoroni Enviro+ (mounts to back wall).</li> <li>Pimoroni SGP30 (mounts to back wall).</li> <li>Plantower PMS5003 (slides into retention ring for front door.</li> <li>Plenty of wiring and connectors.</li> <li>Assorted M2 fasteners.</li> <li>Warm white LED. This fits into the foundation with the two legs of LED sticking out the small holes. You can use the ground and 3V3 rail on the RPi to power it, but you'll need to have an appropriate resistor installed inline.</li></ol><p>It's running the following software:</p> <ol><li>Raspberry Pi OS, with Desktop (it's slow on the Pi Zero W, but it was extremely helpful to me for getting everything configured)</li> <li><a href="https://github.com/roscoe81/enviro-monitor">Enviro-Monitor</a> code from Rosco81 on Github.</li></ol><p>The housing itself was intended to have the RPi mounted in a nice little slide in tray on the roof. The chimney was situated over the RPi's processor so as to exhaust the heat. This was done to minimize the heat influence from the RPi on the temperature sensor on the Enviro+ board. In practice however, I had to just let the RPi sit at the bottom of the enclosure since I didn't have enough room for the wiring at the top.</p> <p>As much as I'd like to be able to explain all the steps I took to get this to even function, I simply can't as it was a by-the-seat-of-my-pants effort. Putting this all together was a stretch of both my electronic and software capabilities. Although, I honestly believe if a goofball like me can figure this out, it should be a lot easier for the rest of you.</p> <h3>Print instructions</h3><p>The only thing that really needs support in this whole thing is the front door. I modeled it as if it were cracked open for functional reasons.</p>
With this file you will be able to print Pimoroni Enviro+ Super Deluxe Indoor Air Quality Housing with your 3D printer. Click on the button and save the file on your computer to work, edit or customize your design. You can also find more 3D designs for printers on Pimoroni Enviro+ Super Deluxe Indoor Air Quality Housing.