PiStation 3 - Retropie with PWM controlled Fan, Multi-use Button and Activity LED
thingiverse
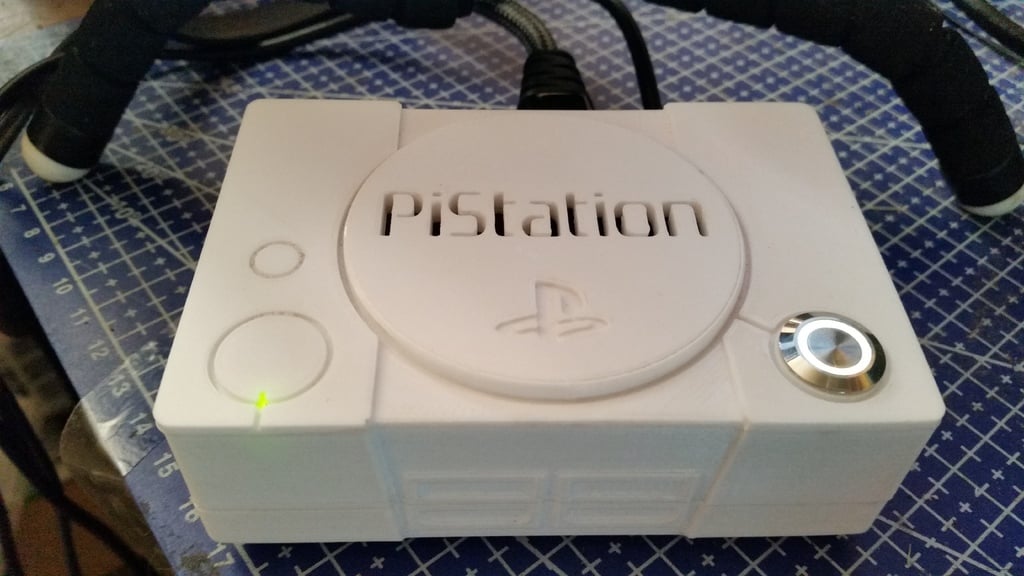
I really loved jhamples and samhazels version of the PiStation design, but I thought I could take it one step further and improve what had already been designed so far. So in the spirit of remixing and open source, I created my own version of the PiStation with improvements. ----------------------------------------------------------------------------------------------------------------------- Parts: -------- 1 x 3mm green LED (Or color of your choice) 2.0-2.4VDC forward drop / Suggested current: 16-18mA. 1 x 68 ohm Resistor for LED (above) (100 ohm will work but will not be as bright, still safe). 1 x 2n2222a Transistor (To switch the fan on and off based on PWM). 1 x 1k ohm Resistor for Transistor. 1 x Diode IN4004 (To protect the Pi from back feeding current from the fan, IN4001 will work also). 1 x 12mm Momentary push button with LED / 3VDC or 5VDC version using a resistor (https://www.aliexpress.com/item/12mm-LED-3V-5V-12V-24V-220V-Metal-Button-Switch-Momentary-push-button-auto-reset-waterproof/32893189184.html?spm=a2g0s.10010108.10016669.1). 1 x 6mm 2.5m screw. 1 x Top part. 1 x Lid. Print at either 0.1mm or 0.2mm depending on the time you have, either is fine. ----------------------------------------------------------------------------------------------------------------------- Instructions: -------------- 1) Print the parts. 2) Mount Raspberry Pi into Bottom part and use 2 x 6mm 2.5m screws to hold the Pi in place (Check Pic #8 for screw placement). 3) Glue the Top part to the Lid (I used Loctite Gel Control Super Glue, works great on PLA). 4) Solder diode between fan + and - (Follow the wiring diagram). 5) Solder wires to Transistor, Fan, Leds and Button (Follow the wiring diagram). 6) Connect Dupont connectors to the correct Raspberry Pi pins (Follow the wiring diagram). 7) Install Retropie onto your Micro SD Card (Follow the instructions on the retropie website). 8) Setup SSH access and wifi on Retropie (Follow the instructions on the retropie website). 9) Install Putty client on your computer to access your Raspberry Pi's SSH service. (Follow the instructions on the retropie website). 10) Add the following lines to the end of the /boot/config.txt file. `# Enable activity LED on GPIO 14 and invert the activity` `dtoverlay=pi3-act-led,activelow=on,gpio=14` `enable_uart=1` `# Set Power LED to Output on GPIO 18 and driven high` `gpio=18=op,dh` 11a) Create the directory called /scripts cd /home/pi mkdir scripts 11b) Create the shutdown.py file in the /home/pi/scripts directory and add the code. (Example file included) sudo nano /home/pi/scripts/shutdown.py add the code provided in the downloaded zip file called shutdown.py Ctrl + O to save the file Ctrl + x to exit the text editor 11c) Make the file shutdown.py run on boot by editing the file rc.local. sudo nano /etc/rc.local Add the following to the file before the line exit 0 sudo python /home/pi/scripts/shutdown.py & Ctrl + O to save the file Ctrl + x to exit the text editor reboot your pi with the following: sudo reboot now 12) Add your Roms to Retropie (Follow the instructions on the retropie website) 13) Enjoy your PiStation :)
With this file you will be able to print PiStation 3 - Retropie with PWM controlled Fan, Multi-use Button and Activity LED with your 3D printer. Click on the button and save the file on your computer to work, edit or customize your design. You can also find more 3D designs for printers on PiStation 3 - Retropie with PWM controlled Fan, Multi-use Button and Activity LED.