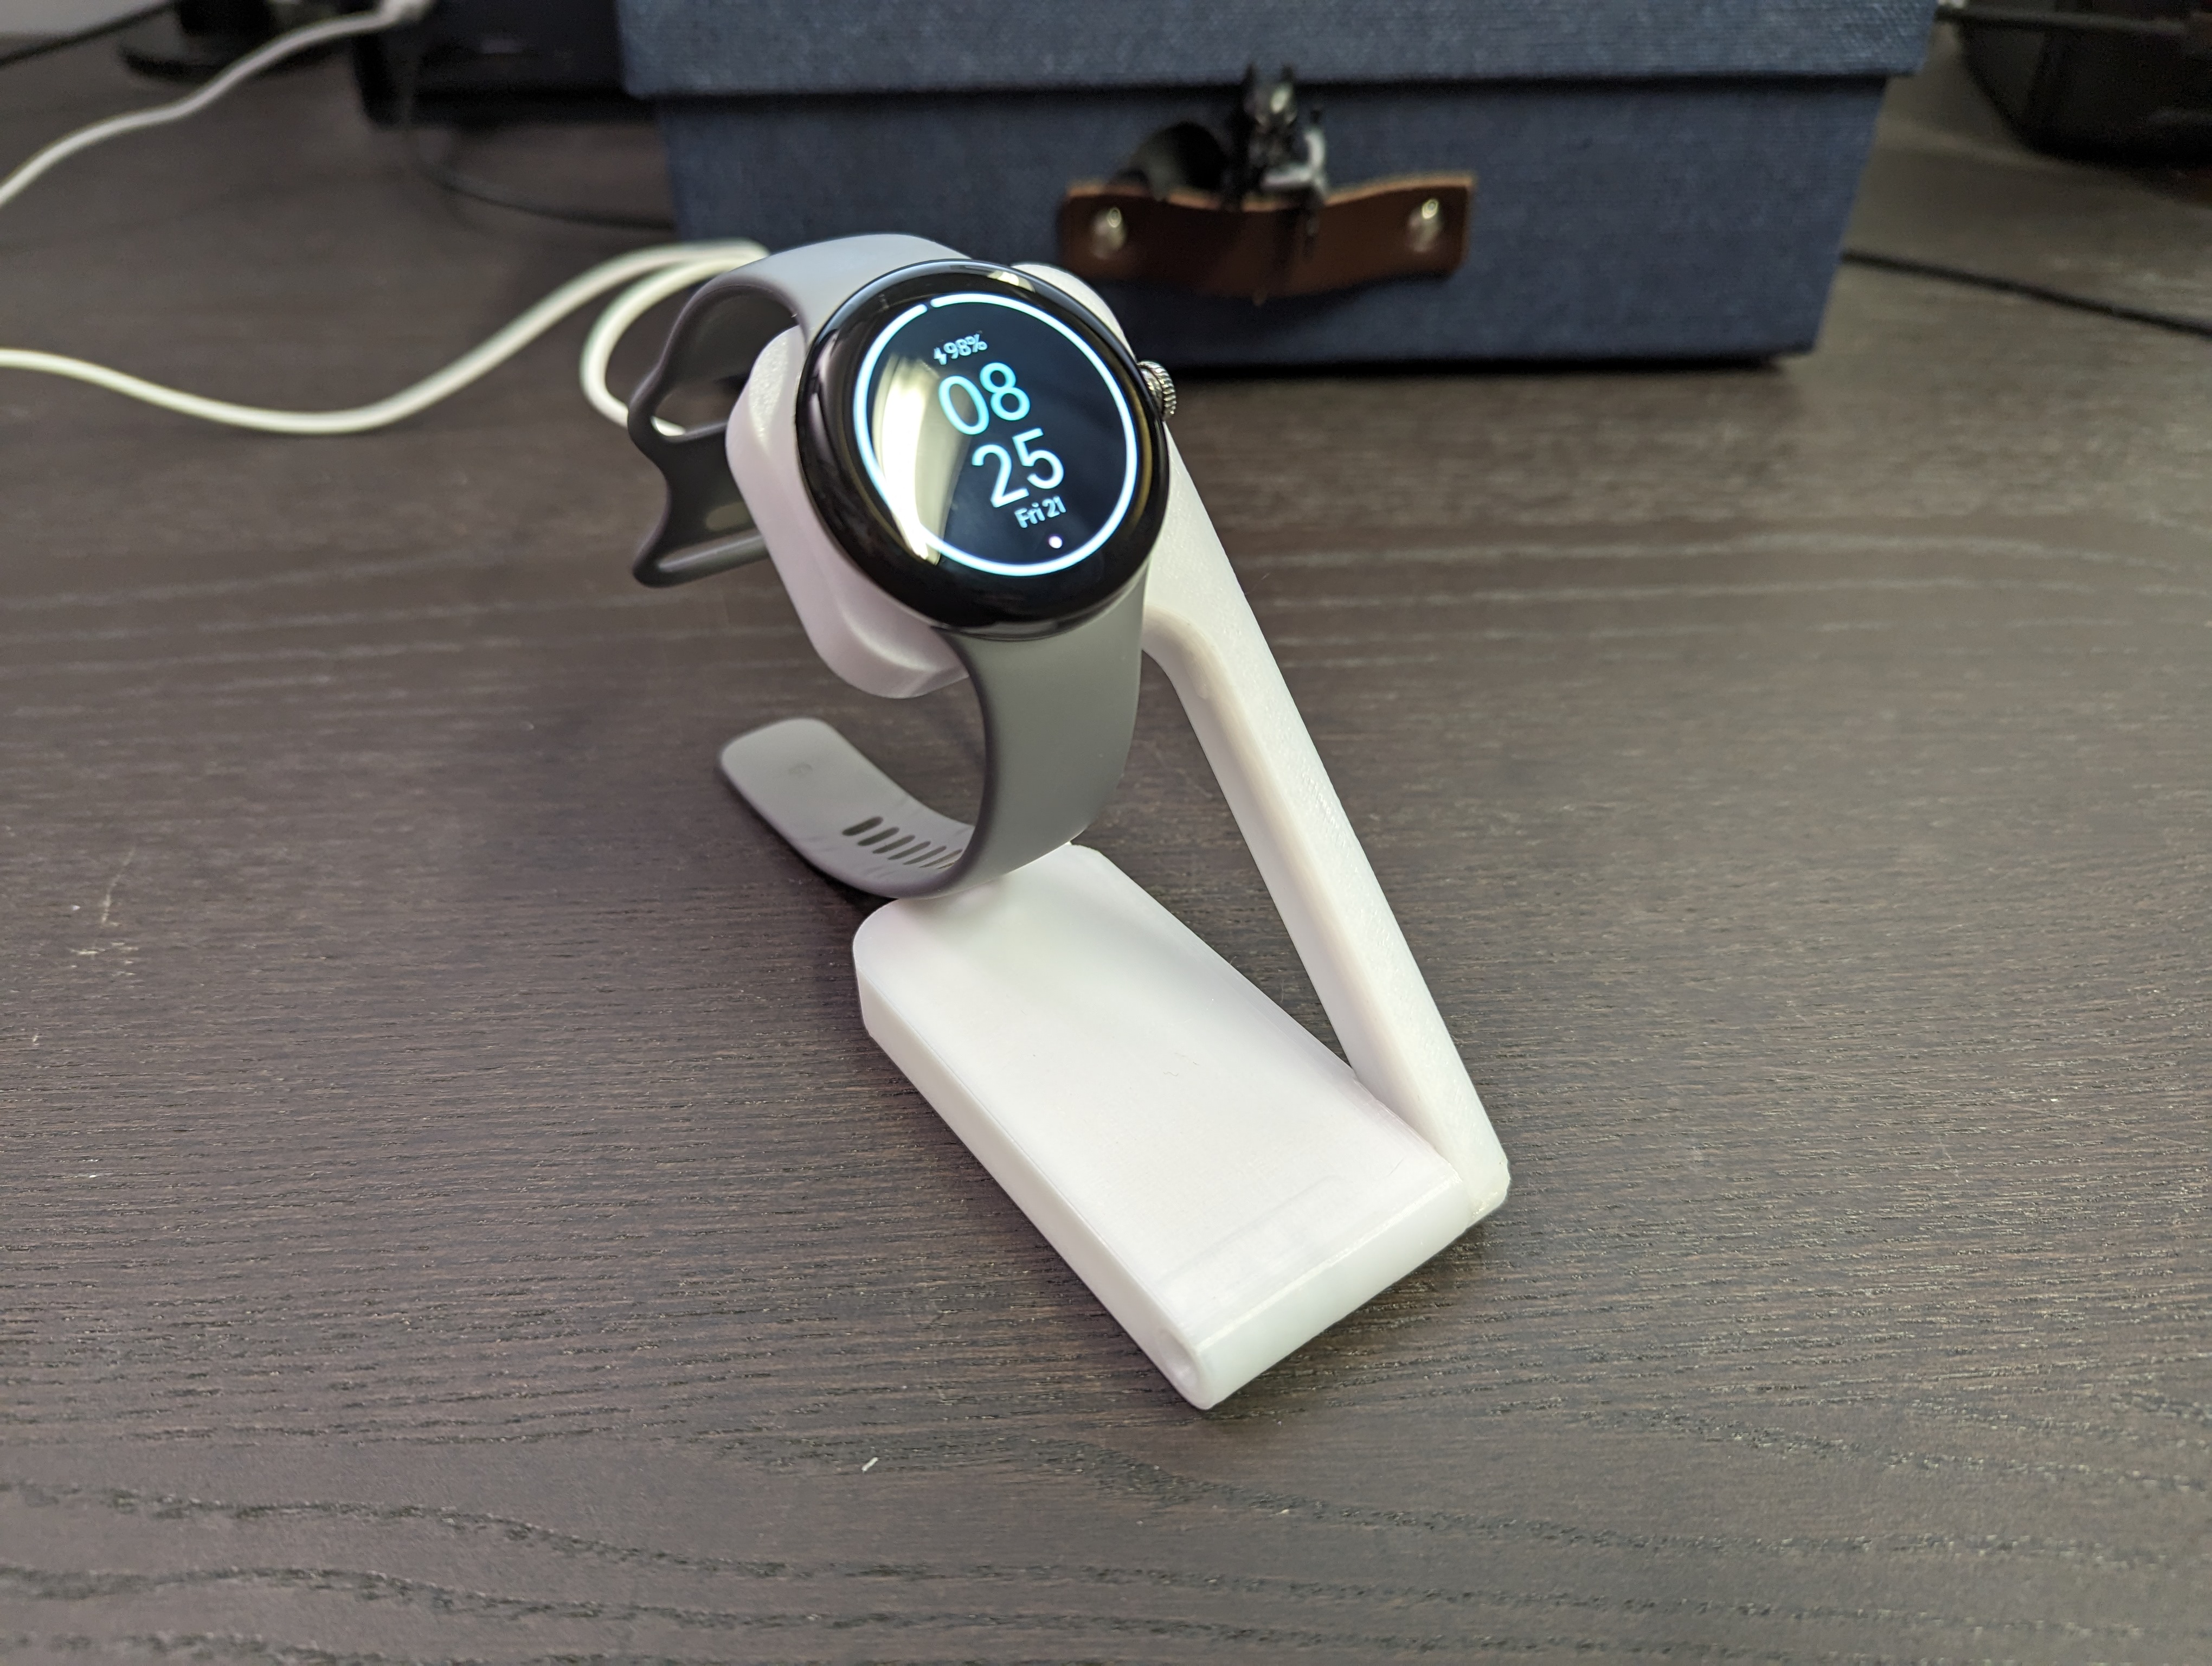
Pixel Watch folding stand
prusaprinters
<p><i>Updates since initial upload:</i></p><figure class="table" style="height:346.188px;width:714px;"><table style="border:1px double var(--input-border);"><tbody><tr><td style="border:1px solid rgb(191, 191, 191);padding:0.4em;vertical-align:top;width:120px;">Date</td><td style="border:1px solid rgb(191, 191, 191);padding:0.4em;vertical-align:top;">Description</td></tr><tr><td style="border:1px solid rgb(191, 191, 191);padding:0.4em;vertical-align:top;">10/22/2022</td><td style="border:1px solid rgb(191, 191, 191);padding:0.4em;vertical-align:top;"><p>Proto 3 files added.</p><p>Proto 2 hinge tolerance was good, but the spring loaded hinge was pushing the pad out (the arm wasn't parallel to the base when folded). I added a little feature to prevent that.</p></td></tr><tr><td style="border:1px solid rgb(191, 191, 191);padding:0.4em;vertical-align:top;">10/21/2022</td><td style="border:1px solid rgb(191, 191, 191);padding:0.4em;vertical-align:top;"><p>Initial upload with Proto 2 files.</p><p>Improved hinge tolerance (the 1st one required a bit of sanding), and slightly enlarged to provide more storage space for the cable. Fitting the cable in the 1st prototype's base is challenging.</p></td></tr></tbody></table></figure><p> </p><h3>This travel stand folds and neatly hides the cable away to fit in any pocket!</h3><figure class="image image_resized" style="width:100%;"><img src="https://media.printables.com/media/prints/300128/rich_content/e90f31fa-7eb6-4ea8-8fbd-f0b28b89a11b/d113b90a-2a3d-4385-b6cb-5d180bbf5416.gif#%7B%22uuid%22%3A%2248b5b1df-e853-4a0e-a96d-9afe8fcd124f%22%2C%22w%22%3A480%2C%22h%22%3A267%7D"></figure><figure class="image image_resized" style="width:100%;"><img src="https://media.printables.com/media/prints/300128/rich_content/fbd0c5d4-dbfb-43c5-9c46-da2c4bc45da8/99e60ced-ce91-4bdd-8347-7298737bfbc4.gif#%7B%22uuid%22%3A%22d47580b6-9005-4ea0-b300-ec2b64796ecd%22%2C%22w%22%3A480%2C%22h%22%3A267%7D"></figure><figure class="image image_resized" style="width:100%;"><img src="https://media.printables.com/media/prints/300128/rich_content/236ee01b-1517-43f8-9ab2-93a863fe19de/2d3a78d7-0eba-4515-8a44-cbd6bf80c4f4.gif#%7B%22uuid%22%3A%22c649218f-453f-496c-b659-8448beb0d801%22%2C%22w%22%3A480%2C%22h%22%3A267%7D"></figure><p>You will need <strong>3 extra parts</strong> in addition to the printed ones:</p><figure class="image"><img src="https://media.printables.com/media/prints/300128/rich_content/b738e708-850a-4603-aee7-f15ade030ade/pxl_20221021_231735402.jpg#%7B%22uuid%22%3A%22ec052cfc-d34c-4749-951e-2400fbf76f5a%22%2C%22w%22%3A3909%2C%22h%22%3A1801%7D"></figure><ul><li><strong>1 M3 x 20mm socket head cap screw</strong><ul><li>I used a spare from my Prusa printer parts</li><li>The screw could be as short as 15mm (head excl.) and at a maximum 29mm (inc. head), I recommend staying in a 18-25 mm range for the thread length, to give yourself some margin.</li><li>For my US friends using imperial, you can use #4 screws but you will need to adjust the nut parameter in the f3d file.<br>Also, I think it doesn't leave much room around the cut out (it sits in the axis of the hinge), so if you try it, let me know whether it works out, I haven't done so myself.<br>→ I will eventually try it out, and post the models with dimensions adjusted for imperial, but I just haven't prioritized that.</li></ul></li><li><strong>1 M3 nut</strong><ul><li>I also used a spare from my Prusa printer parts</li><li>My US friends can use #4 nuts, but again, will need to adjust the nut parameter in the f3d file to do so.</li></ul></li><li><strong>1 small spring</strong><ul><li>I used a pen spring, any spring that can go through the screw thread but not its head should do.</li></ul></li></ul><h3><strong>Printing</strong></h3><p>I've printed the base with the opening face down, because round surfaces don't usually look so great even with support, so I wanted that corner more hidden. It does mean more support material than if printed the other way.</p><p>The arm I've printed face down, with supports.</p><figure class="image"><img src="https://media.printables.com/media/prints/300128/rich_content/5859eb8c-2d2c-4480-8f17-d283764f3b6f/pxl_20221022_021309795mp.jpg#%7B%22uuid%22%3A%229b89a12b-4e18-4439-8a98-38723596a870%22%2C%22w%22%3A4042%2C%22h%22%3A2372%7D"></figure><h3> </h3><h3><strong>Assembly</strong></h3><ol><li>Start by putting in the M3 nut in the hinge's axis (if it's too loose and tends to fall out of place, you can also do that before step 4, like I did in the video). Make sure the holes are aligned.</li><li>Next, clip the Pixel Watch charger pad into its dedicated spot, making sure the cable exits the right way.</li><li>Route the cable all the way, pushing it into the groove. You can use the USB-C connector at the end to help.</li><li>Align the arm and the base so you can slide the arm's hinge axis into the base, feeding the cable into the slot.</li><li>Put the screw through the spring, and then screw it in on the other side of the hinge, into the base. The spring should add tension.</li><li>Tadaaa. You can adjust the tension a bit by tightening or loosening the screw.</li></ol><figure class="media"><oembed url="https://youtu.be/_WLsOvRkA7U"></oembed></figure><h3> </h3><h3><strong>Use</strong></h3><p>To open, or close, just pull slightly, turn, and release.</p><p>When open, the arm should lock at a 45º angle.</p><p>There's a little tab on the arm to keep it in place when folded.</p><p><i>Tip:</i> <i>Don't shove the cable in the base like I do on the video, roll the cable around your fingers (2 or 3), and then put it in the base. It's easier that way.</i></p><figure class="media"><oembed url="https://youtu.be/cgVjwWHuEkc"></oembed></figure><p> </p><p>Travel case vs Proto 1 vs Proto 2:</p><figure class="image image_resized" style="width:79.89%;"><img src="https://media.printables.com/media/prints/300128/rich_content/2eb8e31a-48c7-41fa-9cd9-f223218a21ea/pxl_20221022_190430247.jpg#%7B%22uuid%22%3A%22a73082fa-432e-46eb-9453-92b4cdb9e246%22%2C%22w%22%3A4080%2C%22h%22%3A3072%7D"></figure><figure class="image image_resized" style="width:79.62%;"><img src="https://media.printables.com/media/prints/300128/rich_content/06212ead-f068-47ca-9dae-8b8edf9ccdda/pxl_20221022_190526778.jpg#%7B%22uuid%22%3A%22c1f718fc-0c4a-4a98-92de-b8b97981ef87%22%2C%22w%22%3A4080%2C%22h%22%3A3072%7D"></figure>
With this file you will be able to print Pixel Watch folding stand with your 3D printer. Click on the button and save the file on your computer to work, edit or customize your design. You can also find more 3D designs for printers on Pixel Watch folding stand.