Planer Knife Setting Jig
thingiverse
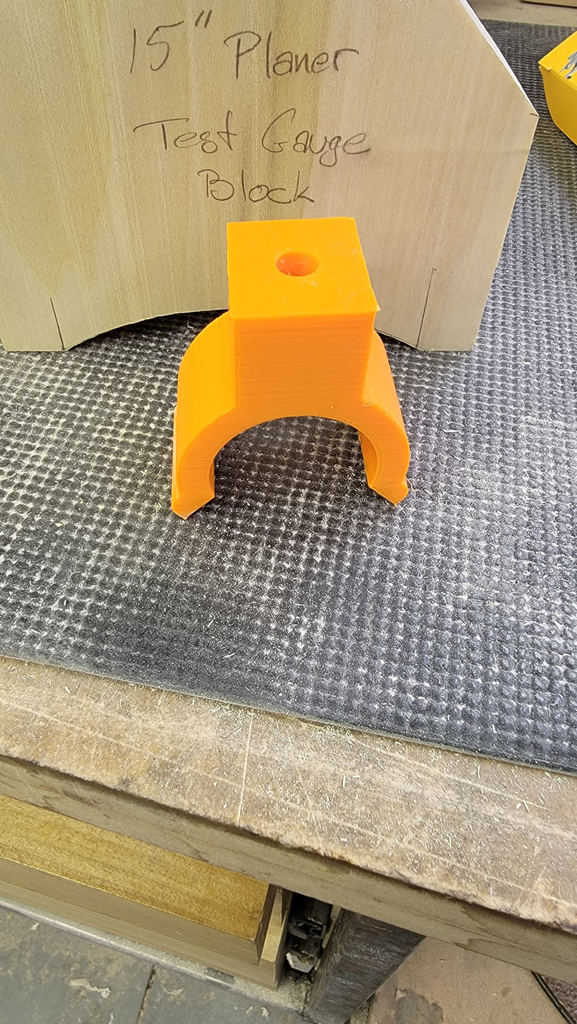
I designed this jig for my 15" straight knife thickness planer. These planers are sold under several different names, but are all basically the same. You will need a dial indicator, or you will need two of these with bolts with magnets on the end to hold the knife in position (see the paragraph below if using two of these). You will also need at least 6 magnets 5/16" x 1/8" to secure the jig to the cutter head. I drilled a hole into the side of the jig and screwed in a small machine bolt to hold the dial indicator from moving (I let the bolt tap the threads). Before removing the old knives, use the jig and the indicator to measure the existing installation height (set the dial to zero and check all the knives). If the knives aren't all the same, or if you don't have old knives installed, you will have to pick a height for the knives and then go through the adjustments for the rollers, chip breakers, and bed rollers. Once you have a measurement, install the knives loosely and then adjust them until you get within a couple of thousandths of your zero setting. Tighten everything up and check again. If you decide to use two of these with bolts and magnets, the bolt will need to thread through the jig and be long enough to touch the knife when the jig is on the cutter head. Before removing your old knives, just like the commercial versions, adjust the bolts so the magnets are just touching the old knives. Then remove the knives and install the new knives. The jigs with the magnets should hold the knives at the proper height while you tighten the gib screws. I printed this on my Elegoo 2S with PETG. 250° nozzle, 70° bed temp.
With this file you will be able to print Planer Knife Setting Jig with your 3D printer. Click on the button and save the file on your computer to work, edit or customize your design. You can also find more 3D designs for printers on Planer Knife Setting Jig.