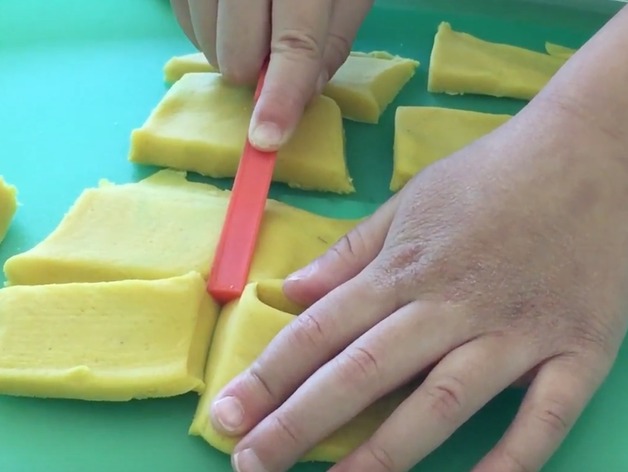
Playdough Tool Design Challenge
thingiverse
“You have a 3-D printer in your kindergarten classroom? Why?” This is a question I have heard countless times over the past several years. My answer usually describes how exposing students to a technology that will likely be common place in their future is a powerful way to broaden my students' horizons. However, over the past year I have added a second, more compelling answer, rooted not in the future, but in the present- “To teach my students to create solutions to everyday problems.” This lesson, as is or with slight modification, allows a teacher of any grade with access to a 3-D printer to move their students from passive consumers to problem solving creators using one of the most powerful and important tools for learning in the history of our species- play. How I Designed This I used Tinkercad to design all items with input from my students. Project: Playdough Tool Design Challenge Overview & Background: Through this lesson students as young as five years old can be introduced to 3-D modeling and desktop fabrication, with an emphasis on it’s ability to provide solutions to everyday problems, and to demonstrate making what we need is more meaningful than simply buying a pre-made product. Iterative design can also be a learning objective depending on your access to a machine over a several day (or week) period. Objectives: Although your collection of playdough tools will increase and diversify as a result of this lesson, the real goal is an awareness of the practical applications of 3-D printing and the iterative design process. Many students will take the experiences acquired during this lesson and apply design thinking to find solutions at other times throughout your classroom and school- from replicating lost puzzle pieces to creating replacement door stops. Following this lesson, you too will be able to inform the curious you have a 3-D printer, not just because they will be used by your students someday, but because in your classroom students solve real-world problems today. Audiences: Although this lesson was designed with kindergarten or first grade in mind, it can be used with older children equally unfamiliar with 3-D design and desktop fabrication. While older students may not use playdough as often as younger students, their goal can be to create tools for younger students in your school or community. Of course, make sure to allow older students some playdough time prior to the design process to inspire creativity. Subjects: Problem Solving Skills Design Basics of desktop fabrication Skills Learned (Standards): NGSS: K-2-ETS1-1, K-2-ETS1-2 Lesson/Activity: Open with a brief explanation or presentation of how 3-D printing works, and some of it’s uses. Emphasize the practical solutions desktop fabrication allows from DIY home repair to prosthesis. Tell students they will record ideas for new playdough tools after brainstorming while playing with playdough. Encourage them to think of tools they have used at home and in other classrooms, but to also be creative and imagine tools they have never used (or seen!) before. After the playdough session have students draw and write (if able) the new tool they would like to see made. As a whole group, the teacher designs the tools based on student drawings and suggestions. To enhance cross-curricular learning, I emphasized math vocabulary, including sphere, cube, and cylinder. Print tools to make available at the playdough center. Remind students to consider what works, and what needs improvement, when using each tool. Redesign and print iterations based on student feedback. Extension: If your students were really into this lesson, don't stop at playdough tools! Try making new tools for the sand/water table, the Lego tub, or whatever else inspires their creativity. Duration: 2-3 sessions Preparation: Students needn’t have prior skills or experience to meet learning objectives, but experience with playdough is always a plus (which is the case for most things in life, I'd contend). References: While you're making your own playdough tools, why not make your own playdough! Here's a simple recipe (http://www.pbs.org/parents/crafts-for-kids/no-bake-play-dough/) Rubric & Assessment: Informal assessment can take the form recording observations of the process whole group, having students draw and/or write about the process, or explain the project to a buddy class. Handouts & Assets: None are needed.
With this file you will be able to print Playdough Tool Design Challenge with your 3D printer. Click on the button and save the file on your computer to work, edit or customize your design. You can also find more 3D designs for printers on Playdough Tool Design Challenge.
