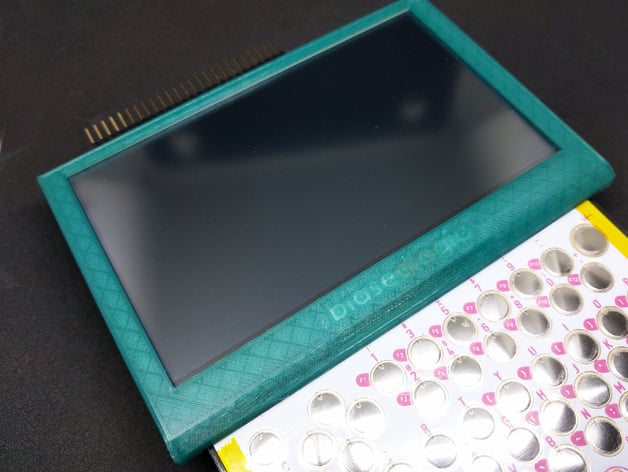
PocketCHIP LCD bezel for 5 inch (5") 800x480 Adafruit TFT display
thingiverse
What is it about? A couple of months ago, a company called NextThingCo released a device called PocketCHIP. Read more on http://www.getchip.com. The original PocketCHIP comes with a 4.3" 480x272 display, which I consider too low resolution to be really usable under Linux. A (very) compatible 800x480 LCD is available, but it's 5 inch big and so the original bezel won't fit. I also didn't like the idea of sticking LCD to PCB by a piece of double sided tape. Here's my original post about hacking it in:(pocket)CHIP with 800x480 LCD - Hardware works, how to configure? Some time later the topic has been picked up by the official blog: Here's a quick how-to about getting this LCD to work:HERE’S EXACTLY HOW TO HACK A BIGGER SCREEN ONTO POCKETC.H.I.P. And a couple of related links:Alternative higher resolution LCDs for PocketCHIP? A note on software adjustments: Parallel RGB LCD DIP Assembly First, you have to remove the original LCD: follow only the first four steps (1 to 4) from this link DISASSEMBLE POCKETC.H.I.P. (see blog post) DISCONNECT THE BATTERY (see blog post) DISCONNECT THE LCD FPC CABLE (see blog post) REMOVE THE LCD (see blog post) Remove any residue of the original tape holding the old LCD in place. Use rubbing alcohol, or just your fingernails... Click the back of the new bezel in place. It's a bit of a tight fit, start at the top, then upper side clips, then lower side clips, then bend the bezel backplate a bit to help the lower tabs click in place. Put the new LCD into the bezel. The lower (wider) side has a cut-out for the FPC cable. There's nothing to hold the LCD inside the bezel, so just put it in. Now it's a bit tricky. Slide the FPC through the slot, hook lower corners of the bezel onto the backplate, then use your fingers to spread the frame a bit to let the bottom side tabs over the edges of the backplate, then the upper tabs. It should all in the end just click in place. Now connect the FPC cable (it will be just the right length, but don't force-bend it at the edge of the slot in the PCB!), reconnect the battery (I used here a strip of velcro instead of foam tape) and replace the back case. The back case should clip into the side clips of the backplane, see photos. Print Settings Printer: Prusa i3 MK2 Rafts: No Supports: No Resolution: 0.2 Infill: 10% Notes: Use 4/4 solid layers (4 bottom 4 top) or else the slicer will put infill into the already thin backplate. Printed using PLA. The lock tabs are somewhat brittle, so be careful while assembling. The attached .gcode file should be good for a Prusa i3 MK2 with PLA filament, might work for a InnoFil3D PET too. You need only the 'ChipNewBezelAll.stl' file, it includes both parts.
With this file you will be able to print PocketCHIP LCD bezel for 5 inch (5") 800x480 Adafruit TFT display with your 3D printer. Click on the button and save the file on your computer to work, edit or customize your design. You can also find more 3D designs for printers on PocketCHIP LCD bezel for 5 inch (5") 800x480 Adafruit TFT display.