Poke Ball
thingiverse
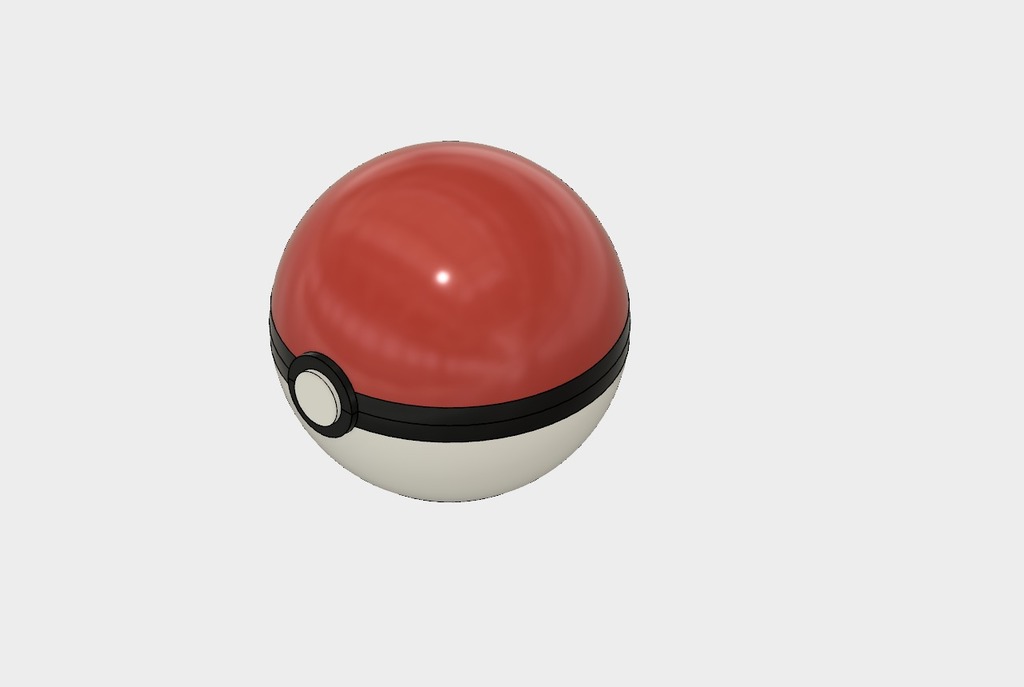
My young son, who of course is into Pokémon, wanted to create a poke ball. One that could be held together with magnets. So this is what we came up with. The top is held on with 4 magnets (two on top, two on the bottom.) The two half's of the ball should be printed with the opening down, supports on, unless your printer can handle that dome without support. I also printed the middle strip half's with support as well, to ensure the hole for the magnet didn't droop and not leave enough room for the magnet. You'll need 6mm x 3mm round magnets. (Link to the ones I used below). Also, this model does require some gluing, so you'll want an appropriate glue for your filament. I also used a tad of hot glue, as you'll see in the instructions, but you may be able to use the superglue here as well. Print all 5 parts. Insert 2 of the magnets into the receptacles in the middle band, then glue to two half's of the middle band together. The other 2 magnets go into the receptacles on the top of the ball. These are a little trickier. You'll need to come in blindly from the top, and slip the magnets into their holes. To hold the top magnets in place, I just squished a dollop of hot glue over the top of them. I've included a couple of pictures showing where the magnets go. Once the two half's of the middles strip are glued together, glue the middle strip to the bottom half of the ball. Be sure to align the round face of the strip to the cutout on the bottom half of the ball. Glue the button to this round face. Magnets: https://www.amazon.com/gp/product/B078BGGYH8/
With this file you will be able to print Poke Ball with your 3D printer. Click on the button and save the file on your computer to work, edit or customize your design. You can also find more 3D designs for printers on Poke Ball.