PolarityGear Fidget Toy
prusaprinters
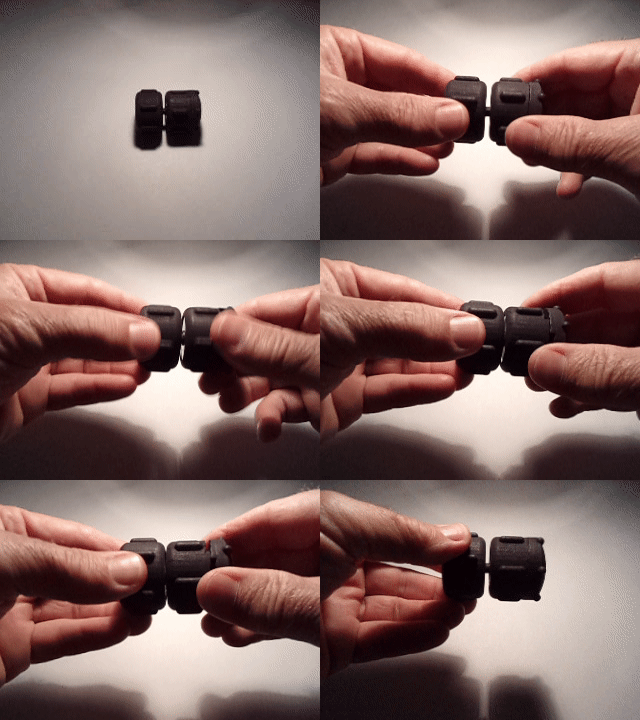
<p>This is a toy that requires 2 Polymagnets from CMR and a snap ring. It demonstrates the intermittent torque resistance the two magnetic discs produce when paired. The "dial" adjusts the distance between the two magnetic discs and therefore adjusts the torque resistance you'll feel while turning one side with respect to the other. In the animation, if you look closely, you can see the size of the gap get smaller. At the end of the animation, it's back to its widest setting.</p> <p>Please consider following us on Youtube and Kickstarter. Login and search for "HoldenArt".</p> <h3>Print instructions</h3><h3>Category: Mechanical Toys Print Settings</h3> <p><strong>Printer:</strong> HP MJF</p> <p><strong>Rafts:</strong> No</p> <p><strong>Supports:</strong> No</p> <p><strong>Resolution:</strong> .05mm</p> <p><strong>Infill:</strong> 20%+</p> <p><strong>Filament:</strong> N/A PA 12 on an HP MJF N/A<br/> <strong>Notes:</strong></p> <p>This is not designed for fdm printing. If you want to print this on an fdm machine, put the undulating helix facing up on the print bed. You'll definitely need a good size brim if you print in that orientation.</p> <p>You could design this with only three parts by combining the shaft with the Magnet Holder part that does not have the undulating helix.</p> <h3> How I Designed This</h3> <p><strong>Undulating Helix</strong></p> <p>The "undulating helix" shape is key to the PolarityGear and is used in this toy. It allows adjustment while providing enough friction with its mating part where it won't slip or self-adjust. In other words, when you turn one of the mating parts, its mate turns with it.</p> <p>It was a challenge to draw the very first time. Vertical surface extrusions represent the various heights of the undulating path. Two 3D splines (in black below) run along the corners of these extrusions and are used to form a new wavy surface. Solid extrusions are made to the new wavy surface. The wavy solid pattern is done for 120 degrees, so a circular pattern is done to create the other two features around the axis. An extrusion from another part to this feature creates the matching surface for the complementing part.</p> <p><strong>The surface extrusions to get the corners for the two 3D Splines (in black).</strong></p> <p><strong>Extruding up to the new surface created from the two 3D splines.</strong></p> <p><strong>This fillet might look like an erroneous feature, but it serves to minimize the slop of the magnetic disc to the part.</strong></p>
With this file you will be able to print PolarityGear Fidget Toy with your 3D printer. Click on the button and save the file on your computer to work, edit or customize your design. You can also find more 3D designs for printers on PolarityGear Fidget Toy.
