Pom Pom Maker
thingiverse
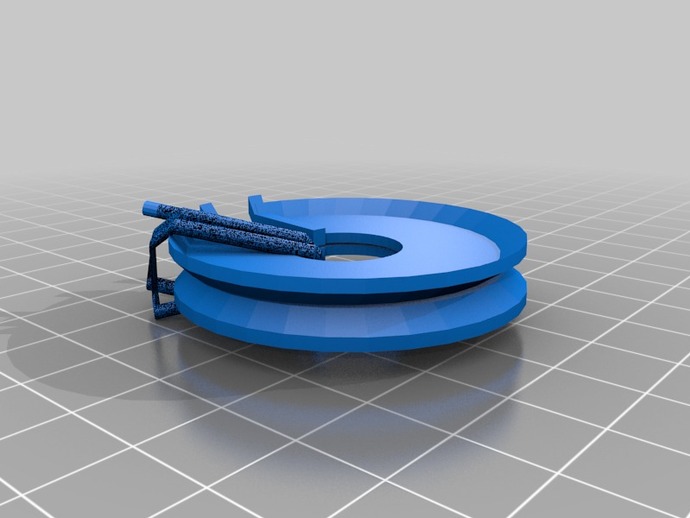
My daughter learned how to make pom poms using two cardboard circles as the 'loom'. I immediately thought it would be easy to 3d print an improved 'loom' for making pom poms. Instructions Print two pom pom makers. Place the two pieces back-to-back, so the edge rims face out. Line the lots up. If you look at the two sideways, you should see a groove around the outside. Wrap yarn all around the loom - from center around to the edge, back to center etc. (See pom pom maker wrapped file for a very rough picture of how to do the wrapping). Continue until there is no more room for yarn. Start at one end of the outer groove and carefully cut the yarn loops in half. Use a sharp scissors and slide one tip along the groove to make cutting easier. You should now have a bundle of yarn pieces, held together by the two plastic rings. Take a strong piece of yarn, slide it into the groove, wrap it around the yarn bundle and tie tightly. Repeat with a second knot for strength. Remove plastic rings, fluff your pom pom and trim any yarn pieces that are too long. Play with your pom pom, sew it onto a hat, add googley eyes and make a toy animal. Have fun and use up yarn scraps.
With this file you will be able to print Pom Pom Maker with your 3D printer. Click on the button and save the file on your computer to work, edit or customize your design. You can also find more 3D designs for printers on Pom Pom Maker.