PostIt Holder
thingiverse
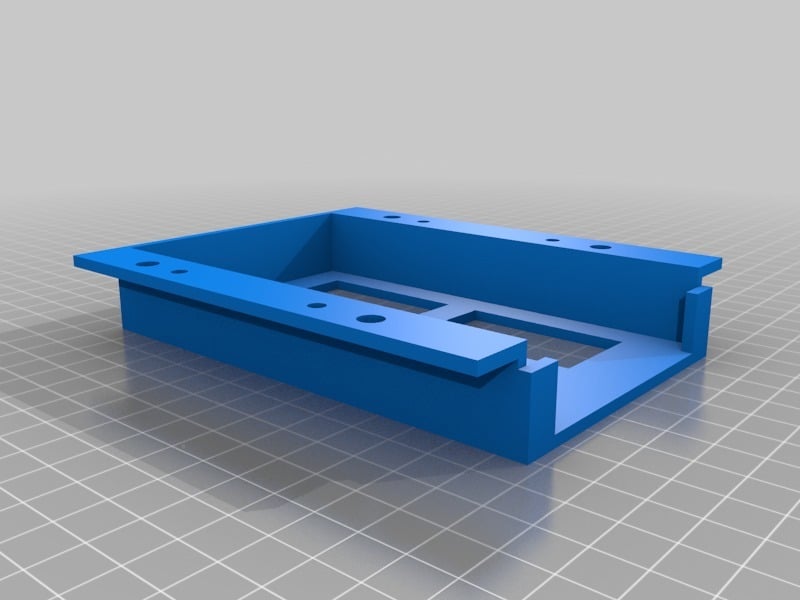
This PostIt note holder is designed for the long (approx. 120mmx75mm) notes. This can be bolted or screwed under a horizontal surface or on the side of a vertical surface. Two size fixing holes built in are M5 and M3. The tray in the picture is the UnderDeskPostIt120x75 and this will happily hold 2 pads. I tweaked the design after printing to allow for easier access to the notes by setting the wing brackets back slightly and moving the front face down slightly (this is the UnderDeskPostIt120x75SetBack). Included is a square spacer which can be resized in the slicer for extra clearance if you want more pads to be stored (make sure you un-check uniform scaling so as to only scale in the z axis). Alternatively for further adjustments I have included the Blender file. All the X, Y and Z adjustments to resize the model can be made using the saved vertex groups labelled accordingly (see pictures). By resizing using these faces you will preserve the hole sizes, if you resize in a slicer you will have to drill the holes out after printing so extra infill and walls around the holes will be required using this method.The large holes in the base are to save material but you could change this with the Blender file. CHANGE LOG: 07/02/2019 - Added Blender file with a tall version with all the vertex groups set up. Also added a modified version with a chamfer on the wings so only the mounting holes need support to reduce time and save material. Close to a 45 degree angle so most printers can handle this no problem. Pictured in yellow is the UnderDeskPostIt120x75SetBackNoSupp.stl - The slicers support overhang should be set to 60 degrees and supports will only print under the mounting holes. Updated print settings (below are the newer settings) Printed with a 0.4mm nozzle at 0.2 layer height. (I like to use an initial layer height of 0.28 for good bed adhesion). The orange part was 1 wall which seemed fine and saved time but 2 walls would be a bit stronger. Yellow part did not print well with just 1 wall. 3 top layers and 2 bottom layers. 15% infill (Cura cubic subdivision is strongest). Less than 15% you will not get good top surface with only 3 top layers. Use supports for the flat wings (10%) but only mounting holes (see CHANGE LOG) for chamfered wings. The bottom of the wings will look a bit rough but I didn't mind as they are hidden but if you want them neater then add a roof to your support. My initial speed is 20mm/s then after a couple of layers is 40mm/s for infill and inner wall and 25mm/s for outer wall for a nice finish. As the shape is very square I recommend using a brim to stop curling (I used 4mm). Supports and brim is easily removed as shown in the pictures. Your temps will be dependent on your filament but the HobbyKing orange I am using works well with 205 degrees and a bed temp. of 67 degrees initial dropping to 59 degrees with a 98% flow). Print time approx. 4hrs depending on settings. I printed the yellow one in 5 and half hours but time saved by using less than 15% infill and 1 wall was not worth the loss in quality.
With this file you will be able to print PostIt Holder with your 3D printer. Click on the button and save the file on your computer to work, edit or customize your design. You can also find more 3D designs for printers on PostIt Holder.