Power monitor case V2
thingiverse
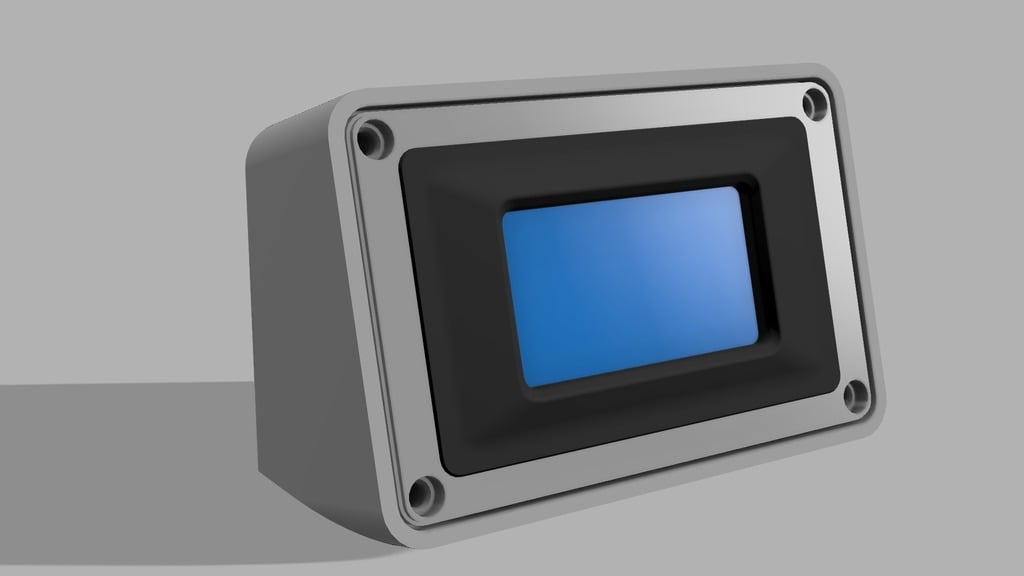
Finally, an update to the original model I first posted here. The initial design was quite basic and challenging to assemble. This revised version features a removable front panel that simplifies wiring and construction. It's a generic part no longer specifically designed for the Anet A6. I've also incorporated a new meter with advanced capabilities: Voltage, Current, Power, Power Factor, Energy in KWh, and Frequency. You can find this meter linked below. A New Meter: This AC-only meter measures 250V AC at 20A AC. It's available here: https://amzn.to/2MAaJh7 (Direct Connection) This AC-only meter measures 250V AC at 50A AC and uses a split inductive current sensor: https://amzn.to/2xkjOF7 This AC-only meter measures 250V AC at 100A AC using an inductive toroid sensor: https://amzn.to/2QxsYXG This AC-only meter measures 250V AC at 100A AC and uses a split toroid sensor: https://amzn.to/2xiyGUh The old meter, suitable for DC hookups, can be found here: This DC meter measures 6.5-100V DC at 0-20A: https://amzn.to/2Mwov4h (Direct Connection) This DC meter measures 6.5-100V DC at 0-100A and includes a shunt sensor: https://amzn.to/2MwOkB5 You'll likely need some wire for this project, and here are some good choices: https://amzn.to/2OlLXCQ (14 gauge) https://amzn.to/2xiv0ls (12 gauge) The original version of this design can be found here: https://www.thingiverse.com/thing:2420538 Notes and Alterations: 9-14-18 The mounting holes in the back that hold the nut are tapered to catch it. To install, place the nut on the end of a pen or similar object and push it in from the back. This will get the nut jammed in and aligned with the bolt. Once the bolt is tightened a little from the front, it should remain firm. Don't over-tighten, as this may cause damage. 9-15-18 I added a tapered spline to the face mounting holes for self-taping screws. These can be easily drilled out if not desired. I also reduced the minimal diameter of the hole behind the face mounting bolt to better trap a small nut if needed. For fun, I created two additional simplified backs. 9-17-18 Today, I verified that the old meter style will fit perfectly in the new face. The width is perfect and the height is only .5mm over, which will be covered by the bezel. I added pictures of the prototype and removed the work-in-progress tag. Your Support Matters: If you enjoy my designs, consider showing your appreciation with a small donation or tip. Your support will allow me to dedicate more time to these designs and their variations. Other ways to help: purchase some parts from one of my Amazon links. I'll receive a small advertising fee at no cost to you. Or try Amazon Prime free for 30 days: https://amzn.to/2C384ZY. Thanks!
With this file you will be able to print Power monitor case V2 with your 3D printer. Click on the button and save the file on your computer to work, edit or customize your design. You can also find more 3D designs for printers on Power monitor case V2.