Power Supply Mounting for the Replicator, revisited
thingiverse
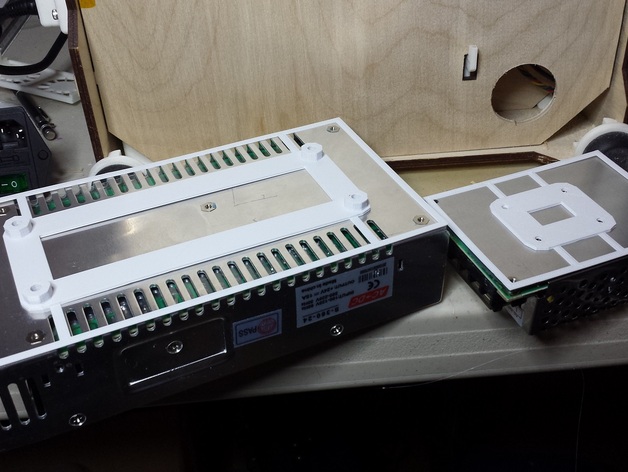
This Guide Helps Install Common Power Supplies Under Replicator Printer Chamber Install common 24V, 360W switching power supply underneath Replicator or similar printer chamber build with this easy to use guide. The guide shows where to drill for mounting and replaces external brick power supplies completely. It includes "extents" of the power supply so you can place it properly, and it has a standoff feature that won't block vent holes on the supply by the mounting surface. Another guide is included for a 60W power supply that's used with some fans and accessories planned for this project. This Guide Expands an Earlier Version to Help Mounting of Power Supplies This is a revised version of an earlier guide that includes more information such as extents and standoff features, making it easier to install the power supplies correctly. It adds additional support to make installation smoother. Additions Have Been Made for Easier Installation of Various Power Modules EDIT: Added drilling and marking guide for popular power entry/switch/fuse module for simpler mounting process.
With this file you will be able to print Power Supply Mounting for the Replicator, revisited with your 3D printer. Click on the button and save the file on your computer to work, edit or customize your design. You can also find more 3D designs for printers on Power Supply Mounting for the Replicator, revisited.