Prayer Beads
thingiverse
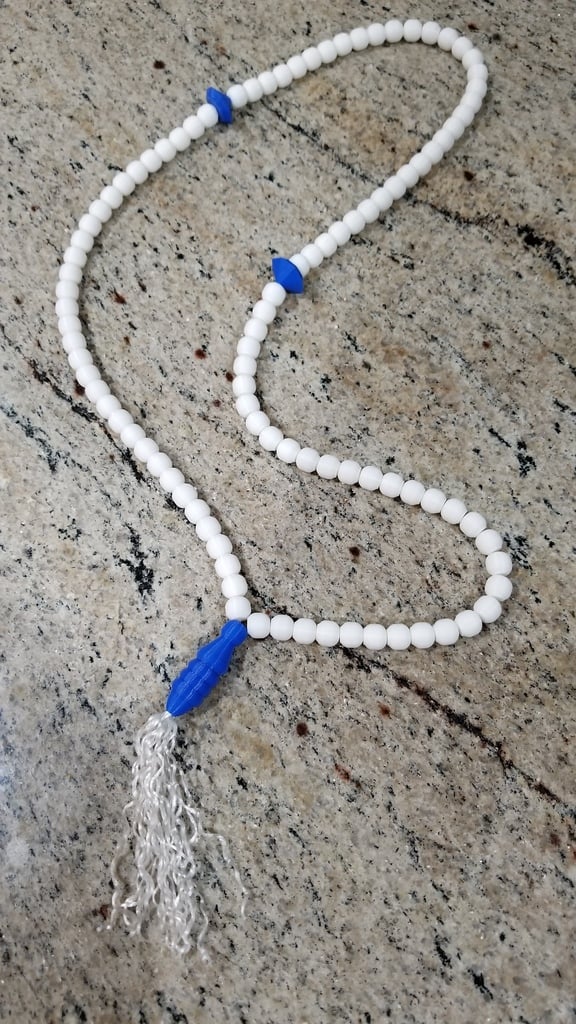
You can use these pieces for many types of prayer beads. Simply create the required number of beads and the optional separator beads. The one I created is the Islamic version. This is only my second 3D printing project, having only recently acquired a 3D printer. This is also my first ever jewelry type of project so I did a bit of guess work along the way. I used two strands of monofilament bead cord through all beads. If I make another I'll try the flexible bead cord. That might be a better choice for this sort of project. Assembly is straight forward. I've included two types of separator beads. Feel free to use one of your own design or resize one that I provided. Simply run your bead cord through all beads and then both ends of the cord into the end piece. The hole is 2mm so it's large enough to accommodate two strands of flexible 0.8mm bead cord. Depending on the type of cord you are using you might be able to just tie a knot at this point. If using something finer such as the monofilament, string it though the thread holder (looks like a button) piece and tie it up. Be sure to pay attention to how much slack you are leaving. Once I adjusted for the proper amount of slack I used a dab of hot glue on the ends. Now you have two choices for the end cap. If you aren't using a tassel then push on the end cap without the hole in the end. The fit should be tight. The printed part will need a bit of filing or sanding to fit. You're done! If you want to add a tassel then find some sort of stringy stuff. Fold it in half. Using a small hook ( I used a bent paperclip) push the hook through the large opening in the end cap and out of the small opening. Hook the tassel strings in the center and pull back into the cap until it's just outside the large opening in the cap. Then take the small tassel holder piece and place it under the center of the tassels. Be certain the concave face is facing the tassels. While holding everything in place pull the ends of the tassel until every is snug inside the cap. It should fit just right. Now put the cap and the end piece together and you're done! As mentioned above, you'll need to do a bit of filing or sanding to make a snug fit. Hope you enjoy this. I had fun creating it. It was my wife's idea and she really likes the results.
With this file you will be able to print Prayer Beads with your 3D printer. Click on the button and save the file on your computer to work, edit or customize your design. You can also find more 3D designs for printers on Prayer Beads.