Pretty Basic Pollen Press
thingiverse
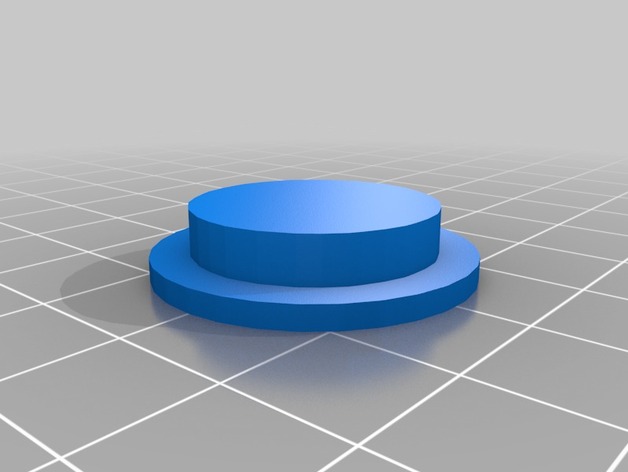
This is my inaugural design and it's a remarkably straightforward "pollen press". There are three components: 1. Cap 1. Chamber 1. Pusher Assembly involves placing the cap on either end of the tube/chamber piece, then loading up with copious amounts of pollen. Next, use the pusher to compress into a compact puck. Initially, I tried compressing by grasping both hands together and squeezing as hard as possible. Unfortunately, the results were less than satisfactory, resulting in a brittle puck. However, I achieved greater success by standing on it with my full weight; yet, I caution you to exercise care, lest you twist an ankle or suffer some other injury - this is my explicit 'liability exemption'. Ideally, a screw-top design like one of the garlic presses found on this site would be the optimal solution, but this setup does the job admirably. Note: You will require a substantial amount of pollen! I also increased the cap radius by 0.2 to ensure a better fit than my initial print. The pusher should have a slight clearance on the sides; if it's too tight, the pollen becomes trapped and difficult to push through. If you need extra height on the pusher for any reason, a nickel fits snugly. Print Settings: Printer: QIDI Rafts: Yes Supports: No Resolution: 0.2 Infill: 15 How I Designed This OPENSCAD
With this file you will be able to print Pretty Basic Pollen Press with your 3D printer. Click on the button and save the file on your computer to work, edit or customize your design. You can also find more 3D designs for printers on Pretty Basic Pollen Press.