Print Cooling Fan (The Badger)
thingiverse
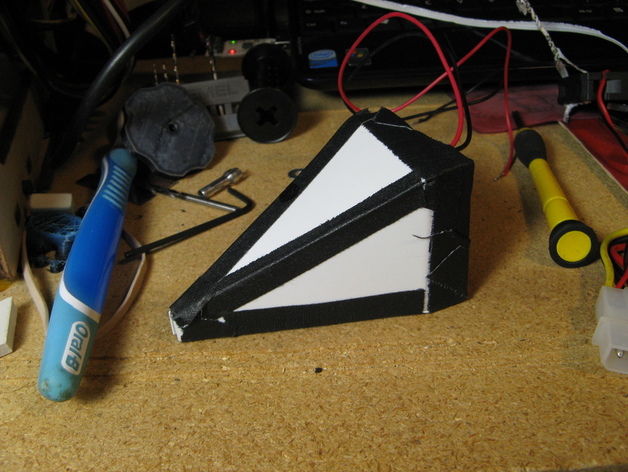
Introducing the "Badger," a directional cooling fan designed to improve print quality on certain objects. This simple DIY project involves creating a small nozzle for air to pass through and positioning it beneath the print head. Connect the fan's wiring to the Mk4 Extruder controller and use gcodes to control its operation. Tested effective for tall, skinny prints that require precise cooling. While not suitable for all applications, the Badger can significantly enhance printed results in specific scenarios.
With this file you will be able to print Print Cooling Fan (The Badger) with your 3D printer. Click on the button and save the file on your computer to work, edit or customize your design. You can also find more 3D designs for printers on Print Cooling Fan (The Badger).