Print Speed and Layer Time Test Pieces
prusaprinters
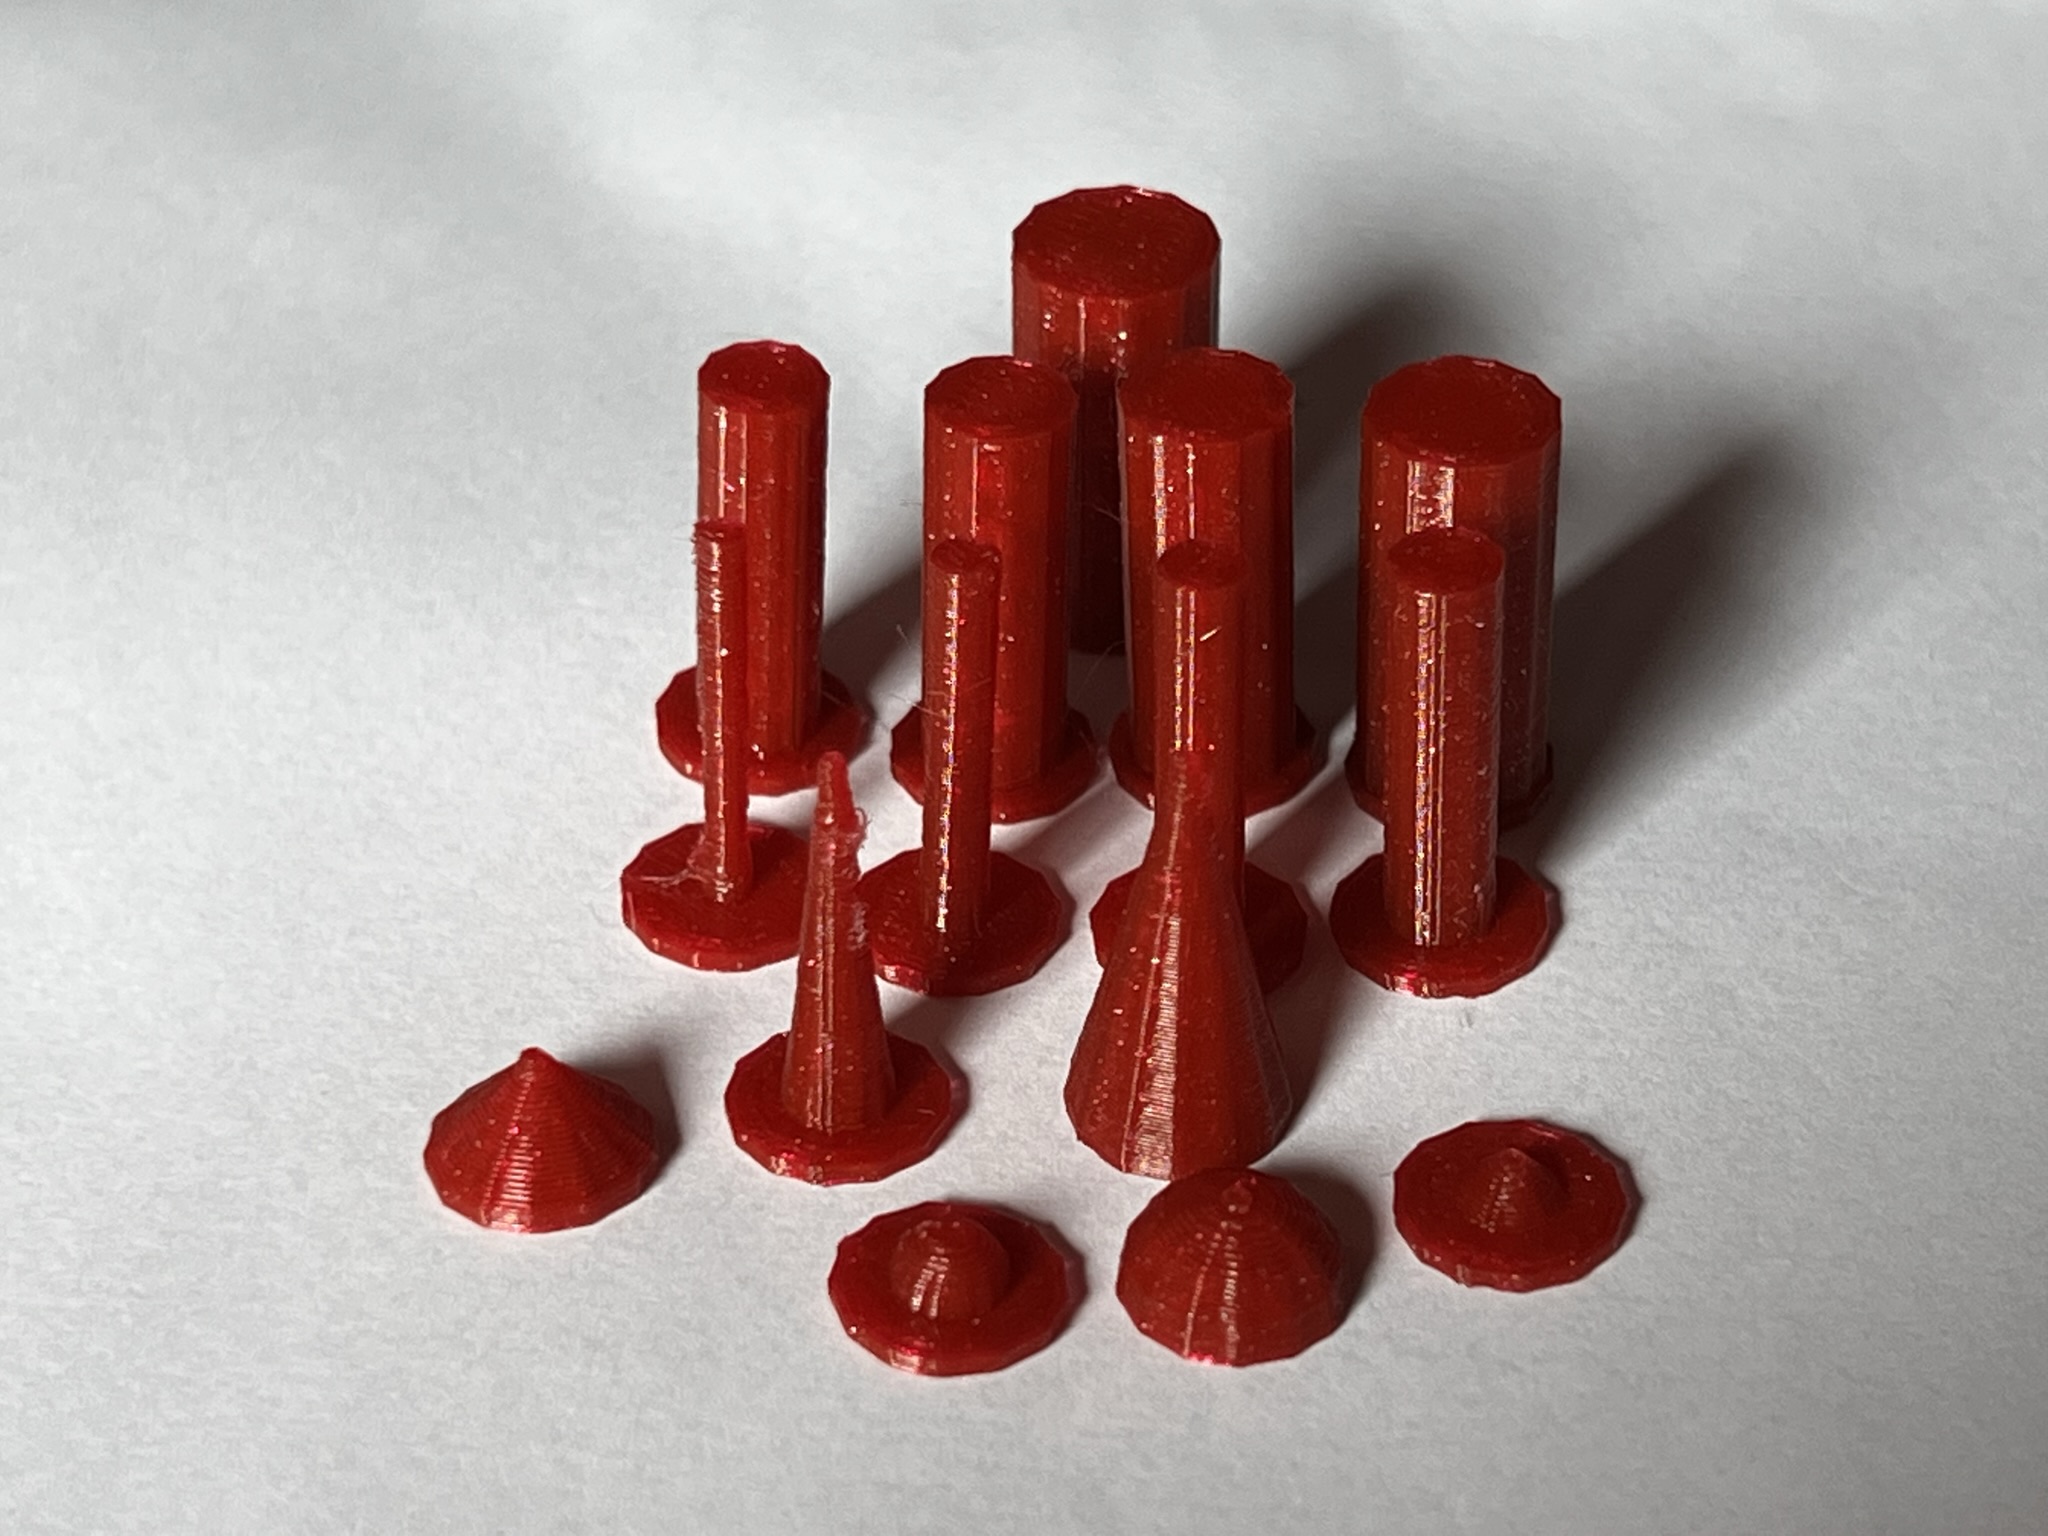
<p>I was printing some 2mm and 3mm pins for a project and really struggling to get smooth, even columns so I drafted these to make dialling in minimum print speed and layer time settings in Cura easier.</p><p>There are three groups - pegs, cones and domes - pick the shapes and number which most closely match the model elements causing you trouble, slice them as you have the model and adjust the “Minimum Print Speed” and “Minimum Layer Time” until you get the print quality you’re looking for. 5mm/s and 15s are good starting points for Ender 3 style machines on parts less than 5mm diameter, 10mm/s and 15s above that. Depending on cooling, ambient temperature, filament, phase of the moon, etc., you may need to go slower/longer or be able to go faster/shorter.</p><p> </p><p>Note 1: These settings are <i>minimums</i> and will only effect layers that would otherwise take less than the specified time, all other layers will be unaffected.</p><p>Note 2: The Minimum Layer Time setting is <i>dynamic,</i> if moving at the minimum speed a layer will take less than said specified time it won’t slow down any further and it won‘t pause unless…</p><p>Note 3: There is a setting to have the print head park until the minimum layer time has been reached, turn this <strong>off</strong> otherwise there will be lots of oozing.</p>
With this file you will be able to print Print Speed and Layer Time Test Pieces with your 3D printer. Click on the button and save the file on your computer to work, edit or customize your design. You can also find more 3D designs for printers on Print Speed and Layer Time Test Pieces.