Printboard - A prototyping board for electronic circuits
prusaprinters
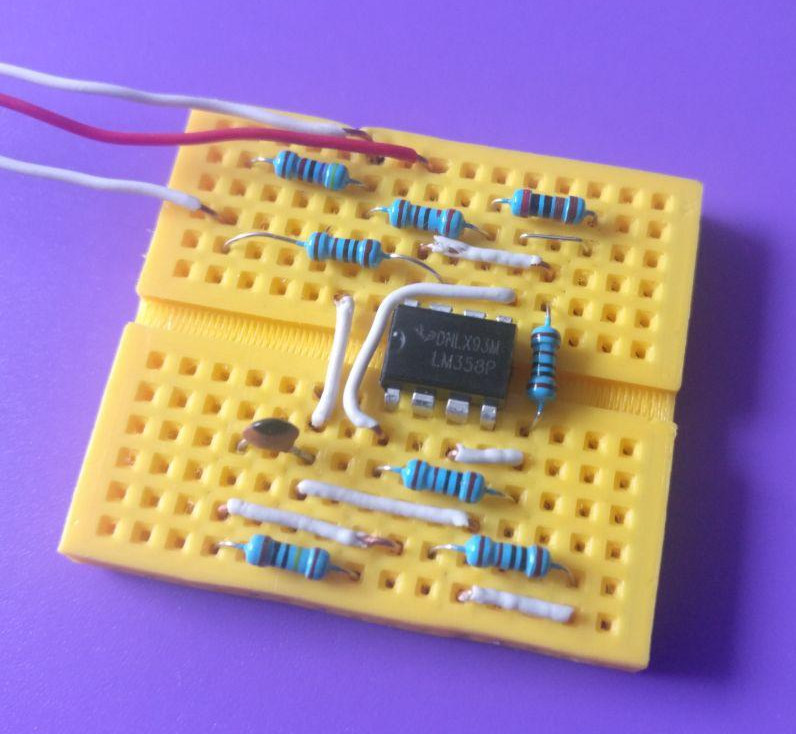
<p>This model can be used as an inexpensive and configurable breadboard alternative, with the advantage that the components can be soldered in-place.</p> <h3>Print instructions</h3><h3>Important Notes</h3> <ul> <li>You need a 0.25 mm nozzle to print this</li> <li>The electronic connections are not 100% reliable (as long as you don't solder them)</li> <li>Has been tested with DIP-8 packages, resistors, diodes and capacitors</li> <li>For each row of the board you will need a needle pin (preferred) or a nail (with about 1 mm diameter)</li> <li>Currently, power rails are not supported</li> <li>Only PLA has been tested (please let me know if you printed this with another material)</li> </ul> <h3>Configuration</h3> <ul> <li>If you have needle pins with 0.6 mm diameter and want a board with 6 columns on each side and 15 rows than you can use the provided .stl (or .gcode) file</li> <li>If not, install OpenSCAD and download the .scad file. Alternatively, you can clone the <a href="https://gitlab.com/ijkklm/printboard">gitlab repo</a> to get the most recent version<ul> <li>In the .scad file, enter the diameter of the needle pins or nails at the assignment of <code>rod_d</code></li> <li>Scroll to the end of the file and enter the pin counts of the board in the call to 'double_sided_board(...)' (see comments of the module)</li> <li>Render (might take a while) and export .stl</li> </ul> </li> </ul> <h3>Print Guide</h3> <ul> <li>Import the .stl from the previous step into PrusaSlicer</li> <li>Make sure that the extrusion width is set to 0.25 mm</li> <li>Recommended extrusion width for first layer: 0.42 mm (avoids gap infill)</li> <li>Use 100% infill</li> <li>Make sure <code>Detect bridging perimeters</code> is enabled</li> <li>If the print does not stick, decrease first layer speed and increased Bed Temperature for the first layer</li> </ul> <h3>Assembly</h3> <ul> <li>Gently move all the clips with a screwdriver<ul> <li>If the clips break off or do not move independently set <code>Seam Position</code> to <code>Random</code> and decrease nozzle temperature a bit</li> <li>If that does not help the reason may be low quality filament (I have used Prusament after I had trouble with filament of another manufacturer)</li> </ul> </li> <li>Cut off the tip of your needle pins (or nails)</li> <li>Cut them so that they do not stick out when fully inserted (see the small "observation hole" at the center of the board)</li> </ul> <h3>Usage</h3> <ul> <li>You can assemble your circuit as you would do it on a normal breadboard</li> <li>If you are done, you can solder the components to the row connectors. Some of the plastic around the point where you solder will soften/melt, do NOT inhale the fumes</li> </ul>
With this file you will be able to print Printboard - A prototyping board for electronic circuits with your 3D printer. Click on the button and save the file on your computer to work, edit or customize your design. You can also find more 3D designs for printers on Printboard - A prototyping board for electronic circuits.