Printer Activated Light Switch
thingiverse
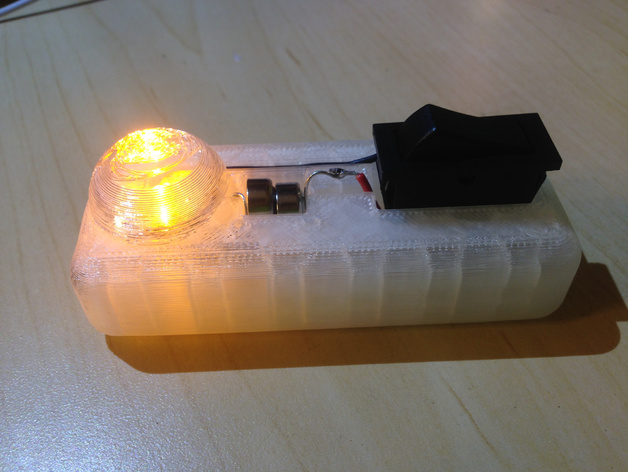
We're unleashing electronic possibilities by integrating gadgets into our printing tasks. By combining a rocker switch acquired from Ace Hardware with two button cell batteries and an LED light source, we successfully brought the printer head to life, causing it to turn on the light as soon as the print is completed. You can check out the incredible video at this link: https://www.youtube.com/watch?v=VaViUBmo0hY&feature=youtu.be Or discover the story behind it by reading here: https://printeraction.wordpress.com/2015/03/18/prints-of-light/ Let's move on to the next step. Instructions are straightforward - watch the comprehensive YouTube video for a thorough guide. You can find the switch needed for this project or even create your own printer-activated light switch using different components at http://www.acehardware.com/product/index.jsp?productId=29108146 Attach the LED and switch together according to the image, taking care to remove the lower portion of the LED so it fits perfectly into its assigned recession within the part. After finishing the initial print job on the main body, position the components accordingly and carefully press the wires into their respective slots. Make sure they come in contact with the batteries before proceeding. Test your circuit thoroughly and verify that everything is functioning as expected.
With this file you will be able to print Printer Activated Light Switch with your 3D printer. Click on the button and save the file on your computer to work, edit or customize your design. You can also find more 3D designs for printers on Printer Activated Light Switch.