Printer Bed Leveling STL
thingiverse
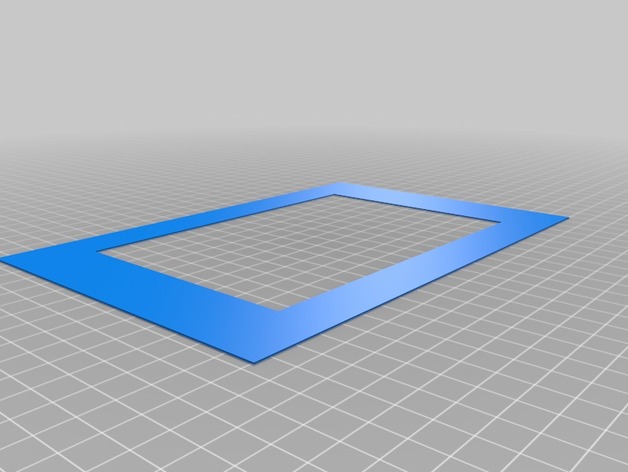
2015.12.10 I've just fine-tuned the STLs to prevent some slicing software from initiating the print from within. When printing with MakerBot, ensure you set the number of shells to 300. If using Slic3r instead, then set the perimeters to 300 degrees. Update note: I have recently uploaded a revised version specifically designed for smaller beds, measuring 190mm x 120mm. The reduced size will help the model fit on your work platform. Originally it was sized at 210mm x 140mm. This is a straightforward STL that allows your printer to create a square outline on the print bed. To Use: 1) Level your Bed by placing the Extruder above the adjusting screws and achieving the right paper gap, allowing you to feel gentle resistance as you adjust. 2) Slice through the attached STL file and proceed with printing it (you won't be completing it unless your print settings are particularly slow). Opt for coloured filament (black is a great choice). Remember to set shells/perimeters to 300 during setup. 3) Monitor the print as it unfolds. If you notice any transparency, your table/nozzle gap may need tightening up by slightly adjusting the screws. Conversely, if you observe vibrant colors throughout the print, then your nozzle/table gap may be too wide and needs adjustments. 4) Adjust the screws as the print head moves along to perfect its colour balance. Ideally, this means finding that point where every spot on the bed receives a moderate coating of color without experiencing skipping from the feeder. Congratulations! You have effectively fine-tuned your work surface with precision leveling.
With this file you will be able to print Printer Bed Leveling STL with your 3D printer. Click on the button and save the file on your computer to work, edit or customize your design. You can also find more 3D designs for printers on Printer Bed Leveling STL.