Printer control relay box
prusaprinters
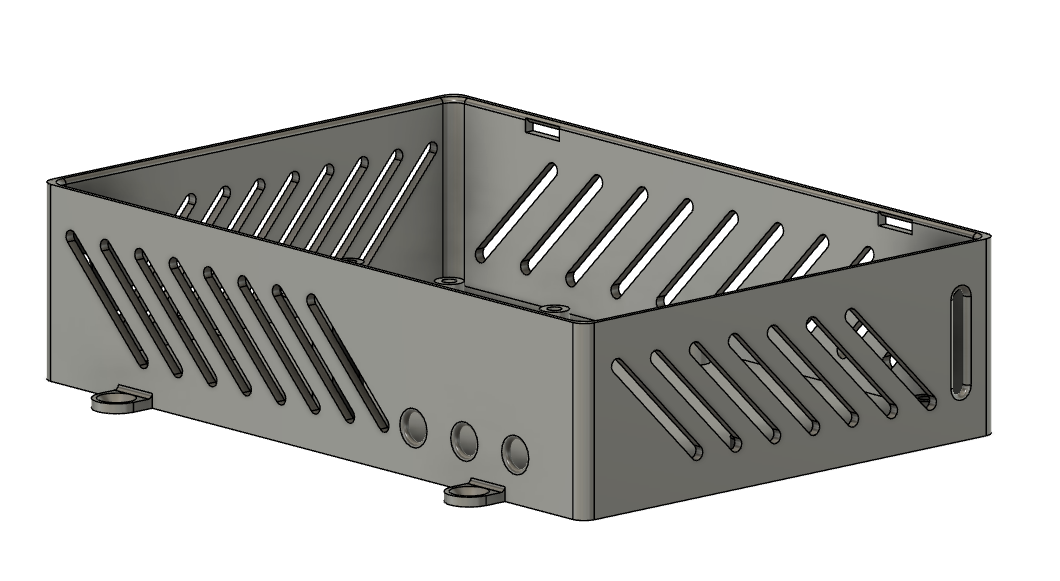
<p>Box for relays and step-down converter for control lights, fans, printer power and more via GPIO.</p><p>I used 12V led strips and fans, so I needed a step-down converter from 24V PSU.</p><p><i>To use a 5V relay with raspberry pi, remove the VCC -> JD-VCC jumper and connect 5V to the JD-VCC pin. Apply 3.3V to the standard VCC input!</i> <strong>Be careful to act at your own risk. I take no responsibility for destroying your device!</strong></p><p> </p><p><strong>Only a qualified person should connect the power cable to the PSU! There is a risk of injury from mains voltage! </strong></p><p> </p><p><strong>Parts</strong>:</p><ul><li>5V four relay board with optocoupler: <a href="https://www.laskarduino.cz/4-kanaly-rele-modul-5vdc-250vac-10a/">https://www.laskarduino.cz/4-kanaly-rele-modul-5vdc-250vac-10a/</a></li><li>Step-down converter 24V → 12V: <a href="https://www.laskarduino.cz/step-down-menic-s-lm2596-s-led-displejem/">https://www.laskarduino.cz/step-down-menic-s-lm2596-s-led-displejem/</a></li><li>Dupont cables for connect with RPi</li><li>1x small zip tie, for hold PSU power cable</li></ul><p><strong>Screws used:</strong></p><ul><li>8x M3x4 plastic for boards</li><li>1x M3x8 for cover locking</li></ul><p> </p><h4>Print Settings</h4><p><strong>Printer: </strong>Prusa I3 MK3S</p><p><strong>Supports: </strong>Only on cover for locking latches.</p><p><strong>Infill: </strong>20%</p><p><strong>Layer height: </strong>0.3mm</p><p><strong>Filament: </strong>Prusament PETG Jet Black</p>
With this file you will be able to print Printer control relay box with your 3D printer. Click on the button and save the file on your computer to work, edit or customize your design. You can also find more 3D designs for printers on Printer control relay box.