Printer Enclosure Cut List (Parametric)
thingiverse
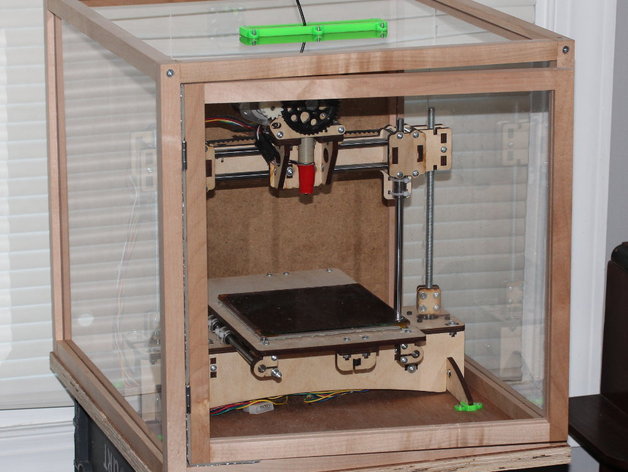
This OpenSCAD file, when opened, offers a parametric design for building an easy-to-construct printer case. The build output includes a complete cut list and an estimated enclosed volume to help you select an appropriate ventilation system. Default units are in inches but can be changed to your preference. As an example, the cut list output consists of commands like cutting grooves in frame structure and organizing frame components (Left, Right, Bottom, Top). The enclosure has a volume of approximately 2.20269 cubic feet. To define maximum interior dimensions for your printer, simply adjust user-defined values. Rendering with F5 provides a complete cut list including "glass" (plastic, hardboard) panel placement details. Frames pieces in the cutlist indicate groove positions for adding panels. Wood is recommended for construction; square profile molding or milled reclaimed wood can be used. Wood glue and screws are suitable for assembly, but pre-drilling holes is advised to prevent splitting. Clear acrylic sheets can be used for "glass" panels, while 3/4" plywood makes a sturdy base. Ventilation options include a vertical board anchor, case lid position guide, tube adapter flange with optional grating, cable plug hole cover, filament pass-through, and a knob with latch.
With this file you will be able to print Printer Enclosure Cut List (Parametric) with your 3D printer. Click on the button and save the file on your computer to work, edit or customize your design. You can also find more 3D designs for printers on Printer Enclosure Cut List (Parametric).