Printer finest calibration tool: narrow fit test & Cura Gcode2Excel
thingiverse
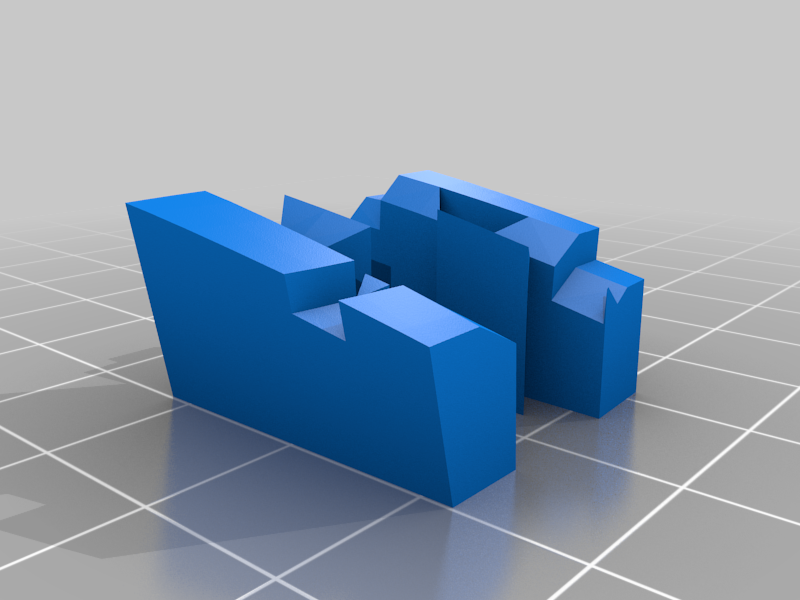
I have made 2 calibration parts: it's a piece of one of the torso-parts of <strong>inMoov</strong>: can be printed in 30 minutes. The 2 parts could be assembled after printing with a narrow fit: without sanding or whatever. disassembling must be possible too. If it doesn't fit at all, then your printer and/or slicer is not calibrated in the right way yet. More tuning is needed... Best part for testing is the 'inmoov_calibration.stl' part: if you can print this and it fits nice, you can print the whole inMoov with the same printersettings !!! Ofcourse this calibration-part is usable for every 3D-printing project ;-) <strong>So what's the best way to start, let's do it step-by-step:</strong> <strong>1)</strong> check your printer hardware first, everything must be ok, use my X,Y,Z,E calibration tool first: https://www.thingiverse.com/thing:3706923 <strong>2)</strong> Level your printbed, take your time for it, it's importent.. After you manual leveling, you can finetune it with your slicer-software by changing the z-as offset later more. I do that once a week by printing this calibration thing first and do a little finetuning with the z-as offset and more testprints later. No manual hassle.. <strong>3)</strong> Set some printersettings for your printer, for example: 40% infll, 0,4mm nozzle, extrusion width 0.44 (or just the default fixed value), 8 toplayers, 8 bottom layers, 4 wall layers. <strong>4)</strong> Set the right temperature, I use for example for PETG this: Ultimaker3: nozzle temperature: 245'C, glasbed temperature: 70'C. Craftbot-2: nozzle temperature: 240'C, glasbed temperature: 80'C. <strong>5)</strong> Measure your fillament size, do this at for example on a piece of 5 meters, 10 measurements and use the average value of it in your slicer. Personally: I use the defaults: 2.85 or 1.75mm : this because at the end I found out it doesn't matter a lot. <strong>6)</strong> Look here for a lot of nice info: https://mattshub.com/2017/04/19/extruder-calibration/ => check if your printer extrudes indeed 10 cm if you send the commands for that to your printer. (my UM3 printer extruded 107mm instead of 100mm, changed the steps and now it does exactly what it should do ;-) But it's like the fillament size above: you can skip this too. => Set your extrusion width close to the nozzle size, for a 0.4mm nozzle the size is normally 0.48 according some slicers but I prefere a smaller size: 0.44mm. => Do the extrusion multiplier test, you can find all info on the same page above, and change the extrusion multiplier to the new value. I have added the 25mm box to this Thing also. <strong>7)</strong> More nice info: https://mattshub.com/2017/10/02/linear-advance/ <strong>8)</strong> Do another test and tuning with this: https://www.thingiverse.com/thing:1982686 <strong>9)</strong> Ok, keep all the new settings you got now and do the final test: print the object narrow fit test object and check if your printer has now the perfect calibration what your are looking for ;-) Best thing is do all the steps above for every (new) fillament role you use... But ofcourse you can do a quick test first and skip everything til step 9. If you have still have printing issues, check this info: https://www.simplify3d.com/support/print-quality-troubleshooting/ If you are testing all kind of settings, you could use my <strong>Gcode2Excel spreadsheet tool</strong>: you can read your gcode-files with it and put specific settings into the spreadsheet and add comments, handy if you want to test all kind of settings! <strong>BUT: there is a more easy way too (I use this myself now):</strong> 1) print a 180mm strip (180x10x2box.stl) and measure the result: if it's too small or or too big: scale the design with your slicer a bit and print it again until you have the right length printed. Use the scale for every object you print with this same filament-rol. 2) And now the most importent setting (really don't understand why this setting is not well known yet): <strong>Horizontal Expansion</strong>, for more info: https://ultimaker.com/en/resources/21932-mastering-cura . The setting I have used for all inMoov parts (using Ultimaker3 and Petg) is this: Horizontal expansion: -0.145 , first layer horizontal expansion: -0.1455 (helps to remove elephant feet). No sanding needed at all. Print the 'inmoov_calibration.stl' part until it fits tight, but disassembling must be easy too.
With this file you will be able to print Printer finest calibration tool: narrow fit test & Cura Gcode2Excel with your 3D printer. Click on the button and save the file on your computer to work, edit or customize your design. You can also find more 3D designs for printers on Printer finest calibration tool: narrow fit test & Cura Gcode2Excel.