Printer Upgrades Mendelmax by Ultibots
thingiverse
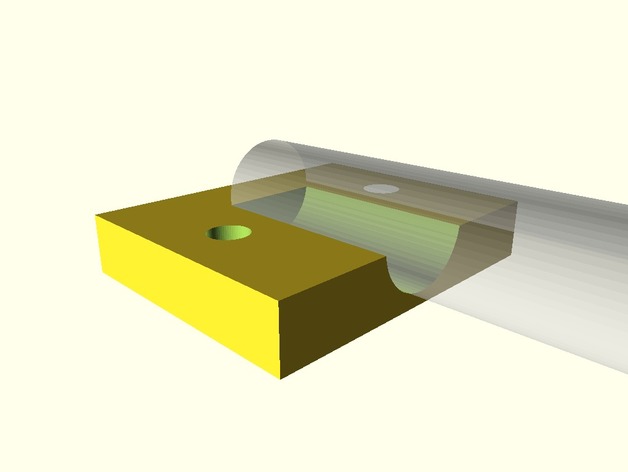
This is a placeholder for all of the files needed for my 3D printer updates. This covers: Hot End upgrade to E3Dv6 Direct (from J-Head) upgrade Y Axis upgrade to eliminate some wobble with the Drylin-Extrusion design Printable T-Slot nuts are designed to be printed An Enclosure is built for entire printer to help maintain a better environment for printing A t-slot scad generator was found on thingiverse; can't remember where it was located. It was a simple script and worked well for my needs. I've updated it with basic additional functionality that I needed. Sadly, I haven't added comments to it but its simplicity makes it easy to quickly figure out. My own Y-axis rod holder design was created quickly using OpenScad. Eight of those will be printed in total (they sandwich the 8mm rod). I'm missing the lm8uu bearing holders for my y-axis plate - they will be added when they are designed up. A cheap chunk of 5/16" 304 Stainless rod at Fastenal was found (~$6 for 80 inches) and will be utilized with the lm8uu bearings. The rod didn't fit very tightly but apparently 5/16 rod is almost exactly interchangeable with 8mm (they are 1/16 of a mm different OD). This is not a precision ground rod and as such might be prone to inaccuracy. However, I think it'll be a huge upgrade from the current situation where my Drylin allows a little over a 1/16th of an inch movement on the Z axis of the platen. So when the printer shoves the plate around and the X axis gets whipping around the platen can literally shake up/down at its edges. No wonder I get some waves here and there...! When the Y axis carriage attachments are drawn up, they will be posted here. They are intended to be placed to the outer corners of the platen for the best stability in all directions. However, I have one of the larger 320mm build plates and presently have an OD of about 460mm for the MendelMax frame. So... this leads me to some math as to how far on the Y axis I can place my carriage if I want to keep it low profile (save z-axis movement area). This means that I can use about 65% of the Y-axis to place my linear bearing mounts (carriage) and still stay just within my frame with the linear bearings. This will avoid collisions, allow a good connection with the end stop switch and give at least the same if not better y-axis range of motion AND stability than I currently have. Since I'll be using these rods at the outer edges of the platen; the platen will be even more stable from side to side motion. I'm also hoping that the bed won't shift "level" as often when I get a little too vigorous with part removal. The files for the E3D hotend swap are directly from Ultibots; the micro extruder and other x-axis components. They will be tested once the hotend ships. they are untested as of now.
With this file you will be able to print Printer Upgrades Mendelmax by Ultibots with your 3D printer. Click on the button and save the file on your computer to work, edit or customize your design. You can also find more 3D designs for printers on Printer Upgrades Mendelmax by Ultibots.