Printing Yurt
thingiverse
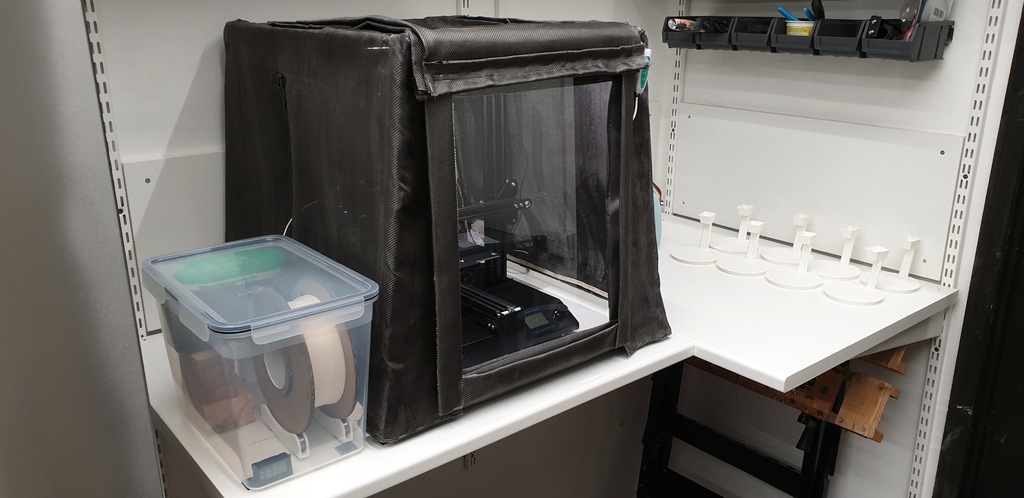
An enclosure for 3D printer, having a frame of fibreglass tent poles and a fibreglass twill skin. By choosing appropriate materials and joining methods it can be made substantially flame resistant. This is something of a work-in-progress, and I offer it here more as an idea than a readily buildable item. I was not especially pleased with the result, but decided to keep it until the winter at least, and see if it helps with print quality in my cold garage. Though already, I think, it's offered some benefit when printing with ASA filament. The inside does get quite warm when the bed is at 95C, and the surface quality of the parts has improved. And I have more peace of mind to go to sleep with the printer running! I had planned the tent to be collapsable (after removal of the upper crossbars), therefore the lower joints are hinged. But I must have miscalculated, as in practice the fabric prevents complete folding of the structure. The frame used a set of 7 mm diameter tent poles, which comprise 12 pieces: e.g. https://www.ebay.co.uk/itm/224209093086 - this set made a tent just large enough for my Creality CR-20. (The more popular Ender3 has a different placement of the ECU, so I don't know whether or not it'll fit within the same size) Remove the elastic cord and ferrules from the tent poles. Pole cutting lengths to accommodate CR20 printer: - Lower front & back rails (2 off) 540 mm - Vertical poles (4 off) 474 mm - Upper front & back rails "crossbars" (2 off) 415 mm - Front-to-back rails (4 off) 524 mm Min (can be changed) I designed the printed joints to be a "light interference" fit on the tent poles. However they turned out much too tight. But it's possible to hone them out to the correct size, by chucking an offcut of the tentpole into an electric drill and then *gently* - at low speed - plunging into the joints with this. The covering of fibreglass twill imparts flame resistance in case the worst should happen. This requires also a non-combustible "stitching", and I used metal staples, which is a quick and nasty method, and the fibreglass cloth is prone to holeing. It helped somewhat to prime the cloth before use, using dilute PVA, and letting dry before cutting and stapling it. Additionally, I backed up most of the seams using strips of leatherette (fake leather), salvaged from an old chair having an ignition resistance label. The only item where I'm less confident about flame resistance is the perspex window at the front. But this is optional only, and I also gave it an outer curtain of fibreglass. Inside the tent I installed this USB-powered striplight: https://www.amazon.co.uk/gp/product/B07FNDX1NB The lamp came with some small magnets, which I didn't use on the lamp itself, but repurposed them to help keep the tent door shut.
With this file you will be able to print Printing Yurt with your 3D printer. Click on the button and save the file on your computer to work, edit or customize your design. You can also find more 3D designs for printers on Printing Yurt.