Printrbot jr. z axis improvement
thingiverse
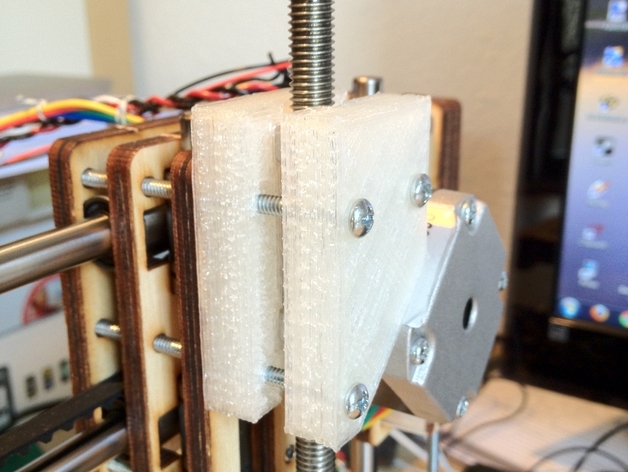
Replacement bracket for the z axis nut holder in a Printrbot Jr. Reduces the amount of play the z axis nut had to a minimum. Replaces the original threaded rod and nut with stainless steel M8 threaded rod, two nuts and a spring in between the two nuts. Ideally you should use brass nuts. But I used stainless steel nuts since they were available and work just fine. Instructions 1) print the two bracket halves 2) remove the original laser cut z axis nut holder assembly (save the screws, you will need the later) 3) remove the original nut and threaded rod 4) mount the M8 stainless steel threaded rod (apply a little grease to the rod, much smoother rotation possible this way) 5) screw first nut onto rod 6) place spring on top of nut 7) screw second nut onto rod until the nut-spring-nut package fits the 3d printed brackets 8) mount brackets with original screws (step 2) 9) remember to change your mm/revolution setting of your z axis in the control software of your choice. By the way, a M8 thread has a 1.25 mm pitch per revolution. *) UPDATE #1: Added Sketchup file for ease of modifying spring size or change metal parts from metric to imperial units.
With this file you will be able to print Printrbot jr. z axis improvement with your 3D printer. Click on the button and save the file on your computer to work, edit or customize your design. You can also find more 3D designs for printers on Printrbot jr. z axis improvement.