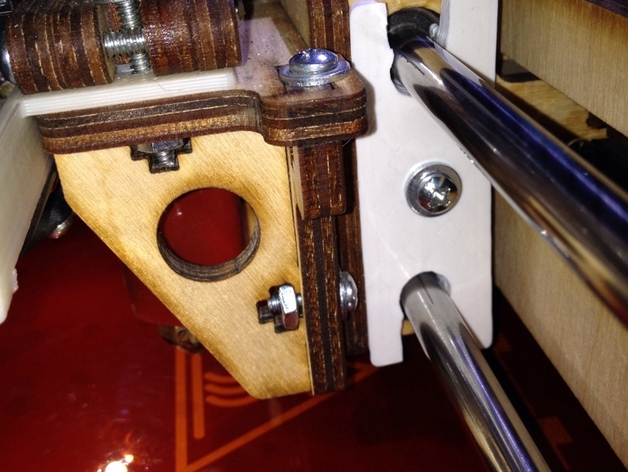
Printrbot LC+ X Axis Stabilizer
thingiverse
Takes 5-mins to install, greatly improves X Axis stability of the original Printrbot LC+, doesn't require any drilling, disassembly, or recalibration, and you only need one. Instructions Printed using 3mm ABS @230F Bed @90F Final slic3r settings: 15% Infill, honeycomb, default speeds, 1 perimeter with Advanced / Extrusion Width / Perimeters set to 1.5mm. Print time: 20mins using 1488mm of filament Remove flashing inside guides after printing using X-Acto knife or similar to insure they glide smoothly over rods w/o binding. Affix to right side of head using 1.5"-2" screw, washers on each side, & nut on left side. Tighten completely (stabilizer will bow a bit). NOTE: You only need one of these (two defeats the way it works).
With this file you will be able to print Printrbot LC+ X Axis Stabilizer with your 3D printer. Click on the button and save the file on your computer to work, edit or customize your design. You can also find more 3D designs for printers on Printrbot LC+ X Axis Stabilizer.
