Printrbot Simple Anti Y Sag
thingiverse
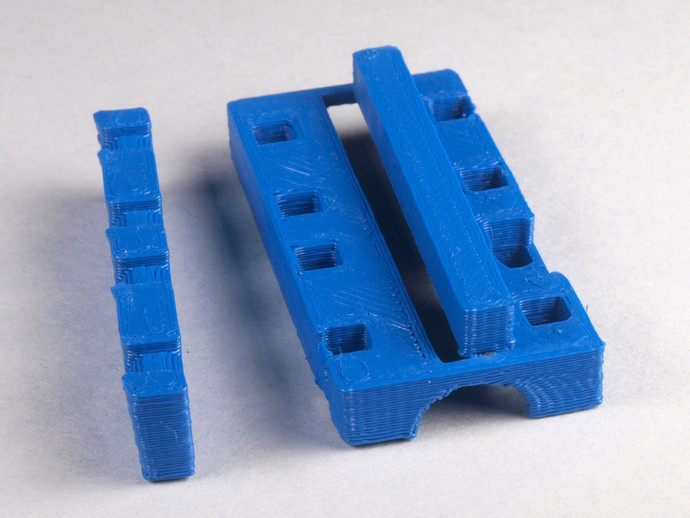
The beta version of Printrbot Simple often has a sag in the Y axis, causing an uneven print bed. However, this upgrade addresses the issue completely on many printers. It incorporates a curved slot for secure bearing alignment and a 1.5-degree slope to counteract sagging. To install, print two copies of the wedge and bearing block each for top and bottom bearings. Place the blocks in their respective slots, insert the wedges, add zip ties but don't tighten them completely yet. Once both top and bottom bearings have the blocks and wedges installed, tighten and trim the zip ties. Finally, re-level your print bed to enjoy improved printing performance. The idea originated from twistedmedium on PrintrbotTalk, with a thread dedicated to fixing sagging Y available for reference. Kisslicer is recommended for printing the bearing block due to its easy support material removal feature.
With this file you will be able to print Printrbot Simple Anti Y Sag with your 3D printer. Click on the button and save the file on your computer to work, edit or customize your design. You can also find more 3D designs for printers on Printrbot Simple Anti Y Sag.