Printrbot Simple Metal LED Extruderlight
thingiverse
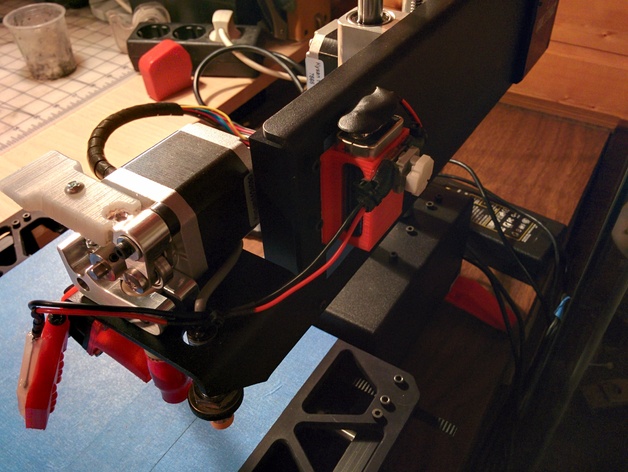
LED arrangement with hinge illuminates the Printrbot's extruder tip. This DIY lighting solution also holds a 9V block battery for those who don't want to rely on USB power from a Raspberry Pi. Big thanks to www.tested.com for sparking this idea. To make it work, you'll need: - Eight 5mm LEDs in your preferred color - Wire strips for connections - A button or switch to control the light - A 9V block battery and a wire adapter for block batteries - Double-sided tape for secure adhesion - Two M4x10 screws to assemble the hinge - Some know-how with electrical wiring First, use the screws to connect the two parts of the hinge. Next, wire the LEDs by placing all their kathodes in the center and then using their legs to connect them. To keep the kathodes insulated and in place, apply some hot glue. After that, attach the LED wires to the 9V block battery using the adapter and the switch (or button). Make sure your wires are long enough to reach around to the right side of the extruder so you can glue the battery holder onto the y-axis frame. The printed parts were created with a 0.1mm resolution and took about an hour and fifteen minutes each.
With this file you will be able to print Printrbot Simple Metal LED Extruderlight with your 3D printer. Click on the button and save the file on your computer to work, edit or customize your design. You can also find more 3D designs for printers on Printrbot Simple Metal LED Extruderlight.