Printrbot Simple Metal Lights
thingiverse
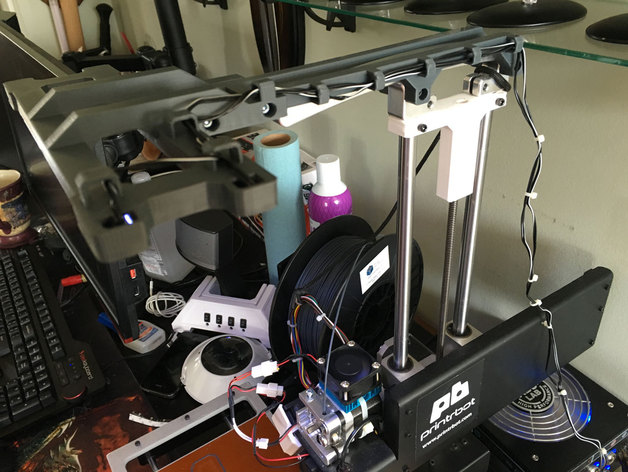
Decided that there just wasn't enough lighting to see what I was printing. So I designed a two-part light bracket that can be mounted the Printrbot simple metal aluminum handle. The light "sled" is designed for 8-10mm wide strip LEDs, with channels for wiring, etc., built into the design. This was designed to be printed on a Printrbot simple metal with the X-axis upgrade. The length of the parts is too long (220mm or so) to be printed in the standard 150cm3 available on the Printrbot simple metal. I also have the Z-axis upgrade, but that isn't necessary for this print...but you will need the aluminum handle and an ATX PSU. To assemble, you'll need the following: Led strip lights (automotive accent lights work great for this) (8) 10-10mm x 3mm hex cap screws A spare 4-pin Molex connector Soldering iron and some solder Heat shrink tubing or electrical tape Zip ties Assembly instructions can be found on my blog, but assembly is pretty straightforward. Print the light bracket and sled Cut the LED strips to length, and feed the wires through the bracket channels Connect the LED tails to the Molex connector Mount the bracket to the aluminum handle Check out my blog for more!http://trippingthenerdcurmudgeonly.blogspot.com/2016/01/printrbot-lights_30.html
With this file you will be able to print Printrbot Simple Metal Lights with your 3D printer. Click on the button and save the file on your computer to work, edit or customize your design. You can also find more 3D designs for printers on Printrbot Simple Metal Lights.