PrintrBot Simple X-axis GT2 Belt & Extension
thingiverse
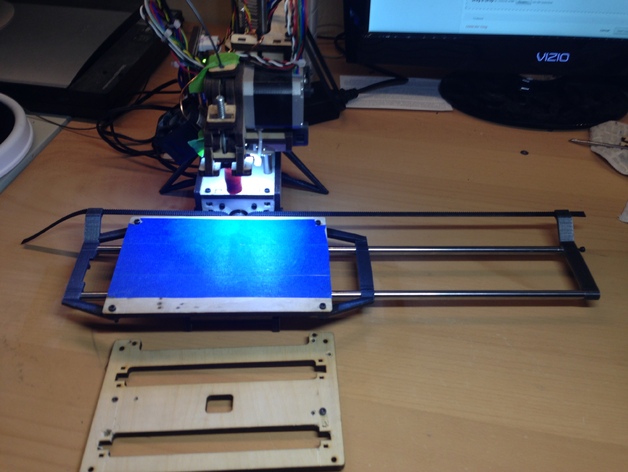
Upgrade your stock Simple print bed with self-printed parts, costing only $25 extra, to widen the print width from 100mm to 185mm. Optionally, use a Printrbot Simple Metal Print Bed for Build Volume Upgrade to increase it further to 275mm. To print, prepare files including leftEnd, rightEnd, and rightBed for a 100x100 build volume; MotorMountXGT2, BearingCap608, washers, rightSupport, and leftSupport for all printers; and lastly, the parts left over from thing 194686. Assemble the bed by cutting and fitting rod parts, installing bearings on the MotorMountXGT2, adjusting the GT2 gear, tightening the belt, securing the bed with screws, and attaching the rightSupport and leftSupport. Finally, configure your printer settings in Repetier and KISSlicer to reflect the new bed size. Test your new setup by printing bigBox.stl using VASE setting without a skirt.
With this file you will be able to print PrintrBot Simple X-axis GT2 Belt & Extension with your 3D printer. Click on the button and save the file on your computer to work, edit or customize your design. You can also find more 3D designs for printers on PrintrBot Simple X-axis GT2 Belt & Extension.