Printrbot Y-Axis Mod
thingiverse
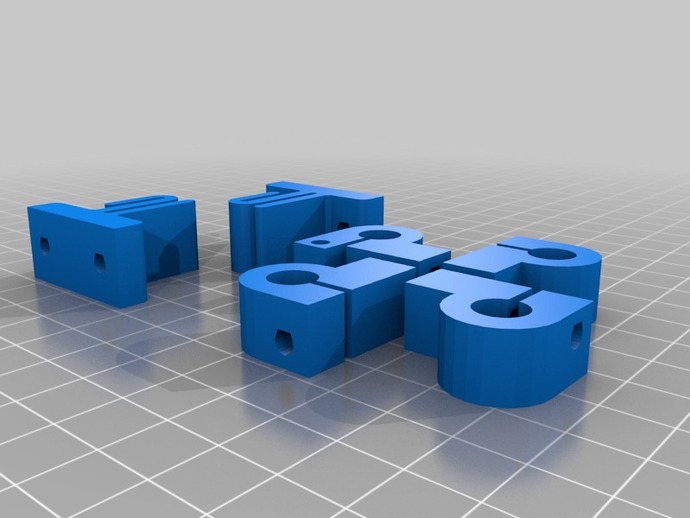
A minor modification that will make a world of difference to the accuracy and endurance of your 3D printer. This is also the easiest way to level your printer bed by simply filing down the PB-Y axis bar mounts on the high side of your bed. An easy print for beginners because all the settings are in the Gcode. I have printed these and use them on my bot. Instructions The standard lasercut wood for the Printrbot Y-Axis bar mounts, and the Y-Axis belt clips, are cut to very tight tolerances that will, over time, start to scrape against the Y-Axis 10 tooth pulley gear under the bed. This will cause minor problems with your 3D prints by producing circles with a slight oblong shape, or faulty perimeters with stray filament strands and this can leave you with unusable parts. In addition, the lack of room will leave you trying to level your printer bed by spending extra money on springs, grommets or washers, when all you need to do is file down the bar mounts on the high side of your printer bed. Leveling can be completed for both the X and Y axes with this one print. If accuracy and endurance are vital to your prints, then this enhancement will make a huge difference for being such a minor mod. I use the Printrbot Plus, but I know this will work with all current models of Printrbot and the files have been optimized to print on either the 6 inch or 8 inch Printrbots. The Gcode file was created using Slic3r 0.9.7, regardless of the Printrbot model you have, just download the Gcode and go. This is a mod of the original Printrbot files posted by Brook Drumm: http://www.thingiverse.com/thing:16990 The details of this mod are as follows: 1) Raises the bed just 3mm by making the PB-Y bar mounts 3mm taller. 2) Makes the PB-Y bar mounts 3mm wider for a better grip on the Y axis rods. 3) Makes the belt clip base 3mm thicker so the Y axis belt can be properly aligned for the Y axis pulley and belt guide. 4) Includes the Y Axis stop screw hole. 5) All files associated are configured for ABS plastic. 6) The Gcode file is centered on X: 75 Y: 75 for either the 6 inch or 8 inch Printrbot models. 7) This is a great print for beginners. Just download the Gcode and print. All the settings you need are in the Gcode. All you need to do is calibrate all your axes first. It is best to print all these parts at the same time because both the Y bar mounts, and the belt clips, work together as a package. If you leave the old belt clips in place, and use only the Y bar mounts, then the belt will not align to the Y axis belt guide, and vice versa. The STL file has been cleaned and optimized using Netfabb and is ready for your Slic3r. Once your printer is calibrated, level and ready for long enduring prints, please take a look at my 10 tooth pulley mod for both the X and Y axis motors. I added a slot for the 3mm nut that came with your Printrbot and this makes for a very tight fit to the stepper motor shaft. http://www.thingiverse.com/thing:48672 If you have any questions, please ask below. Thank you, Tom Heibel Sticky Pod
With this file you will be able to print Printrbot Y-Axis Mod with your 3D printer. Click on the button and save the file on your computer to work, edit or customize your design. You can also find more 3D designs for printers on Printrbot Y-Axis Mod.
