Printrbot Z-Axis End Stop Nut Keeper
thingiverse
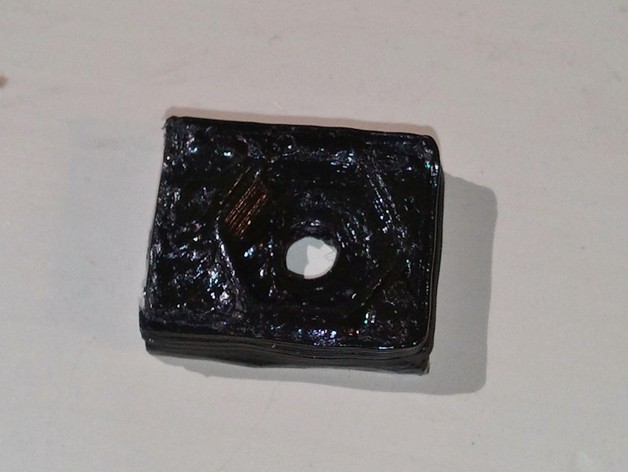
Trying to fine adjust the Z-Axis end stop screw was frustrating me because the wood didn't hold it by itself. Using 2 nuts was a pain because one would always come loose. My solution: print a part that could be zip-tied down to hold the nut on top. Instructions 1) Print it out. 2) If necessary, shave the edge a bit so it fits flush against the vertical piece of wood. 3) Put the nut in, and insert the screw from the other side and turn it until it is well past the nut. 4) Place the screw through the hole in the Printrbot Z-Axis mount. 5) Once fit is ensured, zip tie it down. 6) Carefully recalibrate your Z-home, starting with the screw too far down and gradually working it back. UPDATE: Per comment idea/suggestion, I added a slightly deeper version for a nylock nut.
With this file you will be able to print Printrbot Z-Axis End Stop Nut Keeper with your 3D printer. Click on the button and save the file on your computer to work, edit or customize your design. You can also find more 3D designs for printers on Printrbot Z-Axis End Stop Nut Keeper.