PRISM: 3D Printer Enclosure
prusaprinters
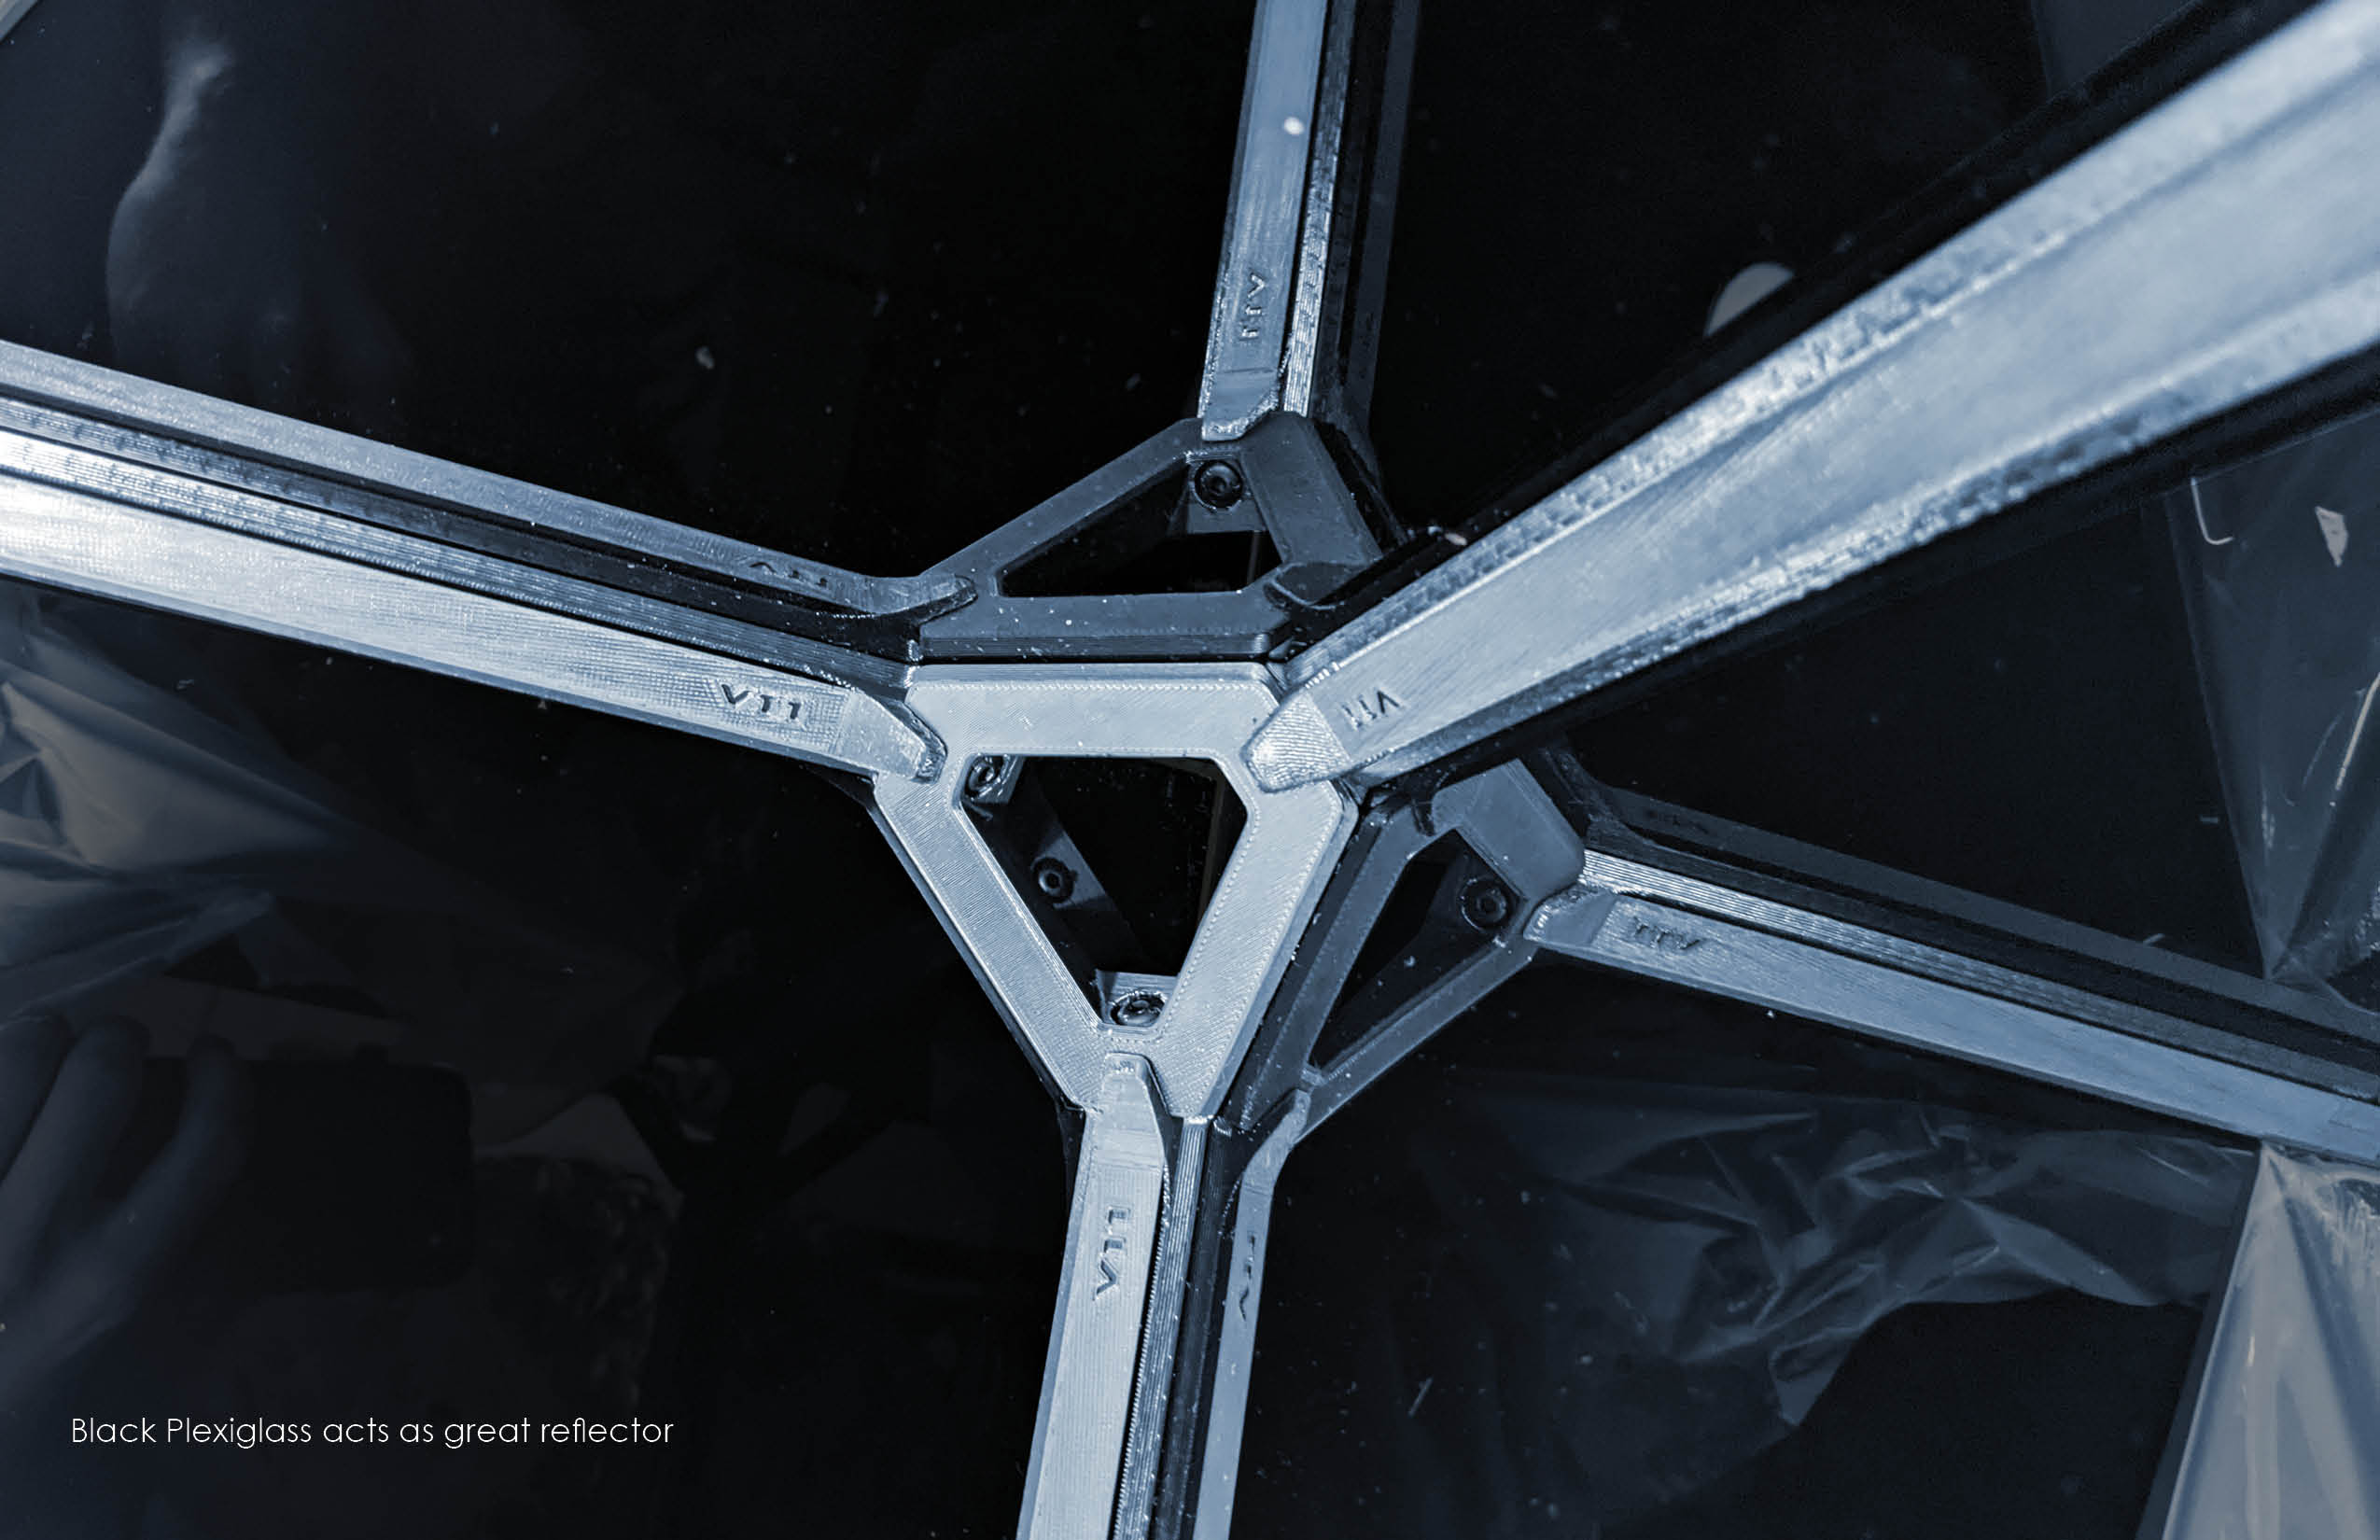
<figure class="image"><img src="https://media.prusaprinters.org/media/prints/59992/rich_content/241bbfd5-c1ec-4b95-ac1e-e527246146ff/artwork_2-12.jpg#%7B%22uuid%22%3A%22398dbe51-6f5d-43e4-b8e1-ee5ca6968a17%22%2C%22w%22%3A2551%2C%22h%22%3A1650%7D"/></figure><p><strong>WHY:</strong></p><p>This began with wanting to design an enclosure system that had significant print time reductions & some interesting features that you could upgrade to later on…</p><p>The project morphed quite a bit from my initial vision for feasibility reasons & in the end I valued “interesting features” over "time reduction". While this is neither cheaper or faster than the Lack overall but it might have a few features here or there that make it worth it to you or you can steal parts off for your own enclosure/ projects. I'm pretty happy with the way the internal structure turned out but mainly learned how I want to do things differently in the future. To me an enclosure feels like a classic accessory to go with your MK3S+ 3D printer.</p><p> </p><p><strong>MAIN FEATURES:</strong></p><p>A. Reduces smells, sounds, & drafts.</p><p>B. 3D Printed Connection Beams act as additional structure, wire management, LED housing, & rails for slide-on attachments.</p><p>C. Some Futuristic Space Vibes</p><p> </p><p><strong>NEEDS: </strong></p><p>PETG filament</p><p>Black Acrylic Sheet (x2)- .125" T x 48-in W x 24-in L </p><p>Clear Acrylic Sheet- .125" T x 48-in W x 24-in L</p><p><a href="https://www.amazon.com/gp/product/B001M8MWI2/ref=ppx_yo_dt_b_asin_title_o02_s02?ie=UTF8&psc=1">Foam Mat</a>- 23$</p><p>Assortment of M5 bolts/nuts- see Images</p><p>Glue- Elmers is fine</p><p>Filament Holder- <a href="https://www.prusaprinters.org/prints/26233-filament-spool-holder">By Halcon Designs</a></p><p> </p><p>Optional:</p><p>PSU brace- <a href="https://www.thingiverse.com/thing:2859884">By Mikolaszuza</a></p><p><a href="https://www.lowes.com/pd/PLASKOLITE-1-Blade-Utility-Knife/3140935">Plexiglass Cutter-</a> (could just use exacto)</p><p><a href="https://www.amazon.com/gp/product/B07B4LCWC4/ref=ppx_yo_dt_b_asin_title_o00_s00?ie=UTF8&psc=1">Stepper Bit Set</a>- 17$</p><p><a href="https://www.amazon.com/gp/product/B091KVC598/ref=ppx_yo_dt_b_asin_title_o08_s00?ie=UTF8&psc=1">LED Strip</a>- 12$</p><p>Magnets- 3mm T x 6mm D</p><p><a href="https://www.amazon.com/gp/product/B07NSZ9XPY/ref=ppx_yo_dt_b_asin_title_o05_s00?ie=UTF8&psc=1">Thermostat + Humidity Gauge</a> - 7$</p><p><a href="https://www.amazon.com/Milwaukee-48-22-6105-Mini-Flush-Cutters/dp/B07HXXW1Y5/ref=sr_1_1?dchild=1&keywords=milwaukee+flush+cutters&qid=1635107125&s=hi&sr=1-1">Milwaukee Flush Cutters</a>- 10$</p><p>Skil Cordless ScrewDriver - 20$</p><p>Paver- 2$</p><p> </p><p><strong>HELPFUL TIPS:</strong></p><p>See images for ‘official’ build tutorial.</p><p>Plexiglass Cutting/ Drilling:<i> </i>Having straight strong surfaces to snap over is key. A piece of steel angle iron worked perfect for me + a table with a sharp corner + some C-clamps. Also you really got to snap it hard & make sure can hold onto a larger side. A stepper drill bit + the assembly tool I designed really speeds up the hole drilling process so you don't have to measure & oversize your holes easily so you have some tolerance. I used a cheap plexiglass cutter tool & would use again. I suggest leaving the plastic film on the material until you are literally done with the whole project otherwise it will get unnecessarily covered in shavings.</p><p>Support Removal: Not the most fun thing but I couldn't figure out a way to get the shape I wanted without some support material. I used a set of needle nose pliers for my first pass, then flush cutters from Milwaukee for any little pieces that stuck. </p><p>Screws & Nuts: doing all the fasteners by hand could be a pain (but maybe that's just me because of all the design iterations I had to do). A cheap screw driver like this made it quite satisfying and has been nice to have around since.</p><figure class="media"><oembed url="https://www.youtube.com/watch?v=3ZWlJn0sBaQ&ab_channel=Cosador"></oembed></figure><p><br/><strong>PLANNED UPDATES:</strong></p><ol><li>Window Ventilation</li><li>Explore different uses of internal structure</li><li>---------- May or May not do (below)-----------</li><li>Test Enclosure without connector beams</li><li>Allow for the individual connector beams to be removed without having to take off a panel</li><li>Optimize Fan Usage. when & how to use the fan.</li><li>Optimize Parts for Batch Printing</li><li>Install octoprint lighting status features</li><li>Reduce the amount of uniquely dimensioned cut plexiglass</li><li>Add Plexiglass laser cut pattern</li></ol><p> </p><p><strong>WARNING:</strong> </p><p>Pretty but not perfect…</p><p>Time: this took me awhile to Build, Print, (& Design) so I am assuming it will for you too. 70 hrs of printing.</p><p>High Difficulty: Cutting the plexiglass to the right dimensions is <i>very</i> <i>critical</i> to overall build quality & gap management. Cutting is great to learn but needs patience. Laser Cutter would probably work best if you've got it. </p><p>Updates: I will do my best to update any major errors you find, however I now have other new projects I am working on so it won't be top priority.</p><p>Damage: I really don't have any concerns about this. that said, I am not responsible for any damage done during assembly of this project. I would not recommend stacking multiple enclosures or putting heavy weight on top of enclosure.</p><p>Safety: Also strangely enough some support material got into my eye while removing it, as reminder be a pro & wear glasses.</p><p> </p><p><strong>THANKS!</strong></p>
With this file you will be able to print PRISM: 3D Printer Enclosure with your 3D printer. Click on the button and save the file on your computer to work, edit or customize your design. You can also find more 3D designs for printers on PRISM: 3D Printer Enclosure.